CR-10s Mod
—「0X://Explanation」
i wasnt using my printer enough cuz i was having trouble with the fans~ so instead of putting off my problems forever,
i decided to learn more about my printer's construction and make an all in one! it honestly was quite intimidating!
all upgrades done:
cr-10s control box removal (all in one)
- required models
- alternate control screen i didnt print this one but i shouldve
- alt control box w/ quick disconnect plug (warning: does not fit default motherboard, but i made it fit)
- listed BOM on thingiverse page, maybe have some spare parts cuz i used tons of stuff i had lying around
new spool holder
- cr10s spool top mount
- dual spool holders
- default cr10s spool holder
micro sd to sd card holder
toolkit
- toolkit models
- all the tools that come with cr-10s

Log 1: Let's do it!
well first lets get a look at the appalling state of my printer:
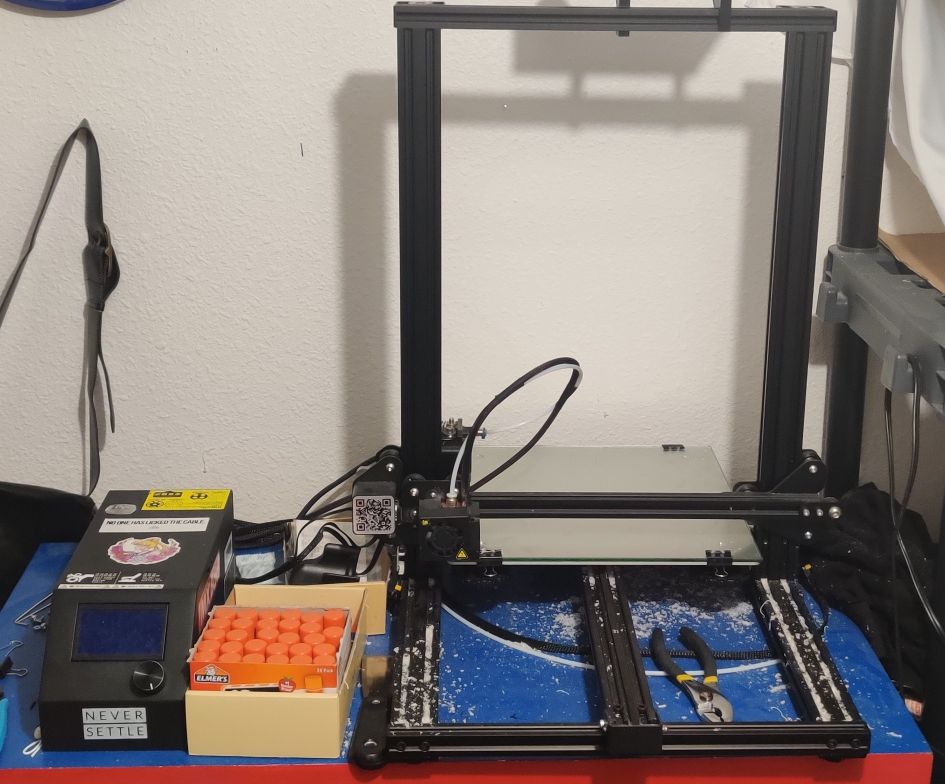
yikes, i see why you wanna fix that, nice stickers tho! thanks me, now first of all i printed a better filament holder (which you can see is already on cuz i forgot to take the picture earlier):

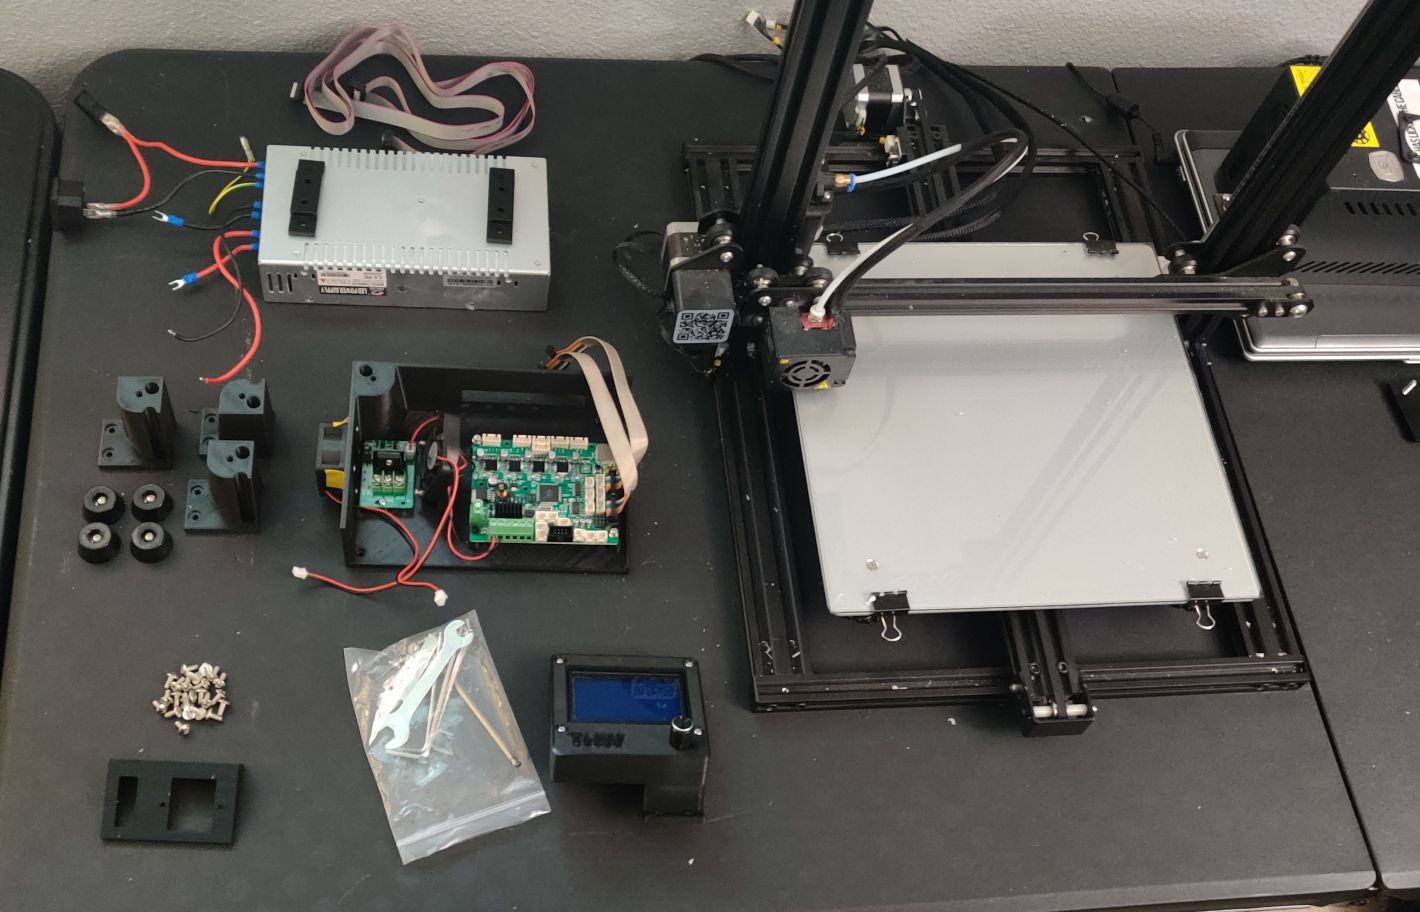
then i printed all the pieces i needed for the upgrade, found here, and an alternate control box, though i wouldnt recommend this since it doesnt fit the stock cr-10s board (but i managed to make it fit with some long screws):
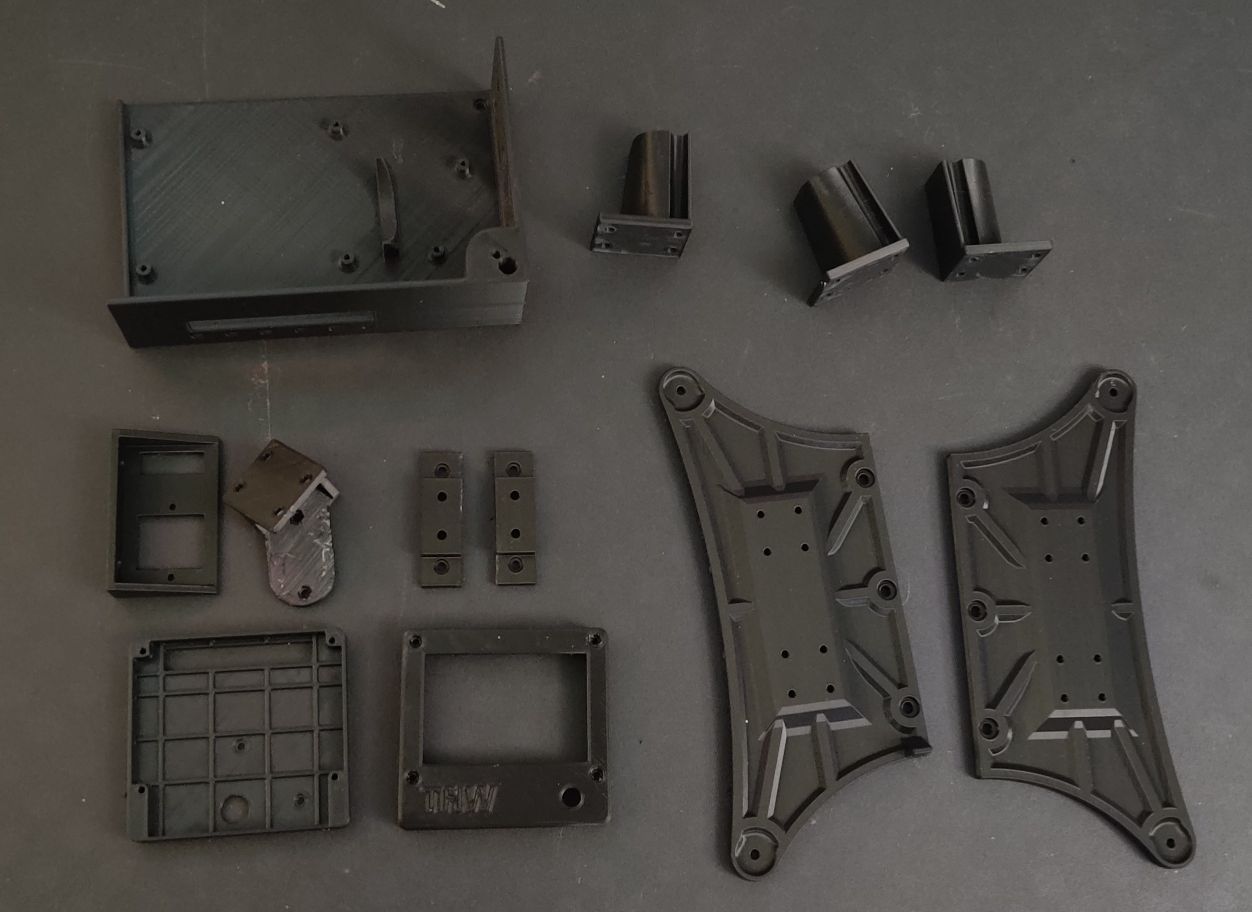
also if you are following along you don't need to print the bottom right prints if ur not doing the rail mod (which i am not, idk why i printed them). besides a bit of difficulty taking off some supports, the printing actually went great! some cr-10s' have an alternate screen which a remixed model for the case can be found here, but i did not use this (even though i needed it). i just made it work with a little bit of tools~
next i ordered the pieces i needed... though the requirements said tnuts which i ordered, apparently they meant "t-slot hammerhead nuts". thanks guide that was very clear (tnuts pictured left are not needed):

well while i wait for the correct nuts to arrive, i can at least see how far i can get without them. so next was the actually disassembly, which seemed really scary (i was and am still worried i am going to permanently break my printer), but here is what the inside looks like:
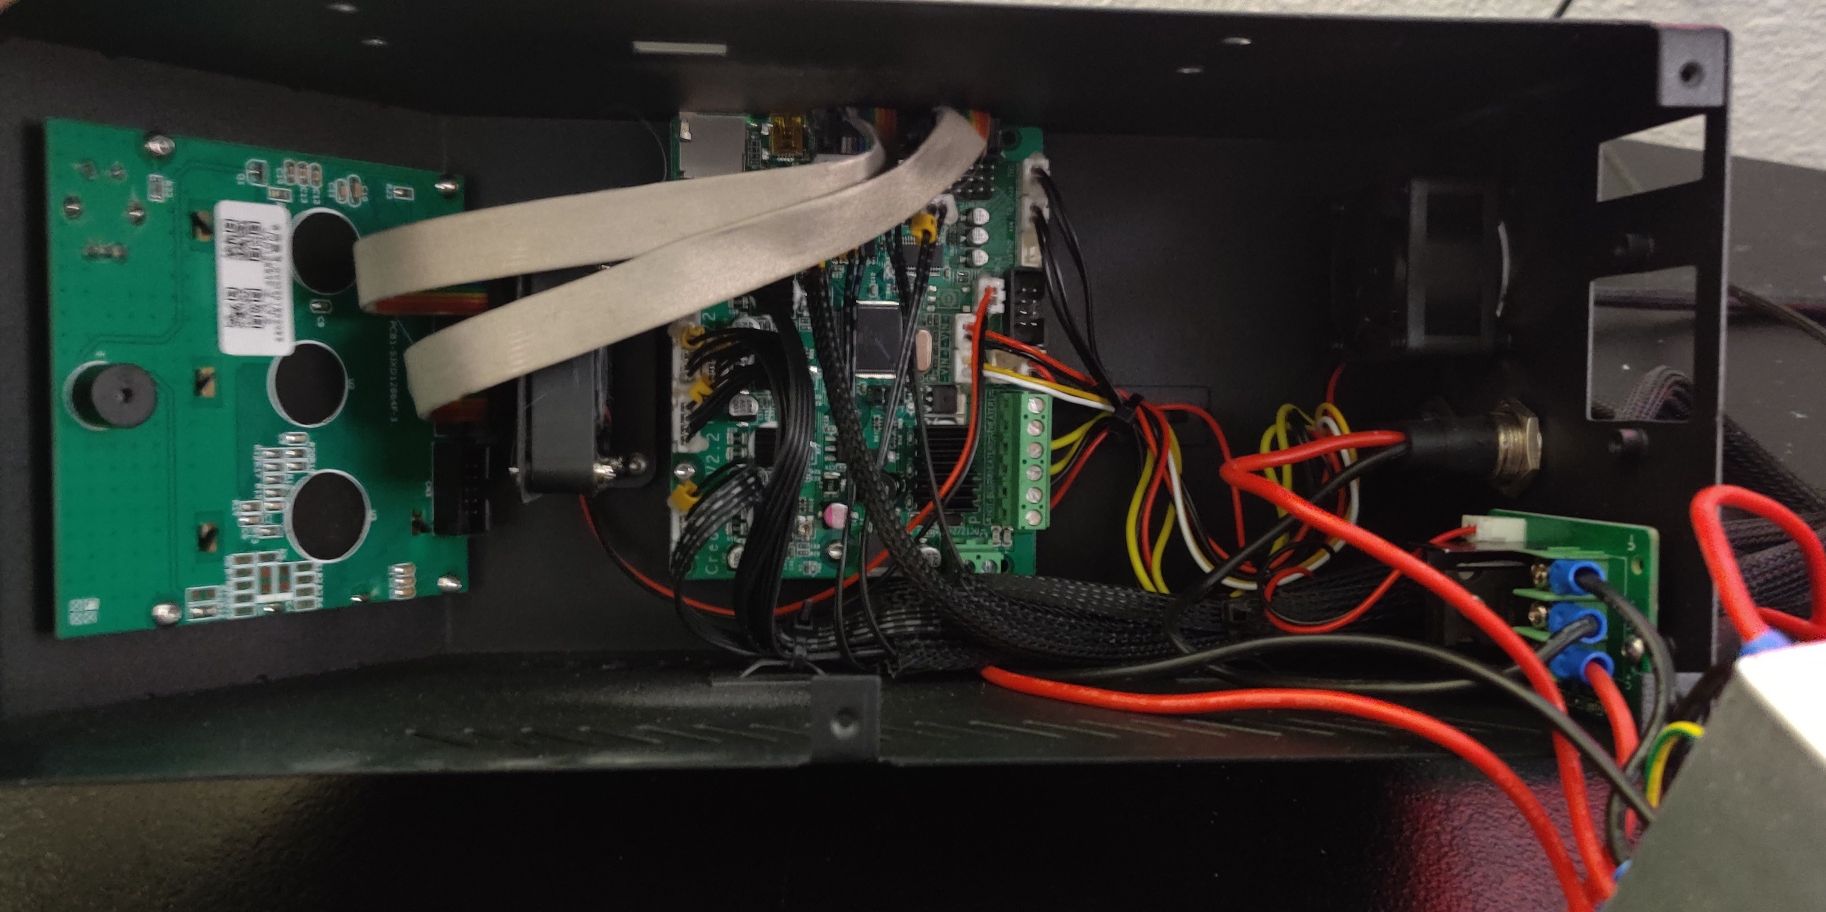
contrary to my hopes, there is no guide whatsoever on assembly (or disassembly for that matter), so i basically just winged it! here is a progress photo real quick:
scary!! will i be able to do it?
so far? yes. this is as much progress i was able to make without the needed tnuts (which im still not sure exactly how they work) but they will be here tomorrow so thats all for now! i havent broken anything yet (that i know of) so im still hopeful~
Log 2: I did (not) do it!
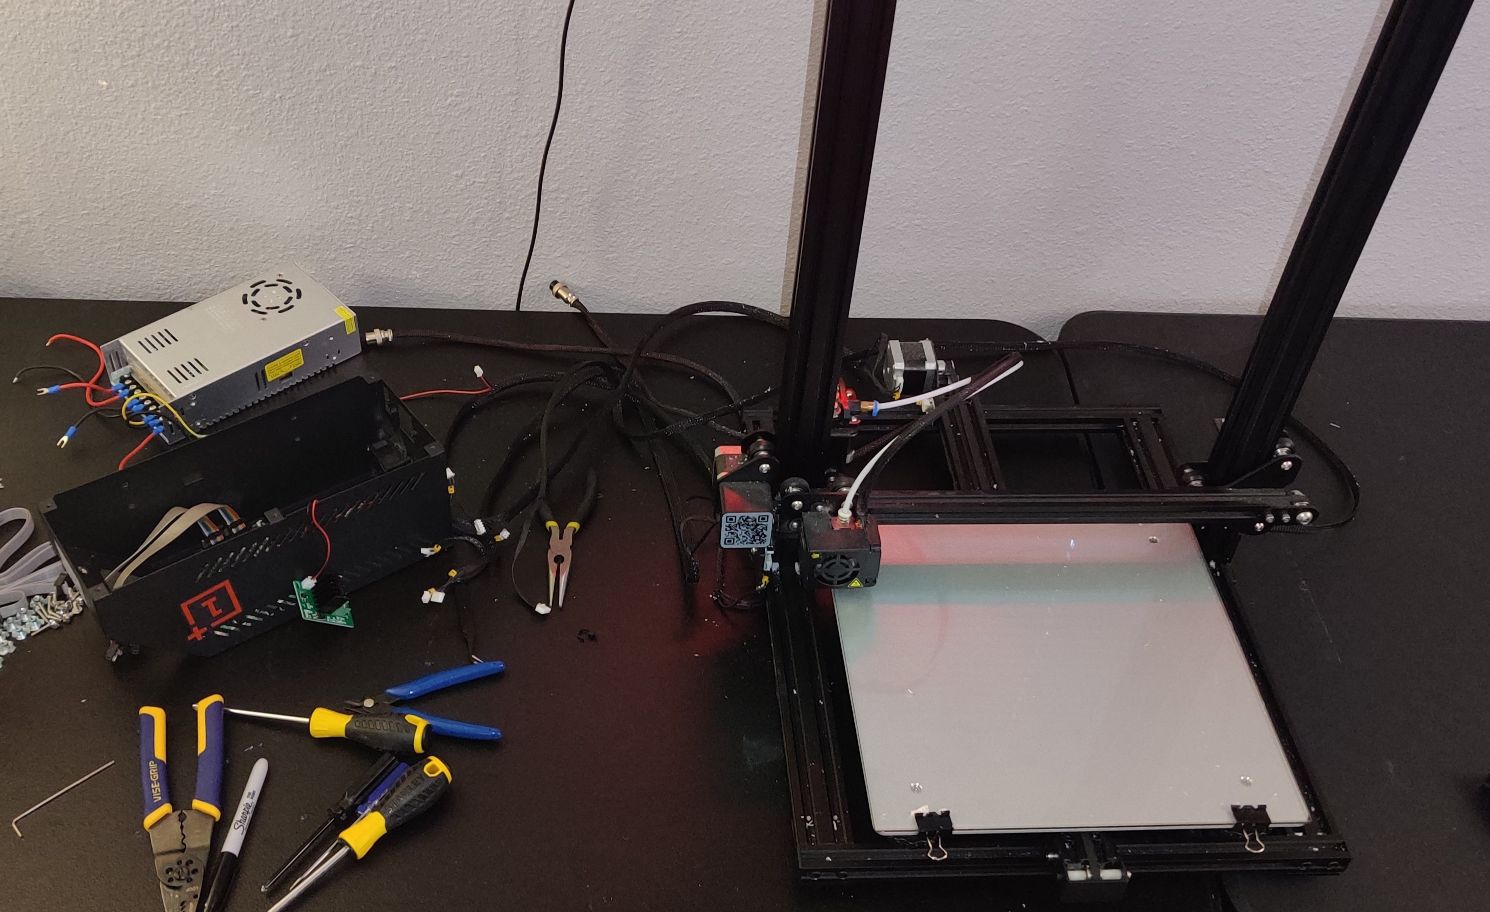
i got the hammerhead nuts in the mail and assembled it all together. i ran into a few problems where things didnt fit properly, but my ingenuity (and zip-ties) allowed me to solve all of them. here's what the partially managed bottom looks like:
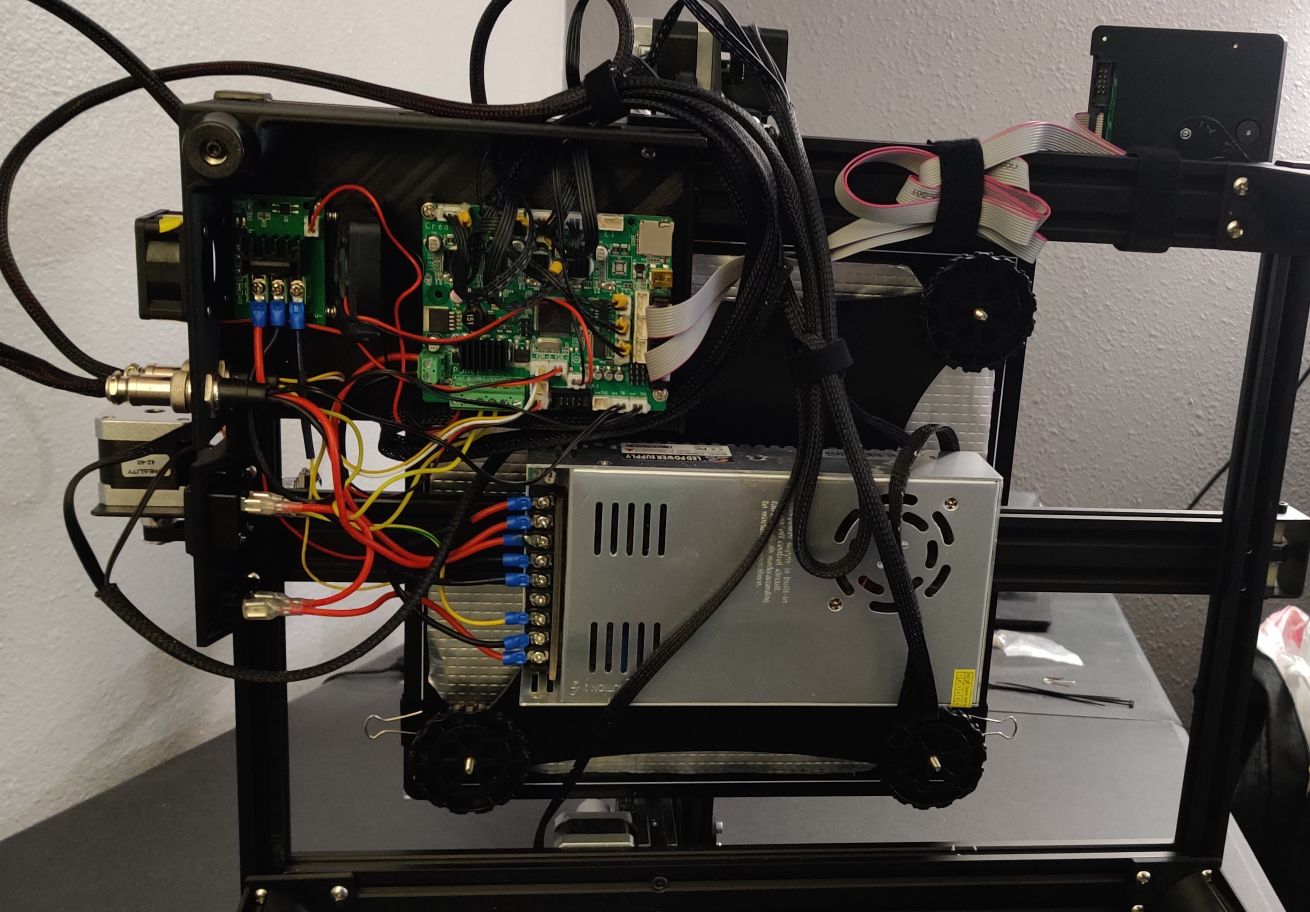
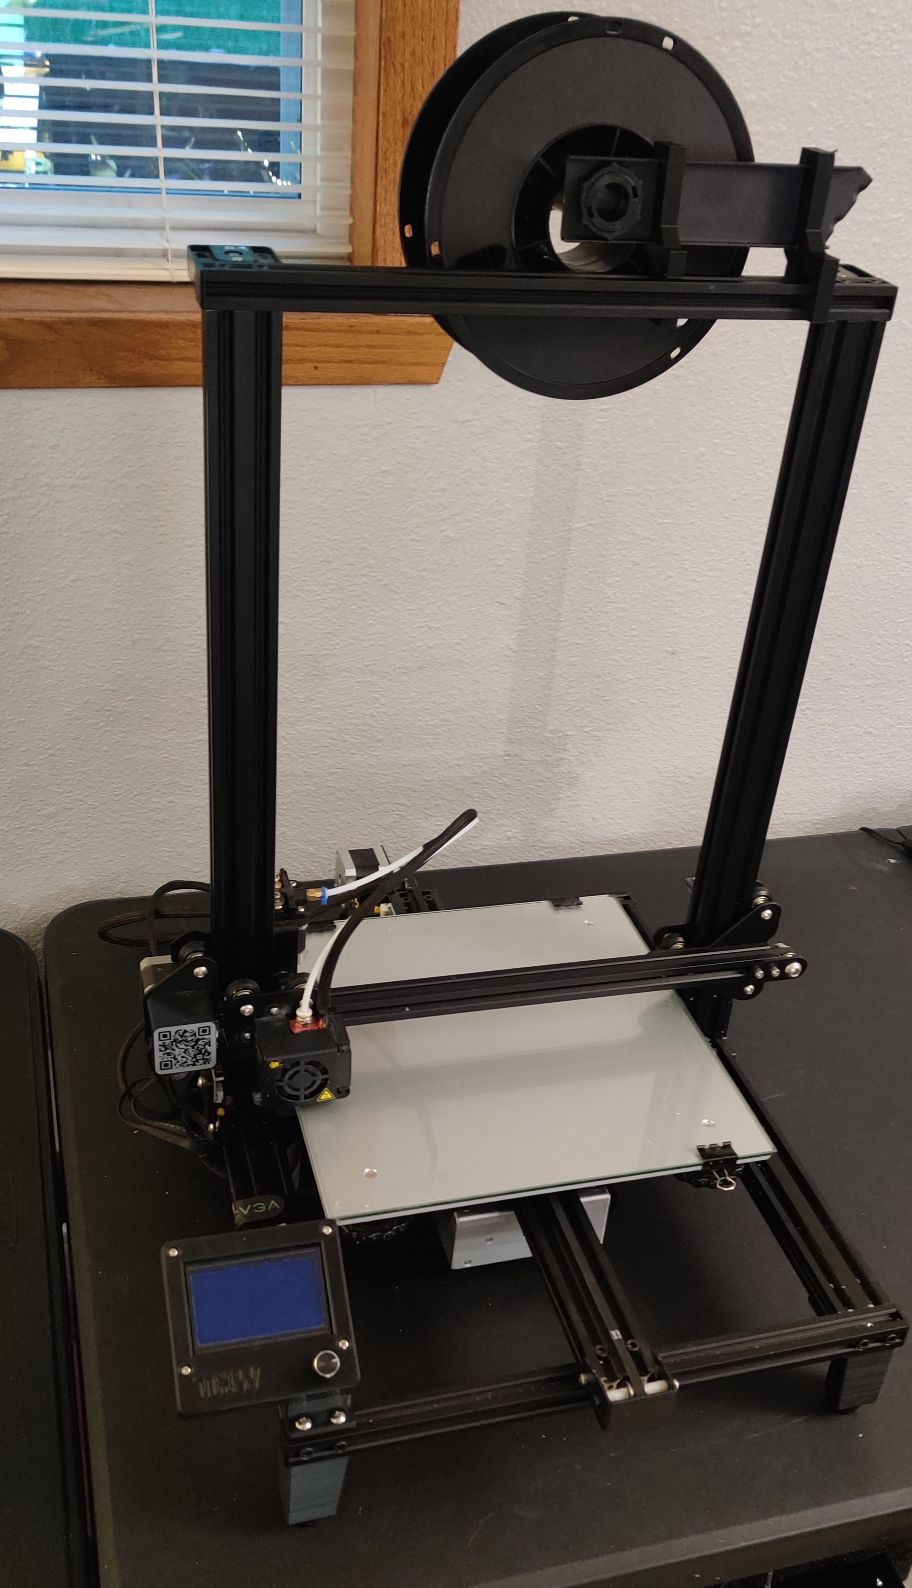
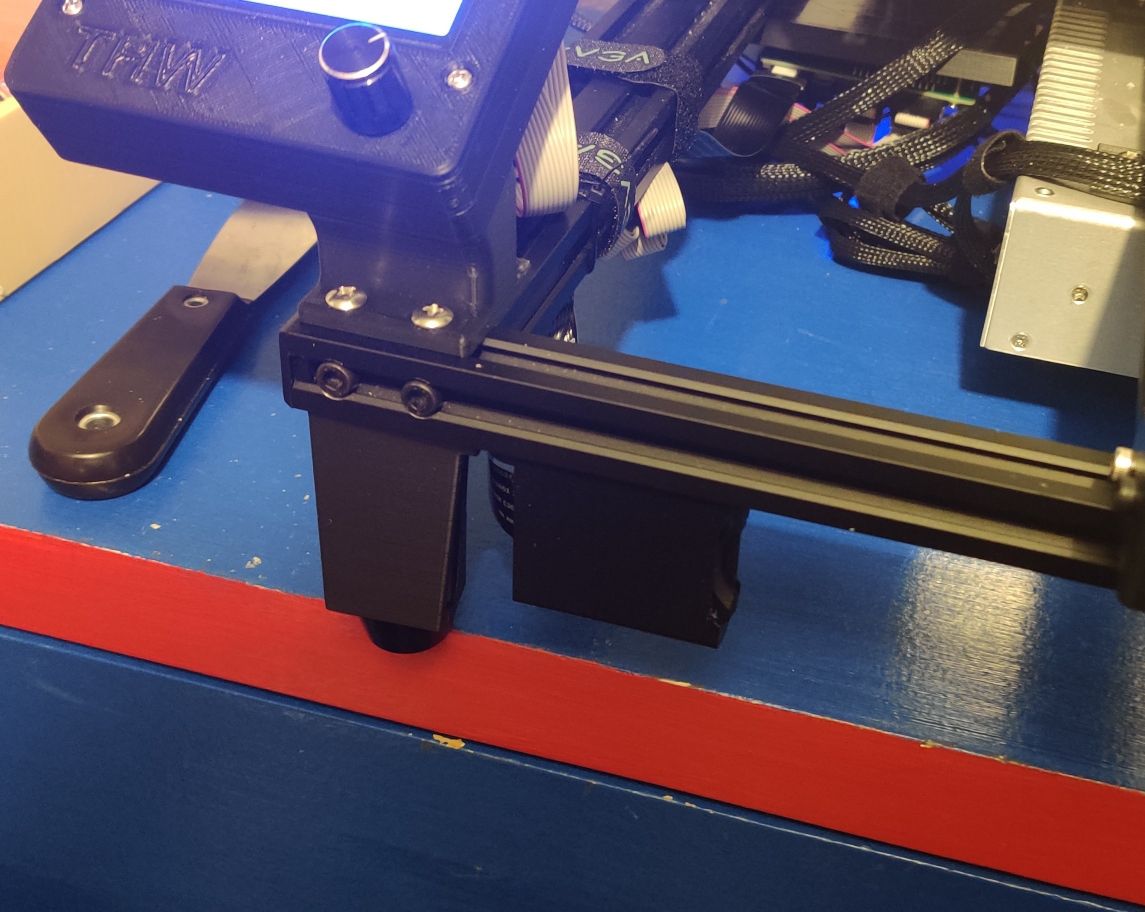
a little ugly but it will do, the final product looks like this:
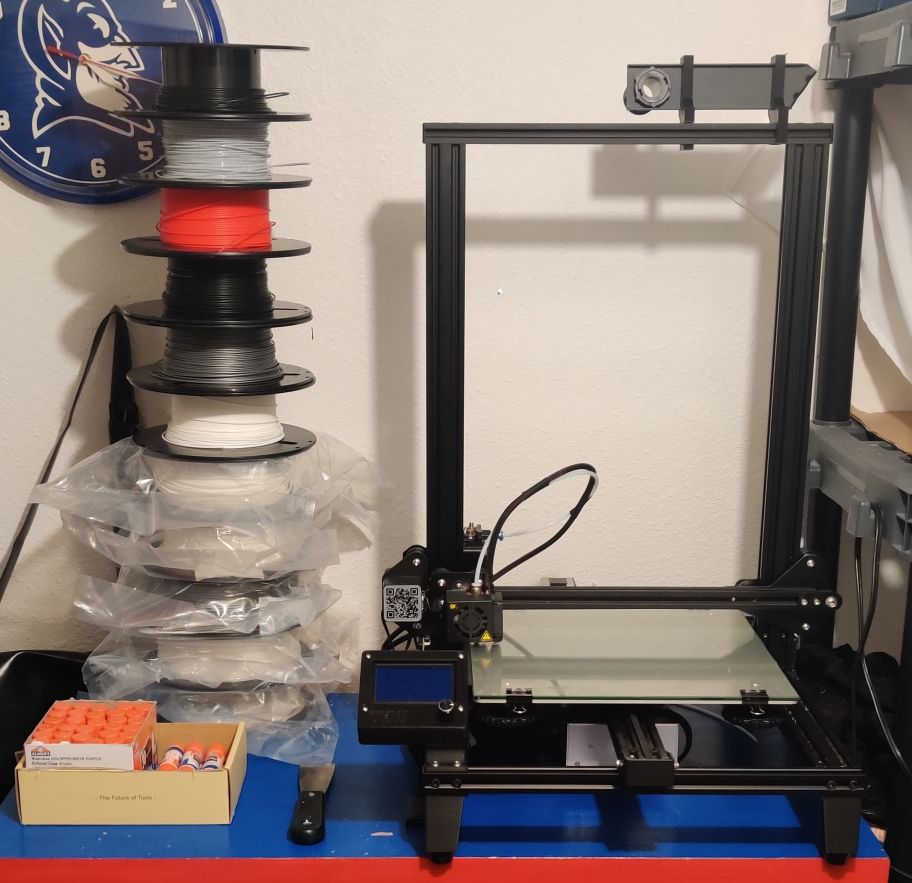
i put it back in my closet and just look at all the free space i now have unlocked:
sadly this is where the good news ends, i attempted 2 tests prints even after trying multiple things to fix the new problem but the filament sensor (i think) is still causing errors, so ill try more things later but for now, the printer is out of commission (scary!). i really hope i can fix it.,,
Log 3: I fixed it!
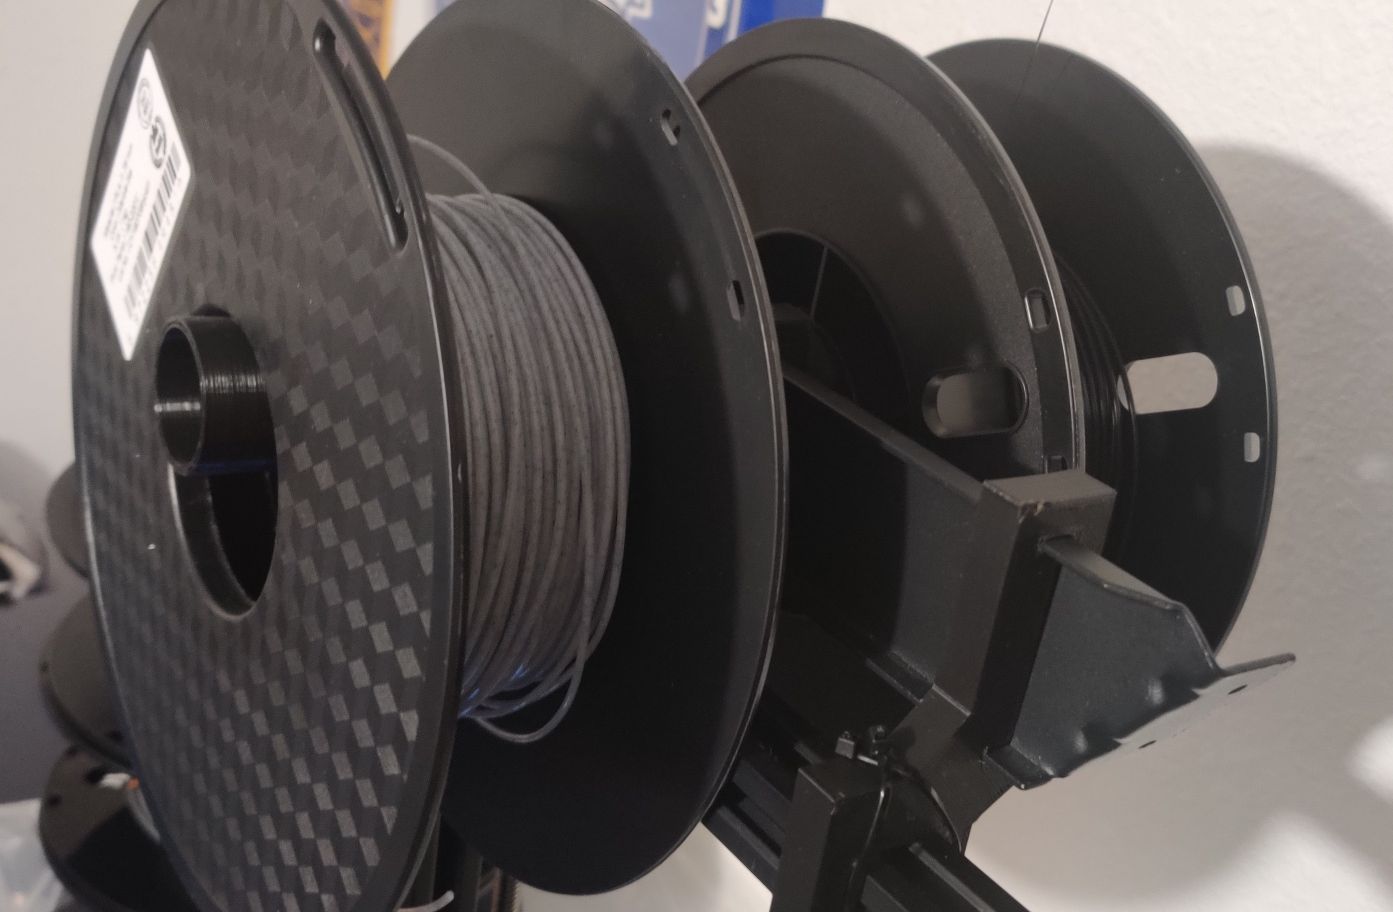
honestly i got really scared i wouldn't be able to fix, but luckily im a genius. [i tried unplugging and replugging like half of the cables and it worked]. so i thought it fitting to add a few more upgrades to celebrate!~ first up was the dual spool holder found here, which had some issues but i dont wanna talk about it it works okay im not printing it again:
i also printed the micro sd to sd adapter holder found here, this was made for an ender 3 so there werent many good placement options, but it is functional:
finally i printed a tool holder, found here (which sadly shows the ugly side that used the supports cuz im a dummy):
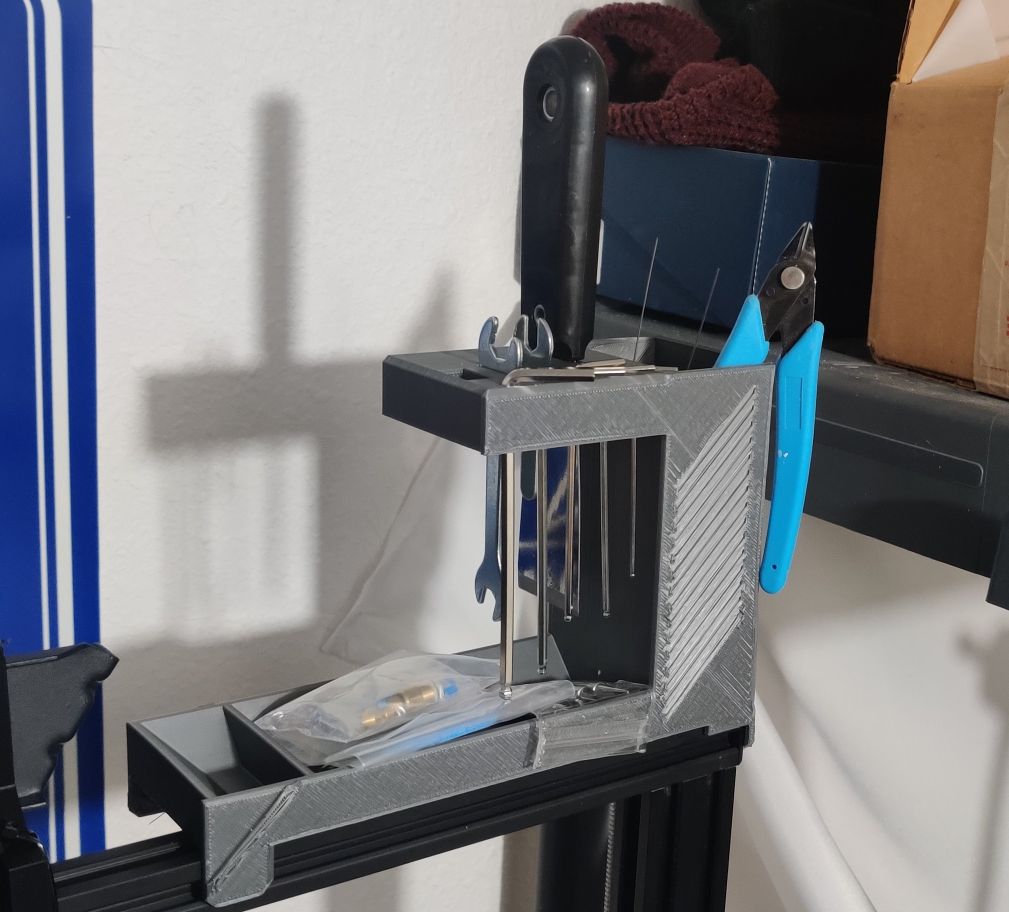
┈ ren ♡