Crnkbd
—「0X://Explanation」
a cheap hot swap thirty-some key diy board, this one is pretty and portable, plan on making two of em (yes i know its the crkbd but i spelled it wrong and im sticking with it)
all switches were lubed with krytox g0 502 way in the past so i forgot to mention it in the log.
Log 1: Smd Diodes???
i had sat down with all my materials all ready to build it, then i realized there weren't spots for normal diodes, i then ordered some smd diodes and they are now on their way. naked keeb:
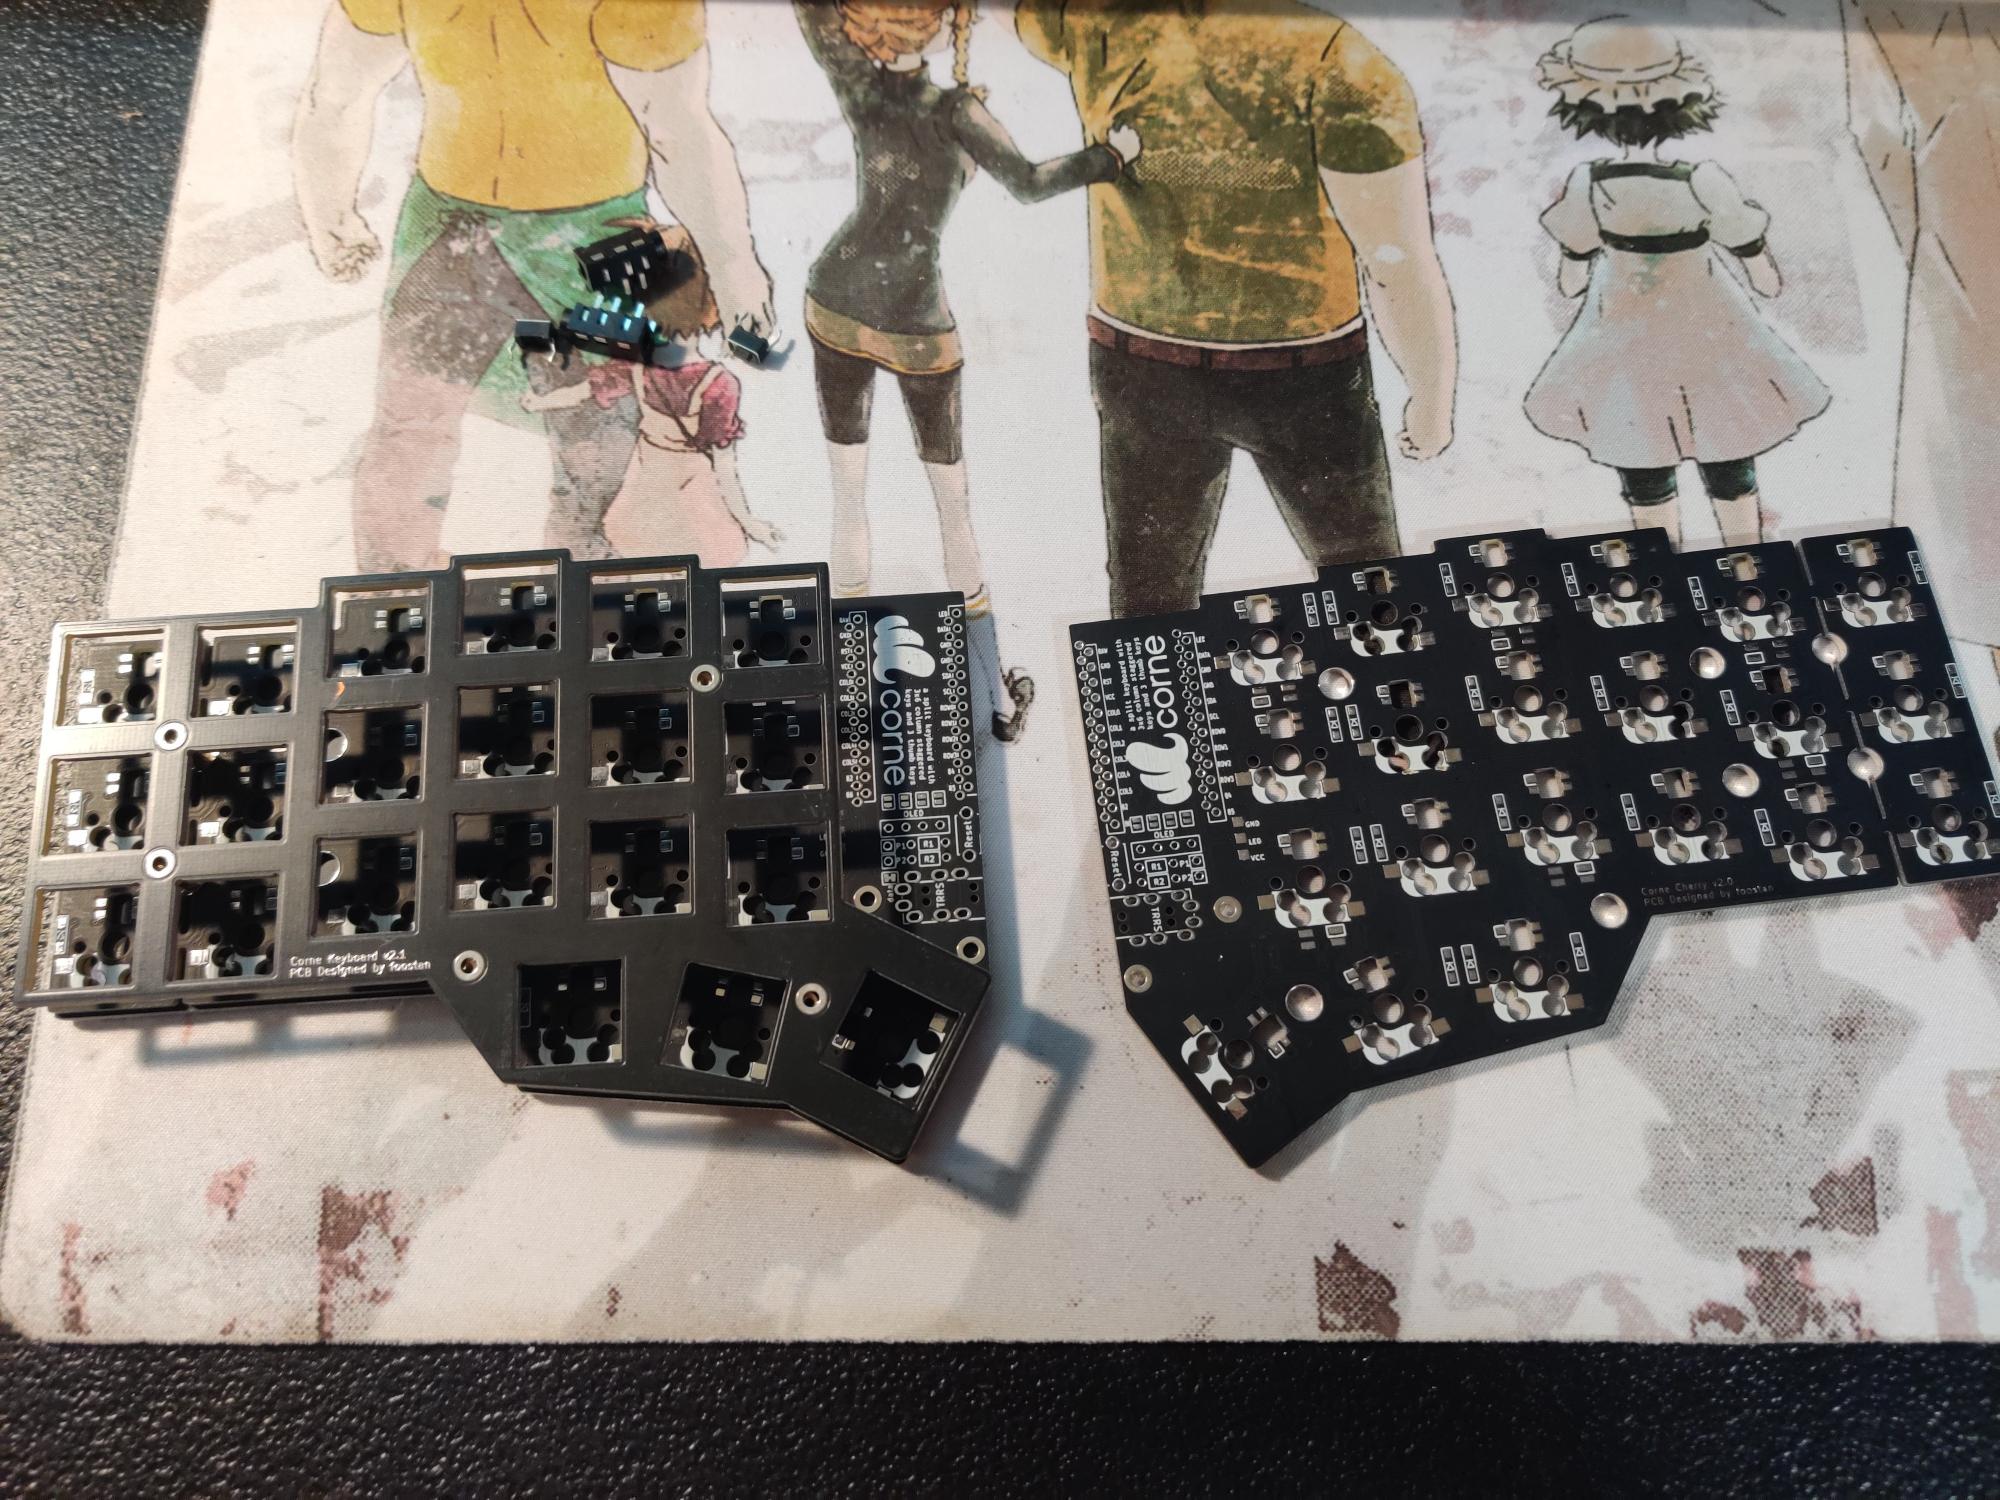
this one is hotswap, which is new for me to solder, though i dont think i will struggle, i just need some free time to build it
Log 2: Finished? If only.
i have acquired the so desired smd diodes, and they are about 10 times smaller than i expected:
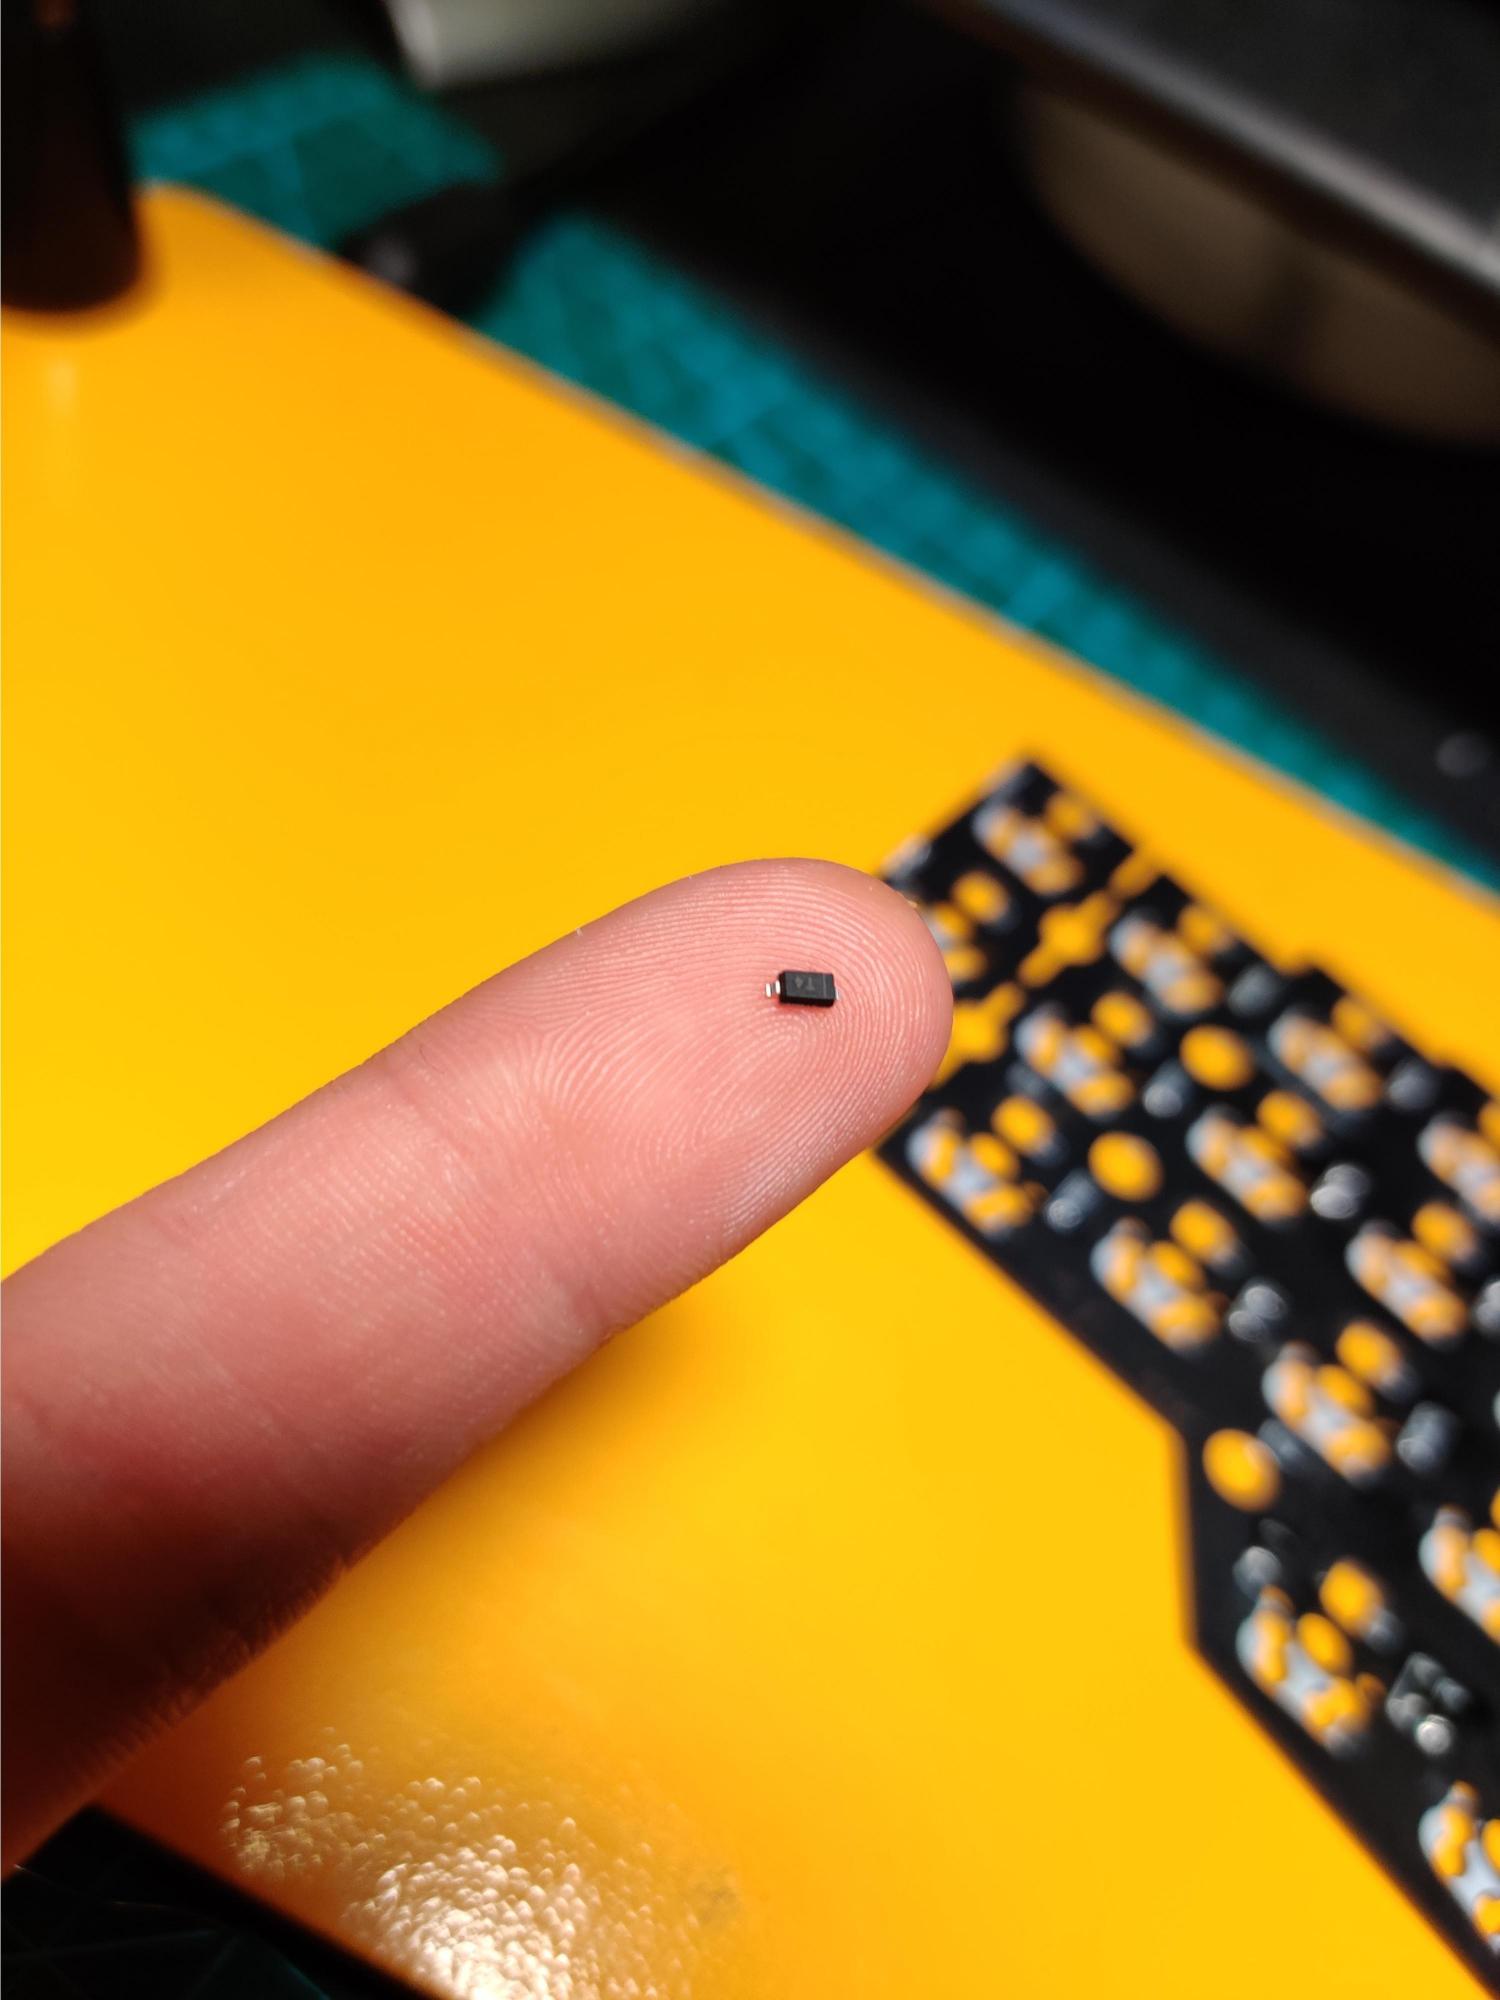
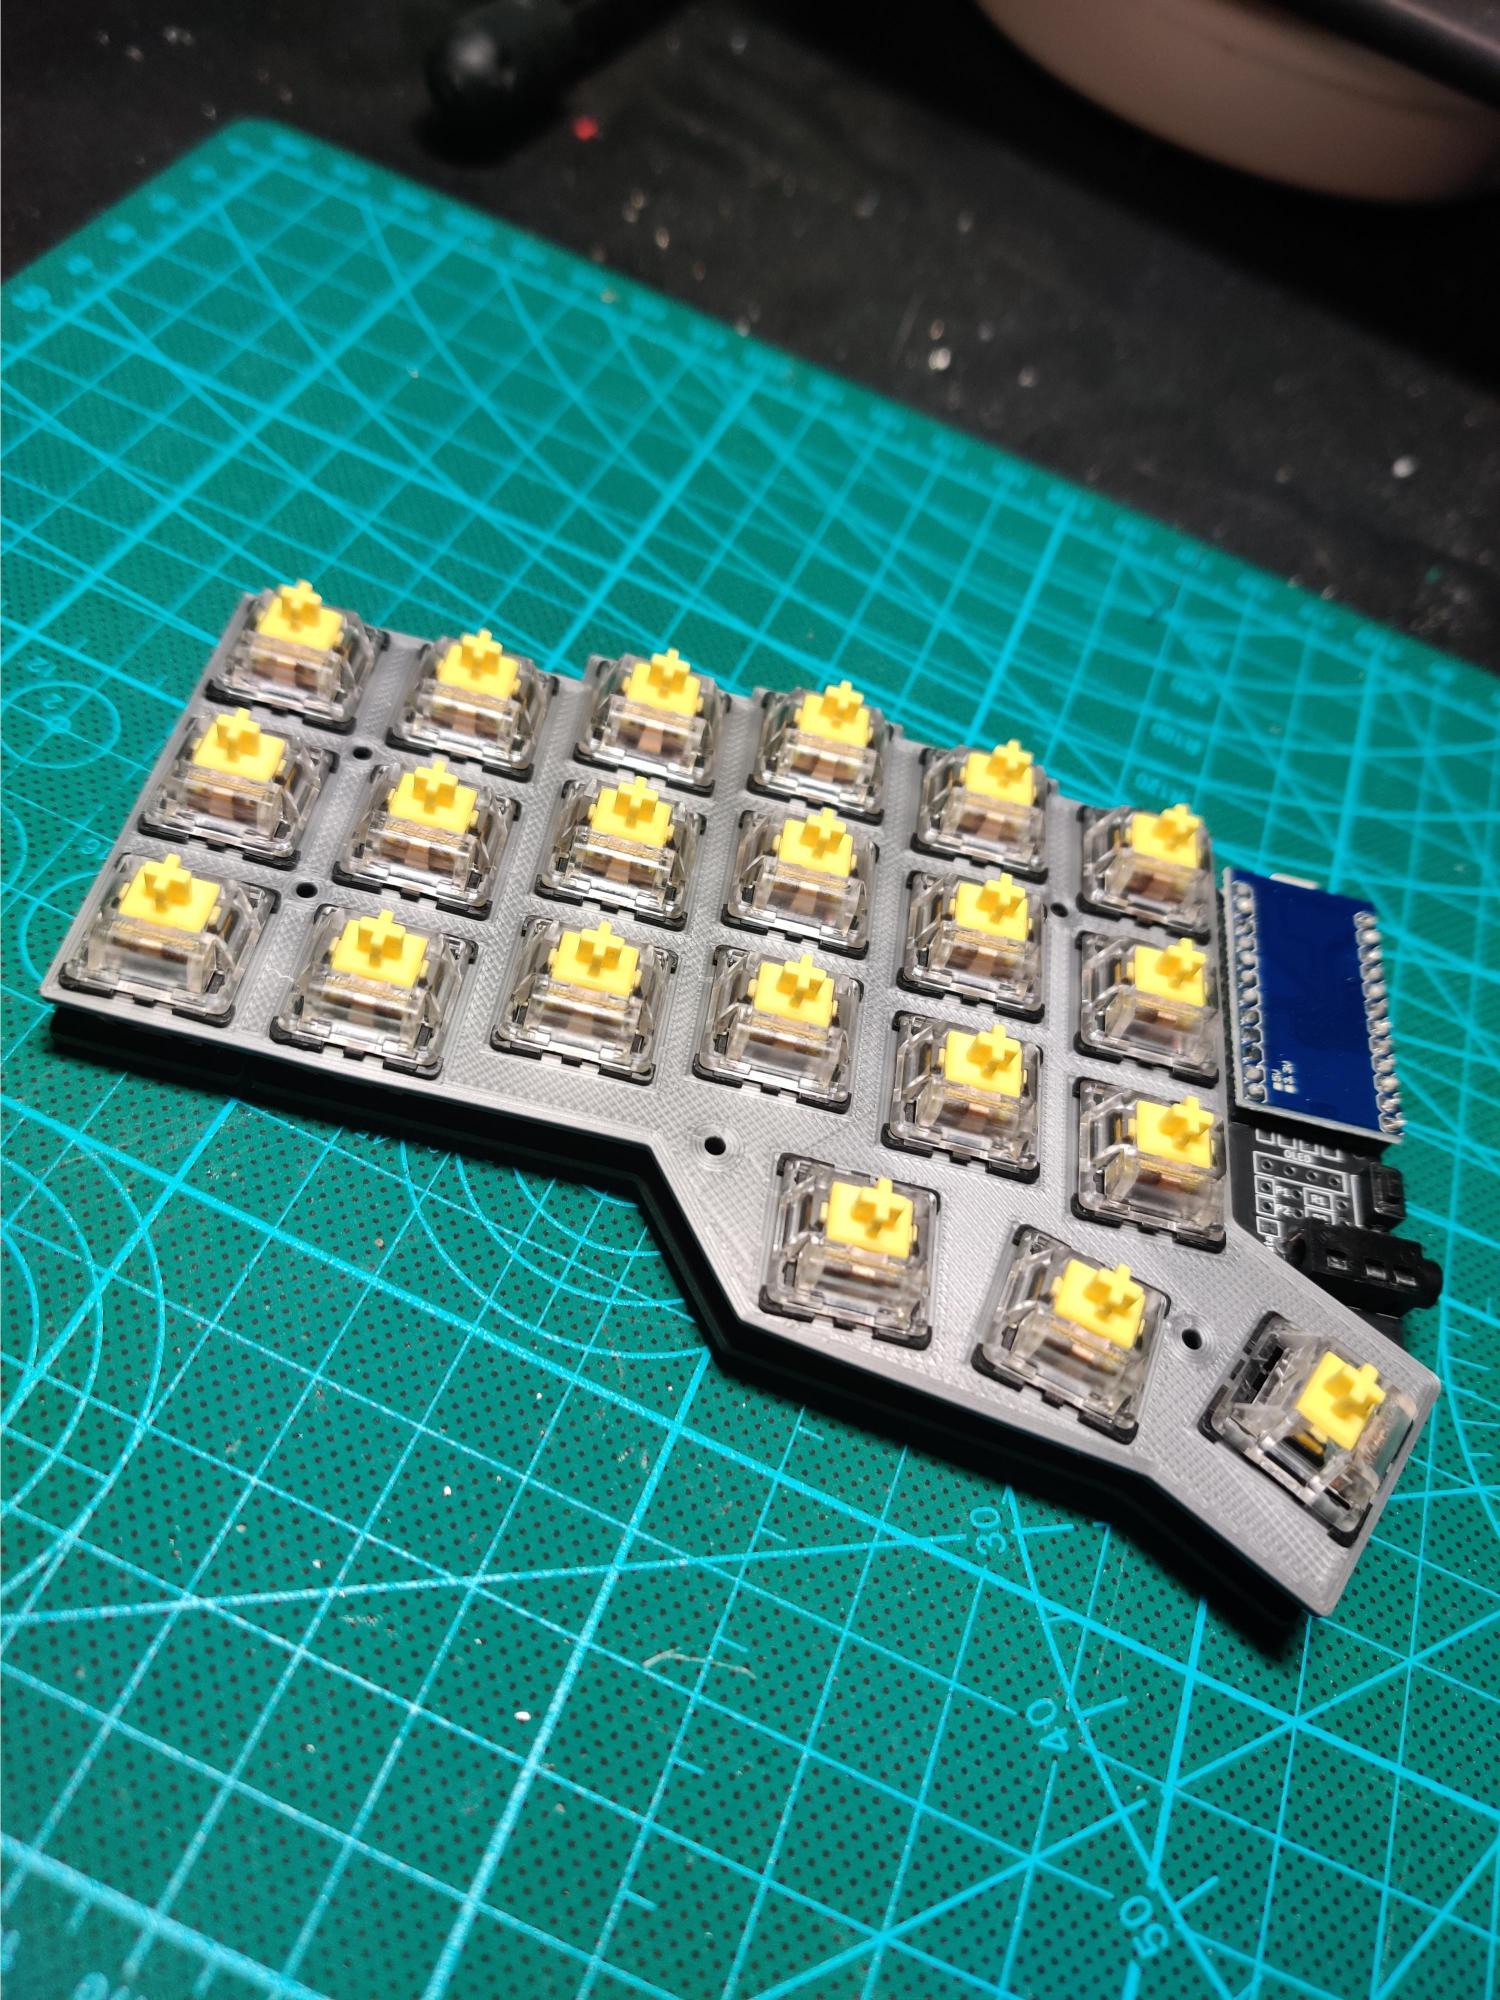
but its finally time to begin building! after looking up a strategy for the smd diodes (padding some solder on each place an smd diode will be set first) i set off to work, and lo and behold: the diodes and hotswap sockets went on without (much) of a hitch!
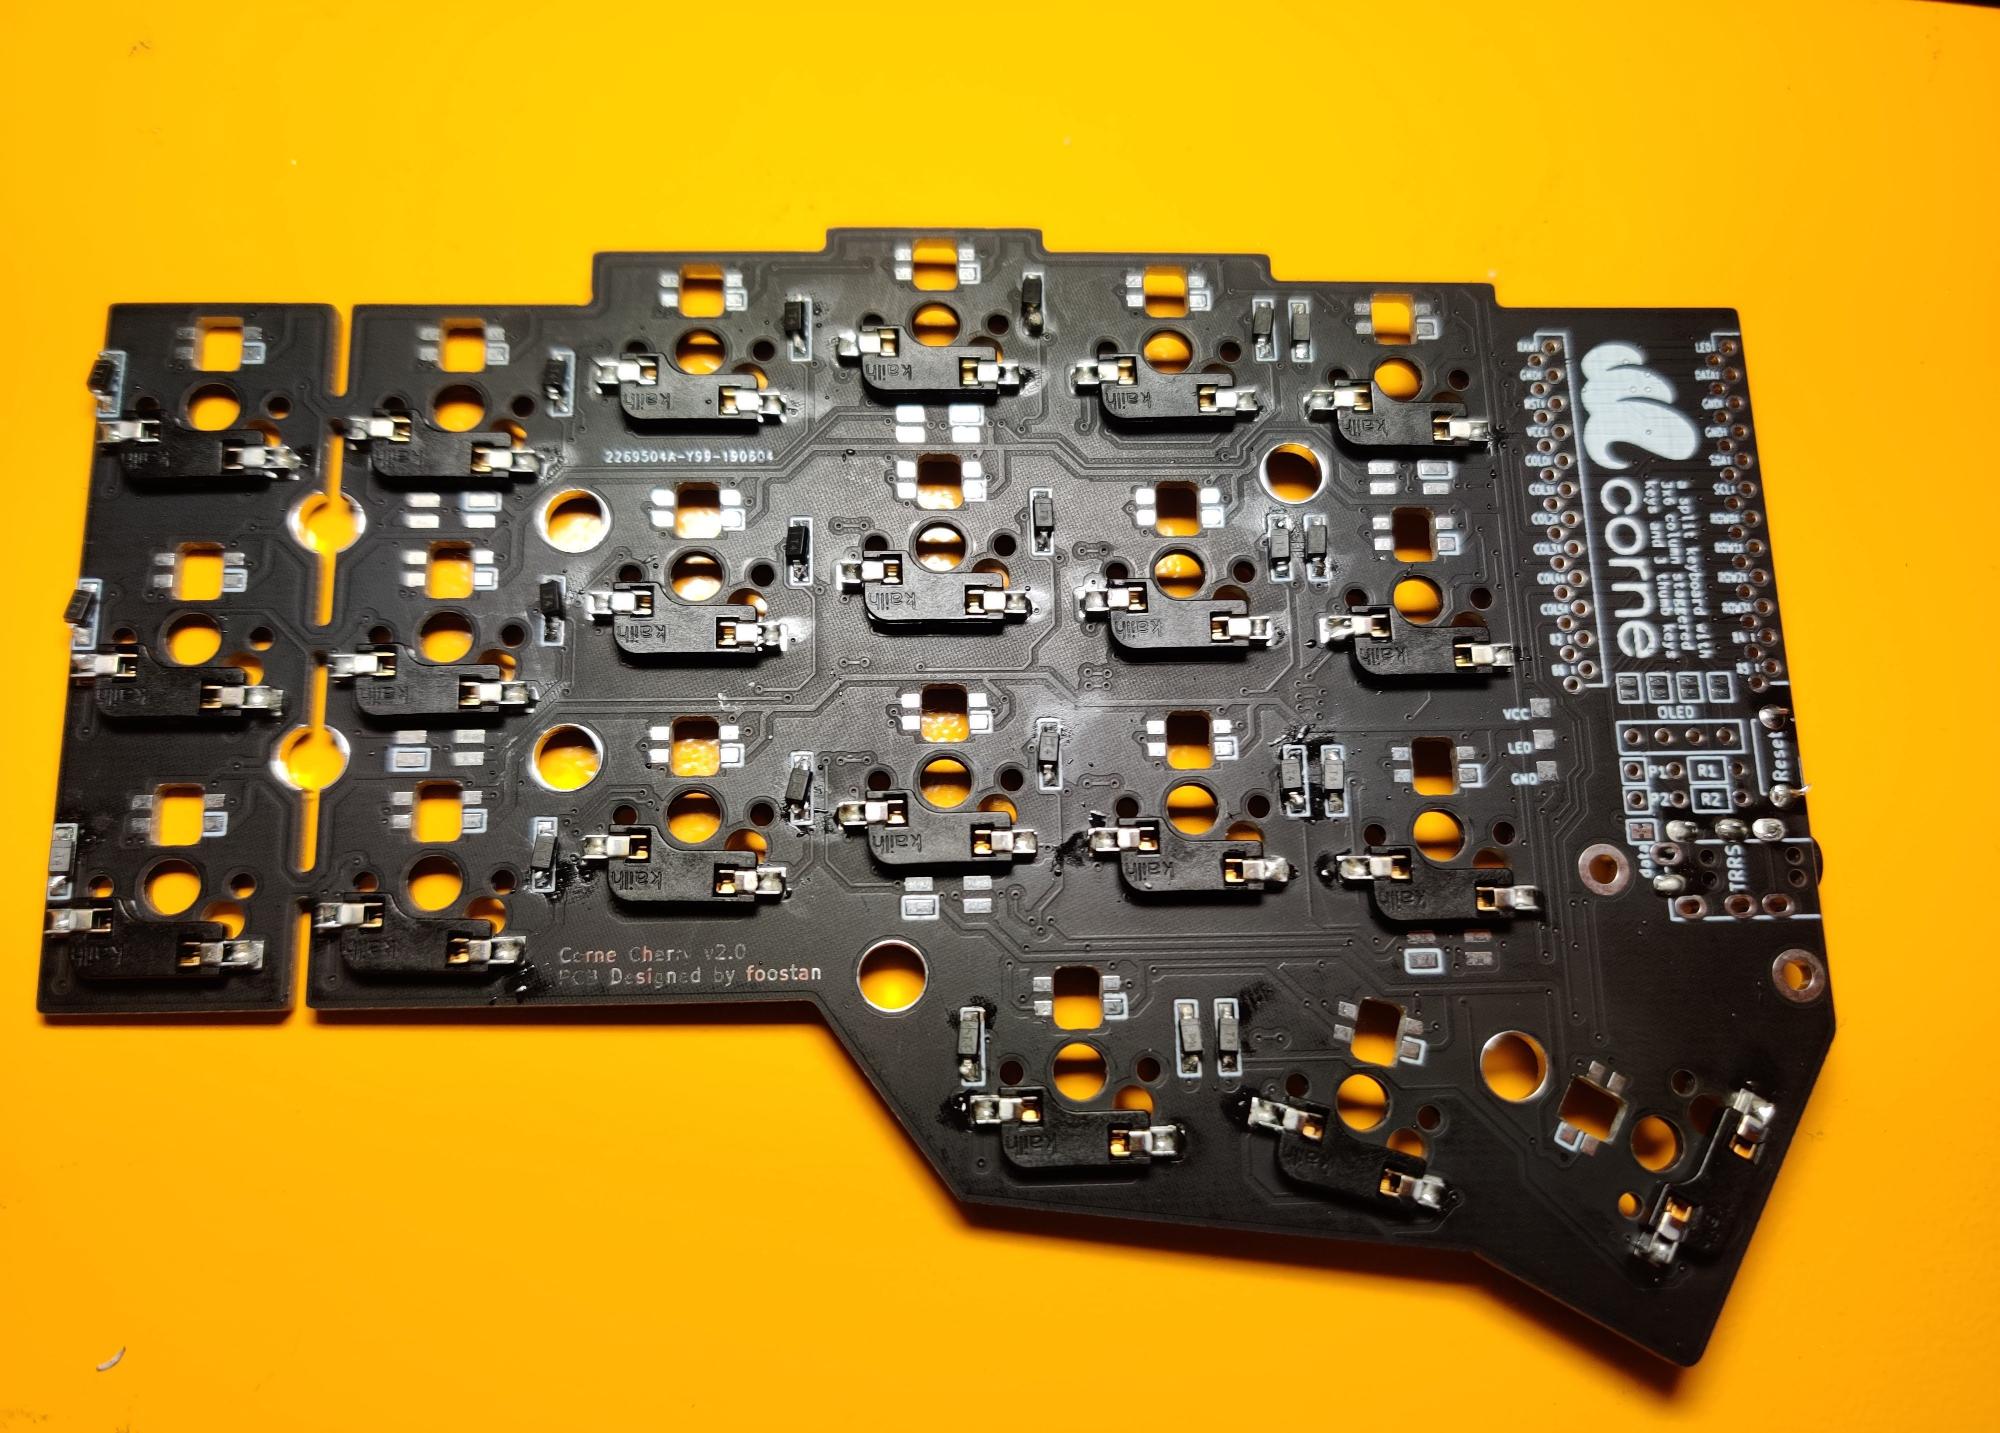
all that was left was the pro micro, reset switch, and trrs jacks. im always fearful installing a pro micro, but it looks like it went fine... firmware flashed and time for testing! i put on some switches and to my suprise.. nothing worked.
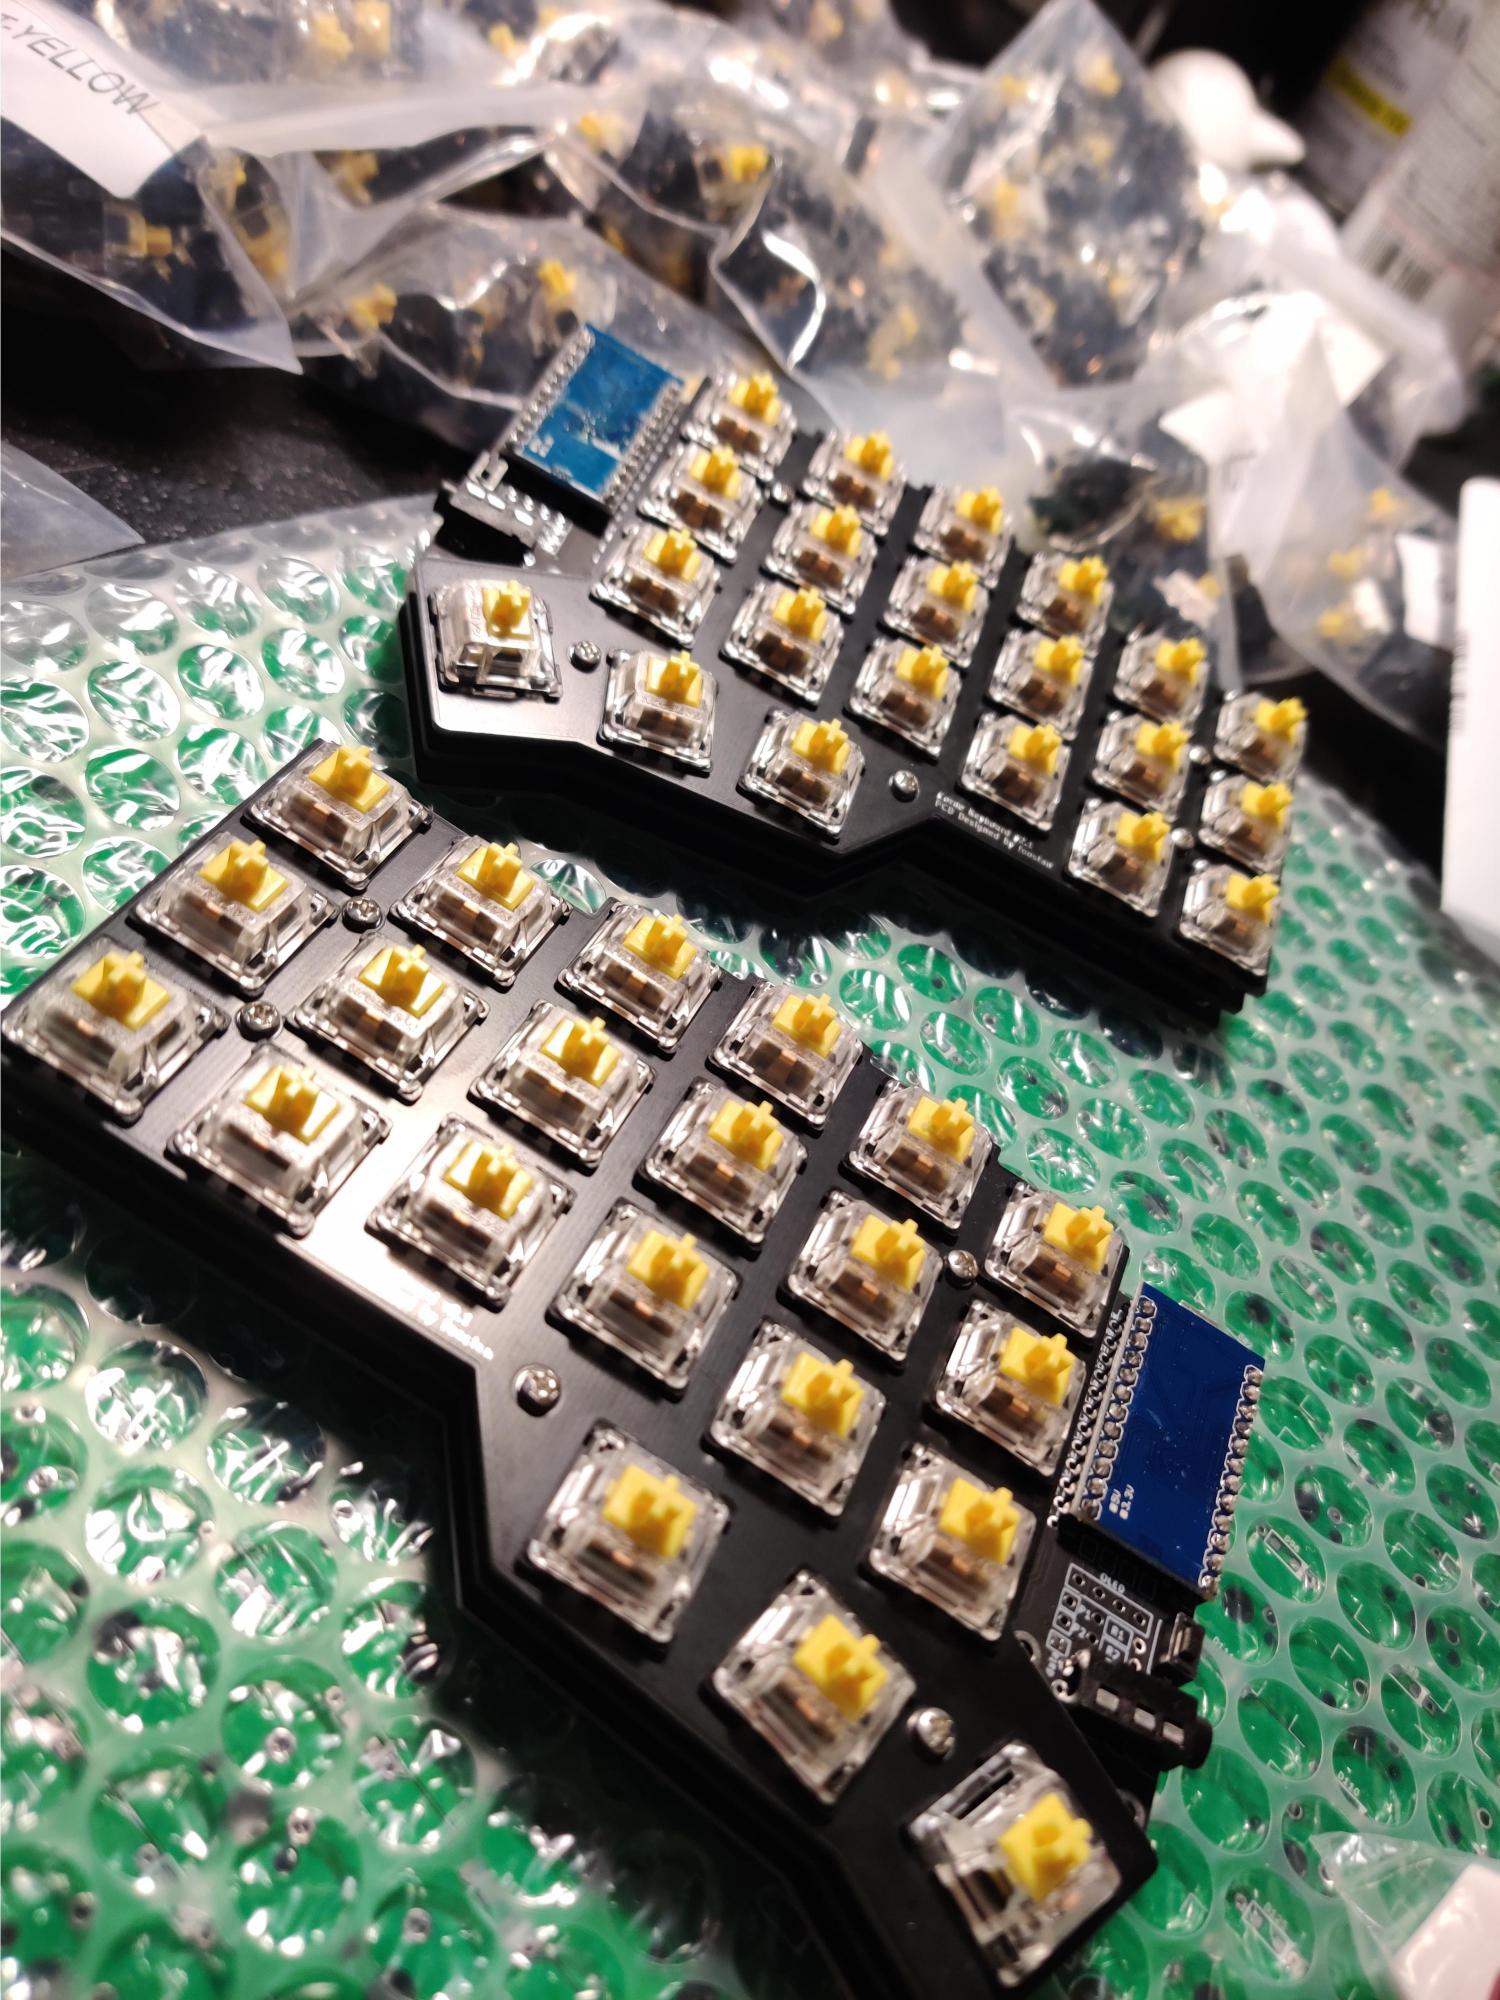
awhile later and turns out im just a dummy dumb. we are going to pretend i didnt program the layers on layer 1 and nothing on layer 0 -okay-. anyway with that figured out i tested the keys again and everything works! ...except 'q' 'a' and 'z', so one row is not working. i posted asking for some help and thats where im leaving it for now. ill get back to it when i can but im happy with what it looks like at least!
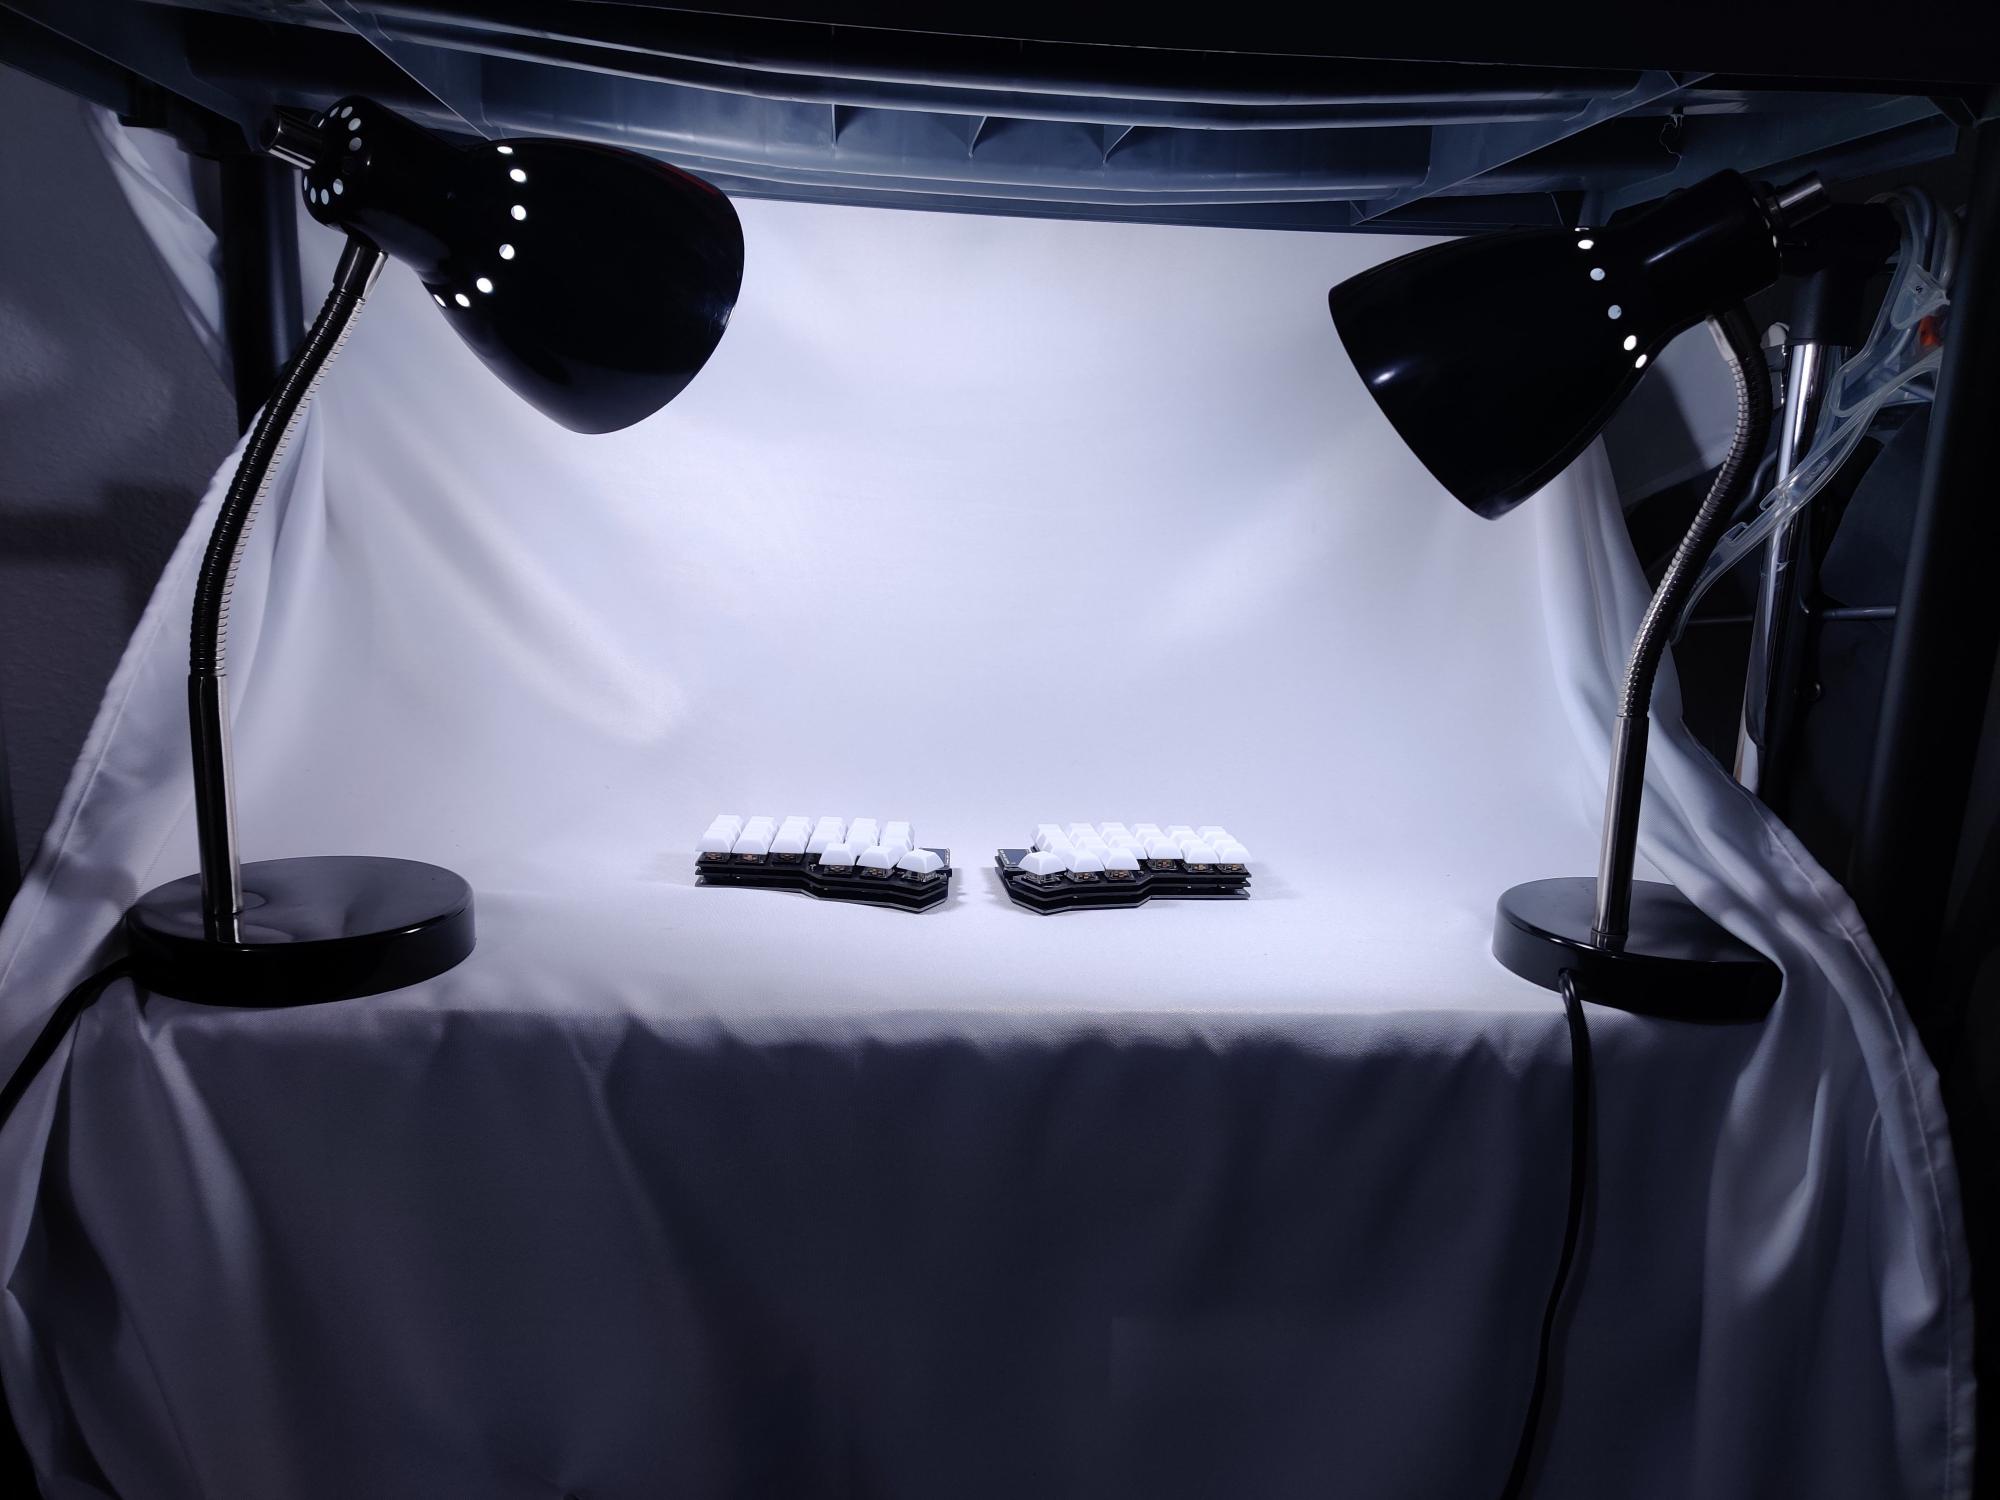
bonus: behind the scenes on my "lovely" decent pictures. you dont need a good setup to take okay pics~
Log 3: Where one ends another begins.
so you know how i was not able to finish the other board completely cuz of the one damaged row? it turns out i just had to check continuity everywhere (thanks reddit for teaching me how to do that) and realize there arent any visible problems. uh oh, that must mean there are some broken internals? or worse, cherry mx browns?! do not fret dear reader, nothing found was that awful. actually, it was the opposite of that, as i plugged it back in and now it worked completley~ now onto the next crnkbd:
i bought two of the kits so i thought why not, and got to assembling (im not gunna repeat how the whole process goes, look up heh), so blah blah blah i solder solder solder and then i reach in the bag for the case,,, but i find... nothing. surely i just misplaced it? after about the same amount of time it takes to decide your qmk layers, i couldn't find it and checked the order and sure enough i didnt order the plates. no worries! i have a quick fix:
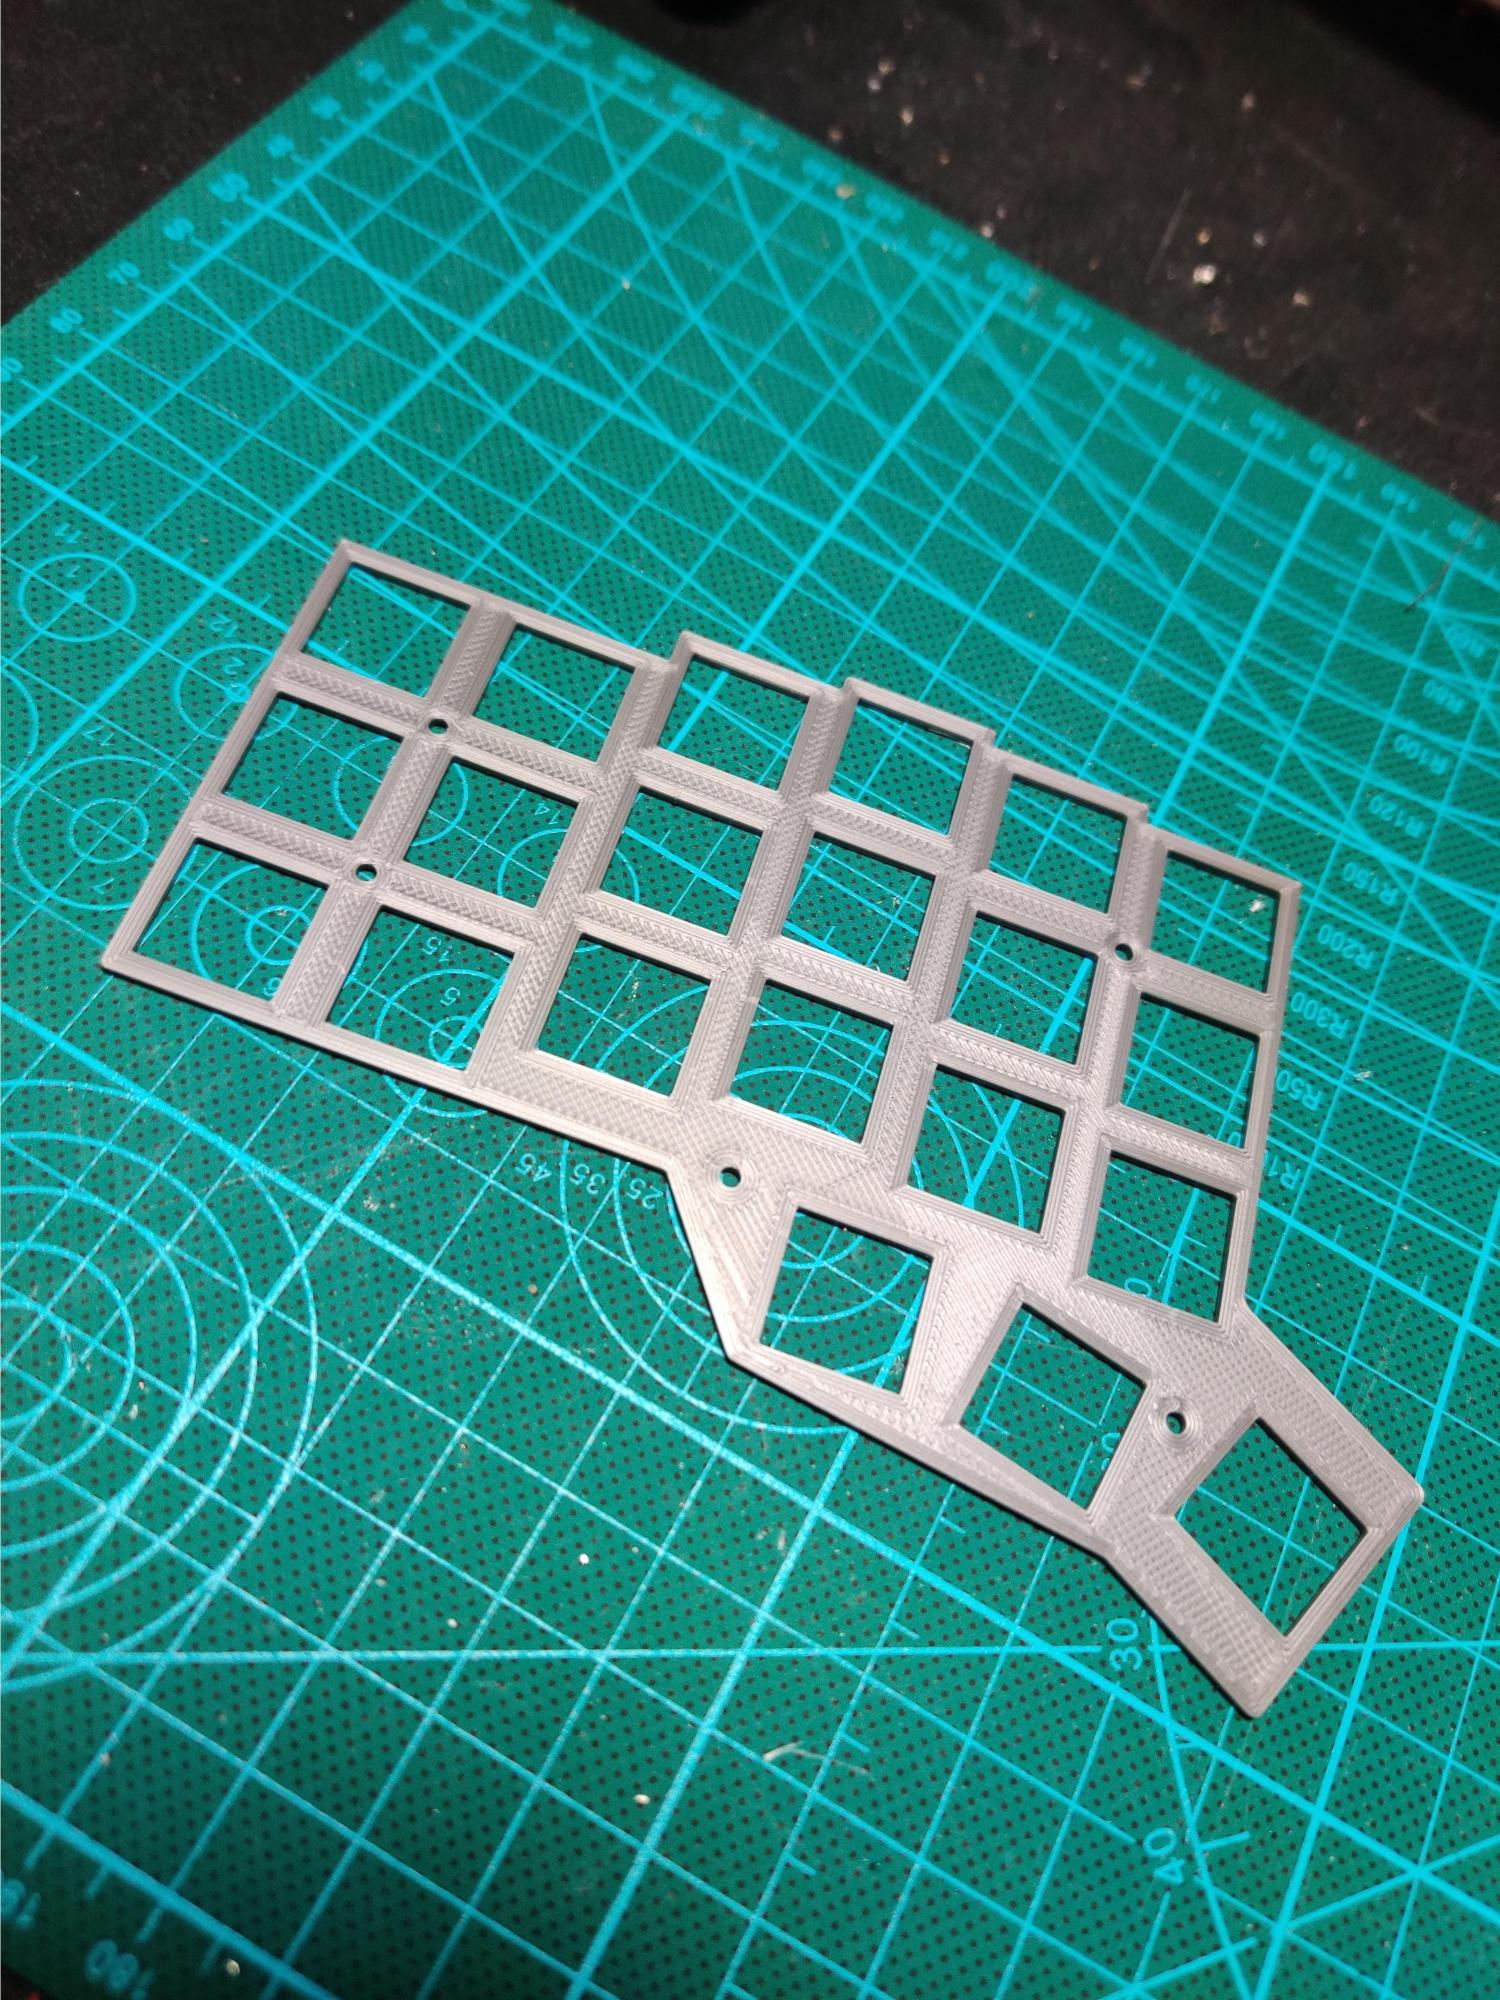
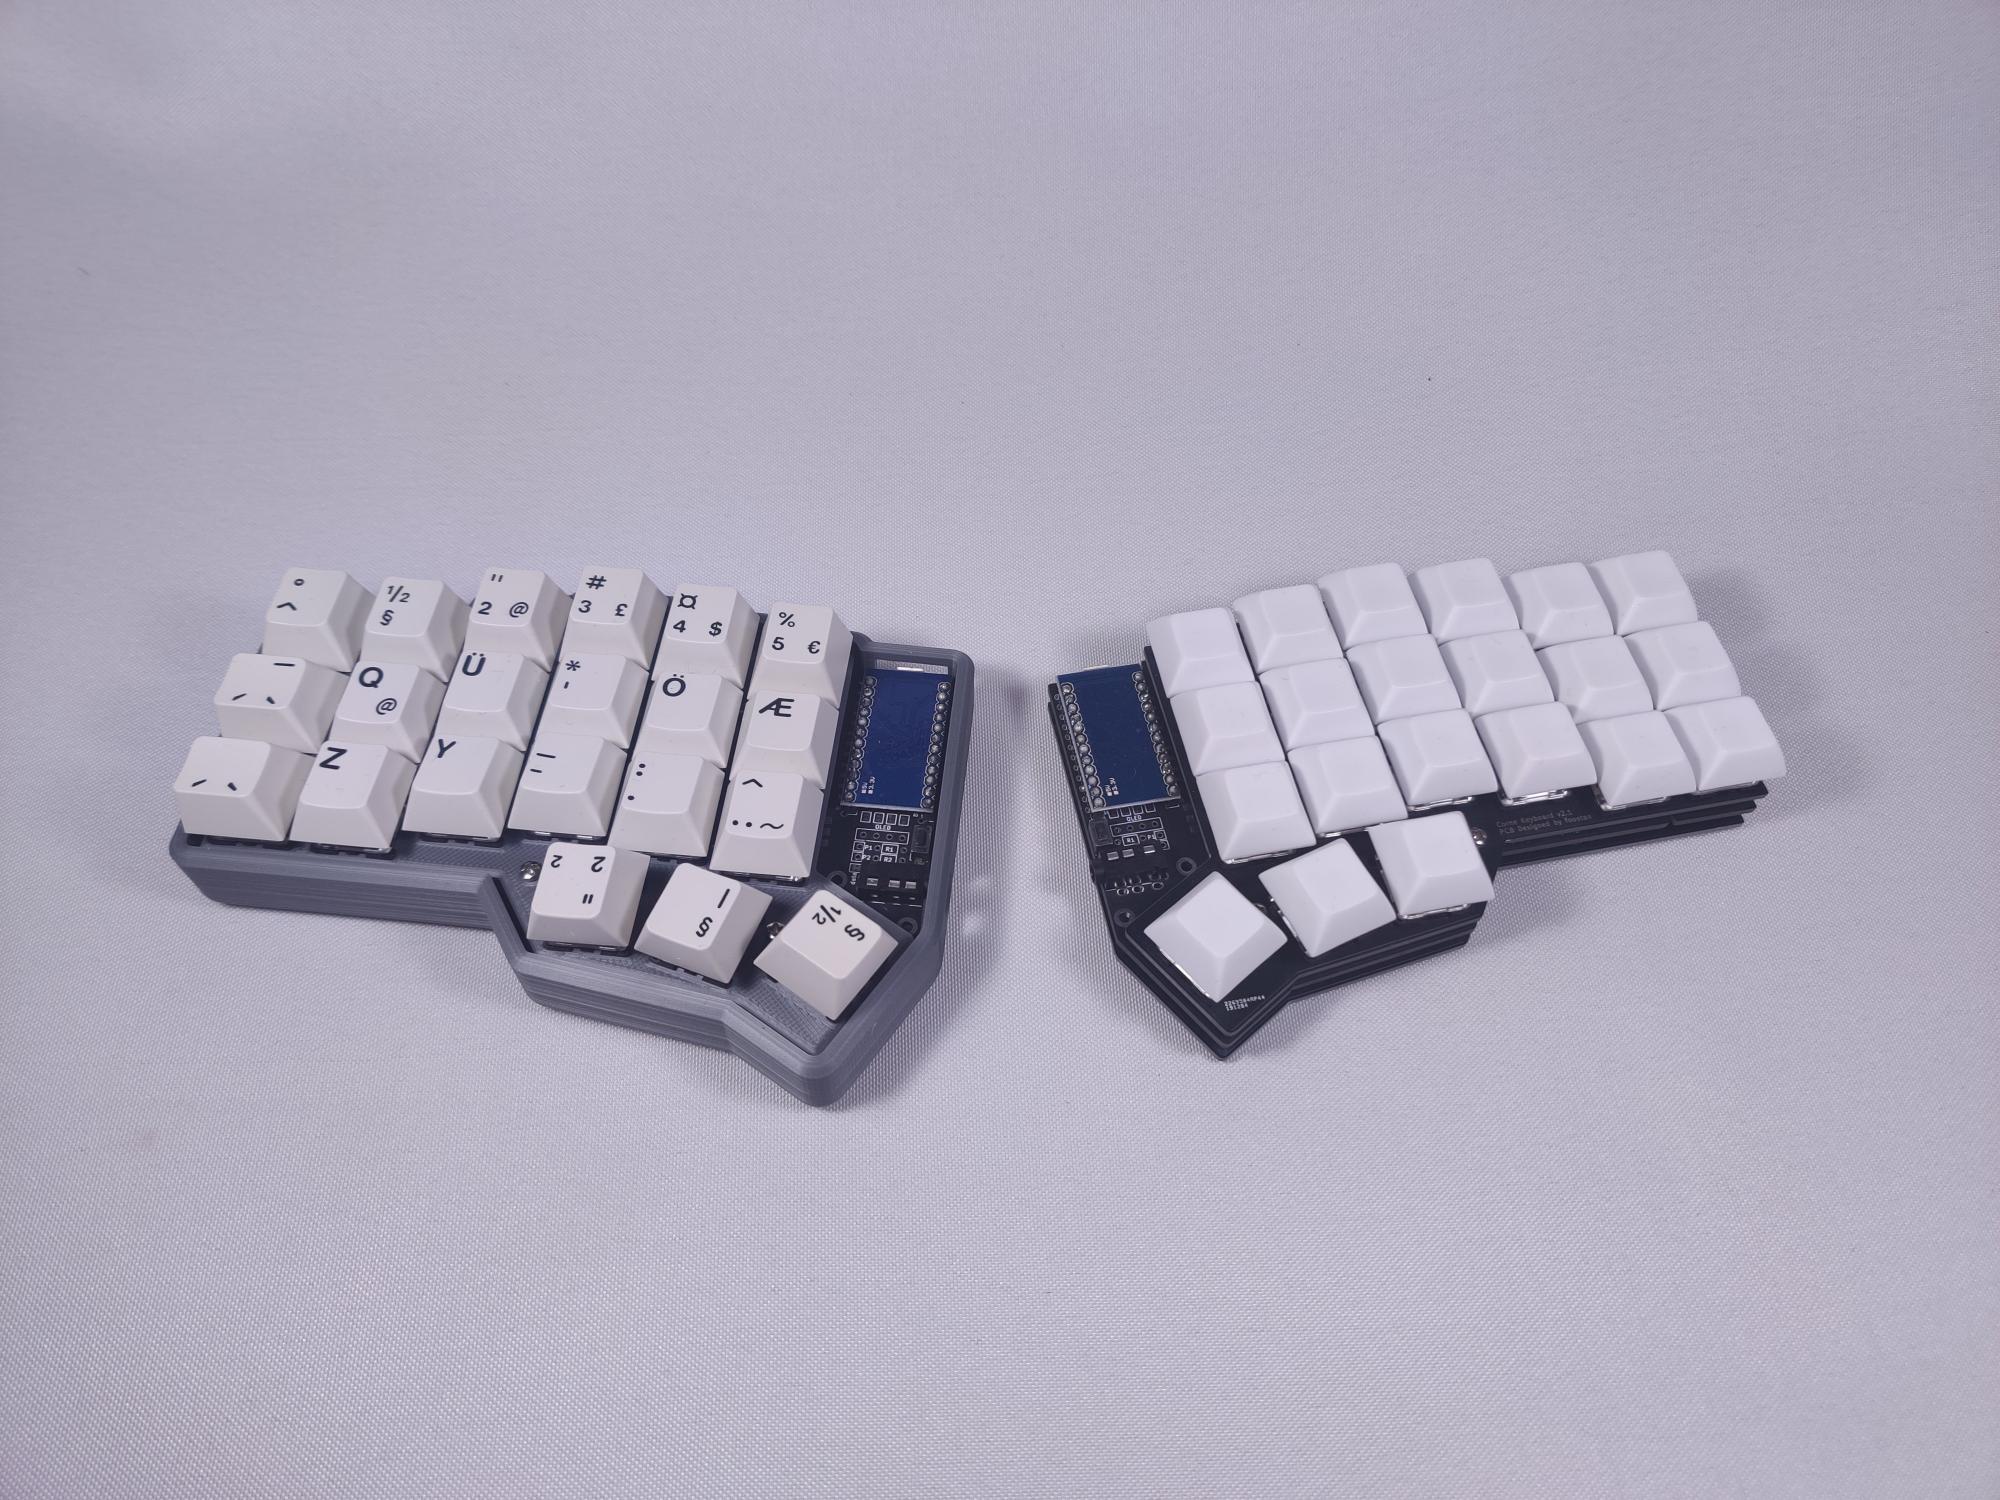
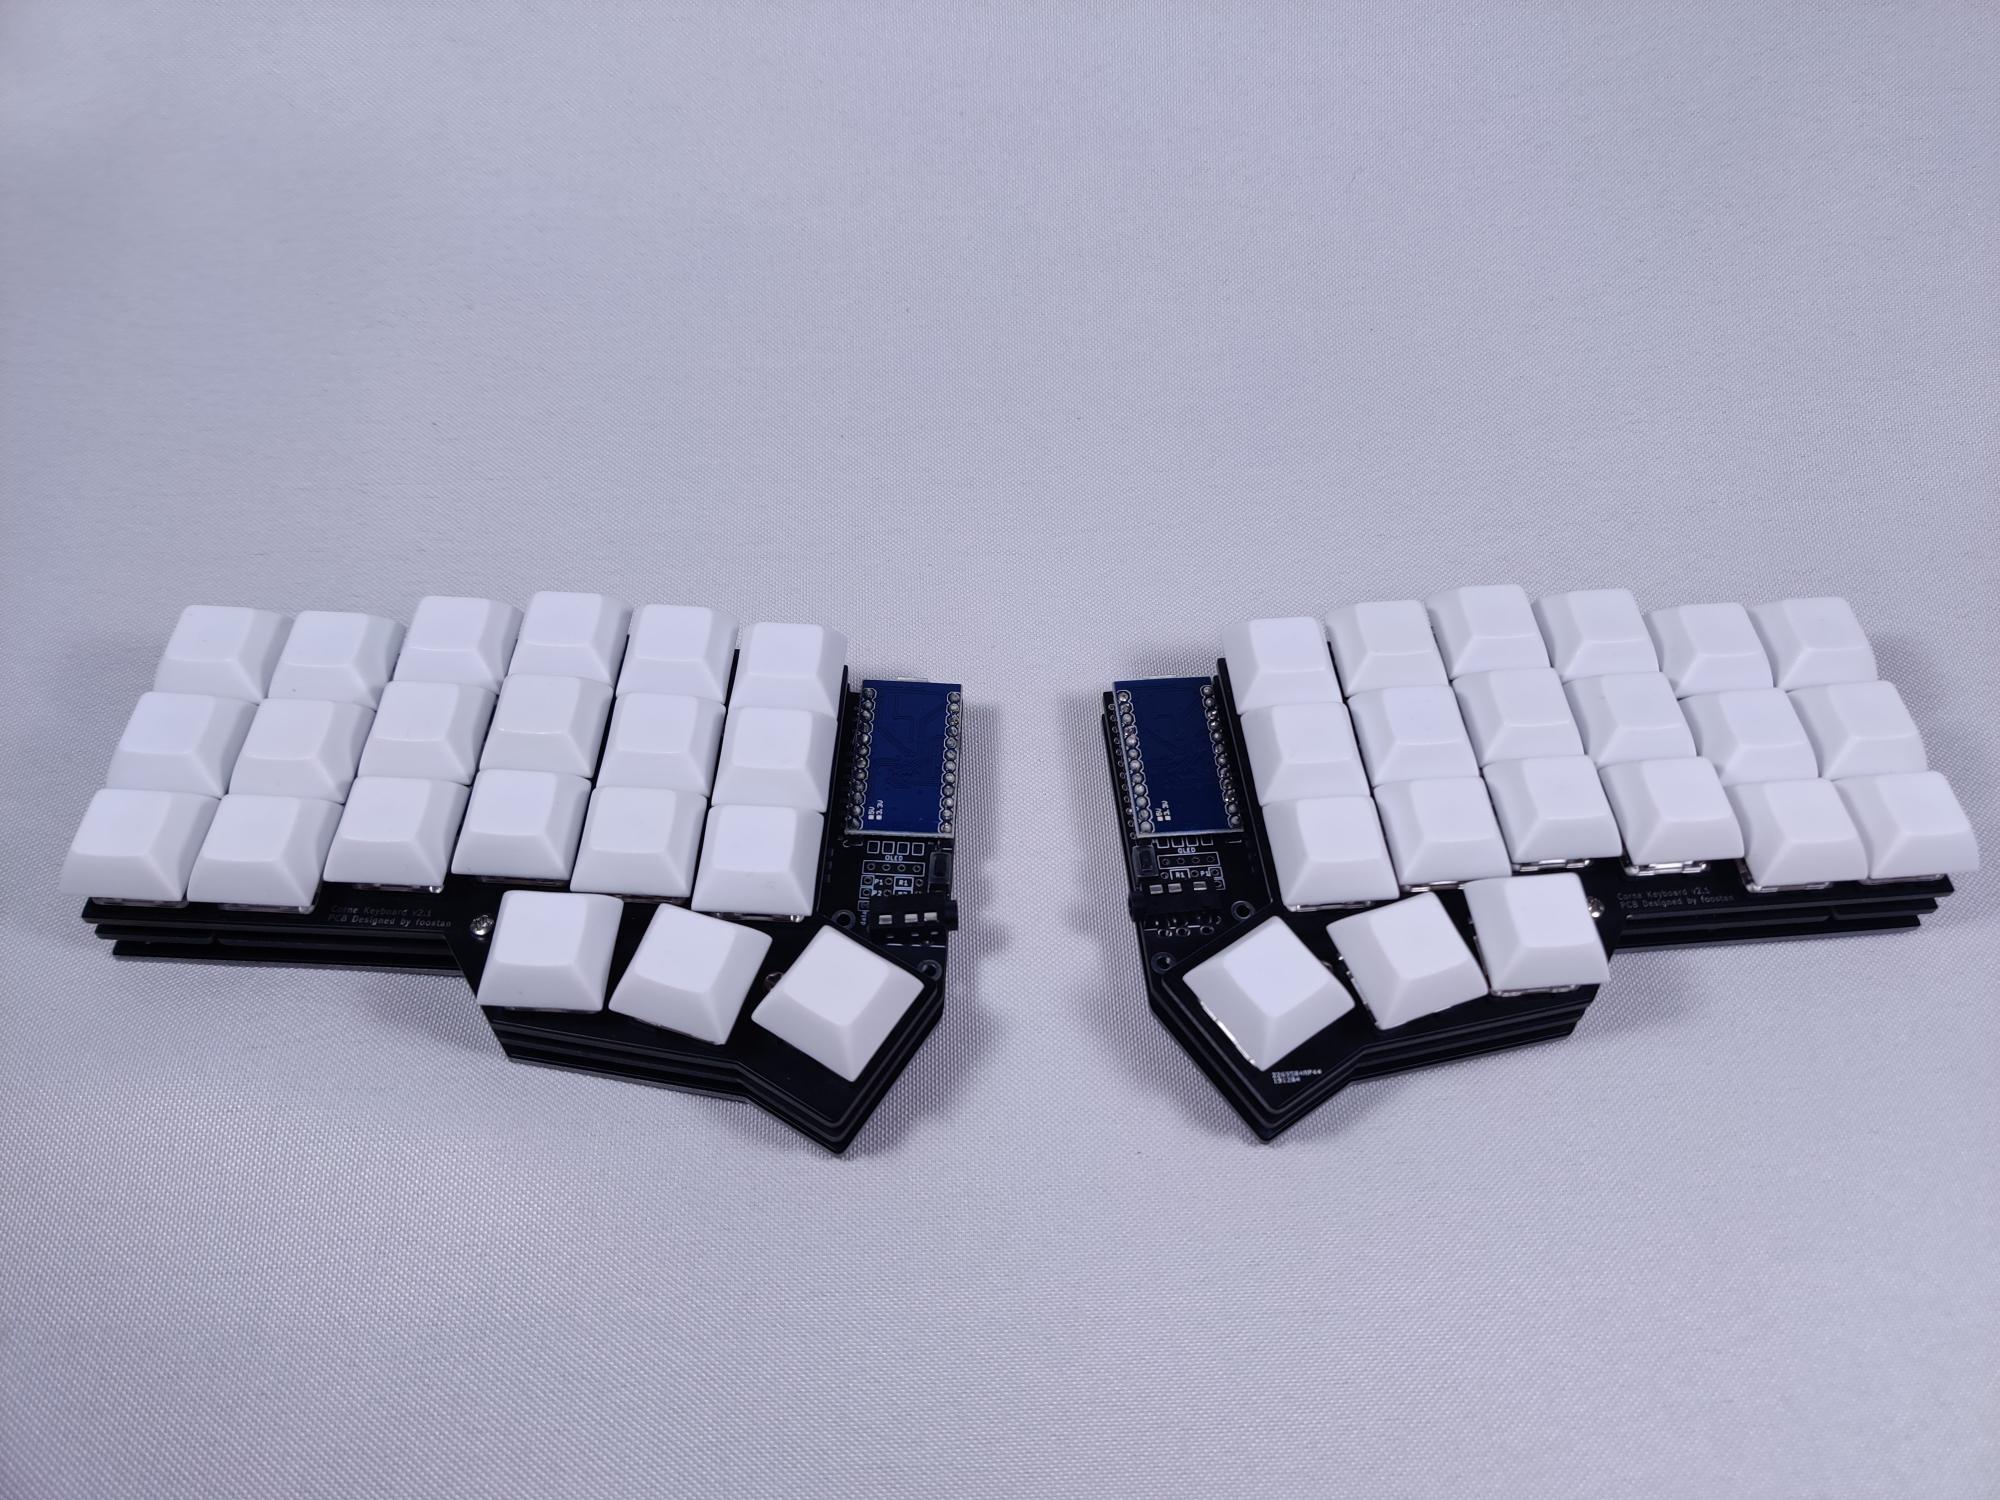
3d printing!!!! its a simple as that. now i had gmk 9009 norde kit sitting around so i thought :looksleft: maybe...
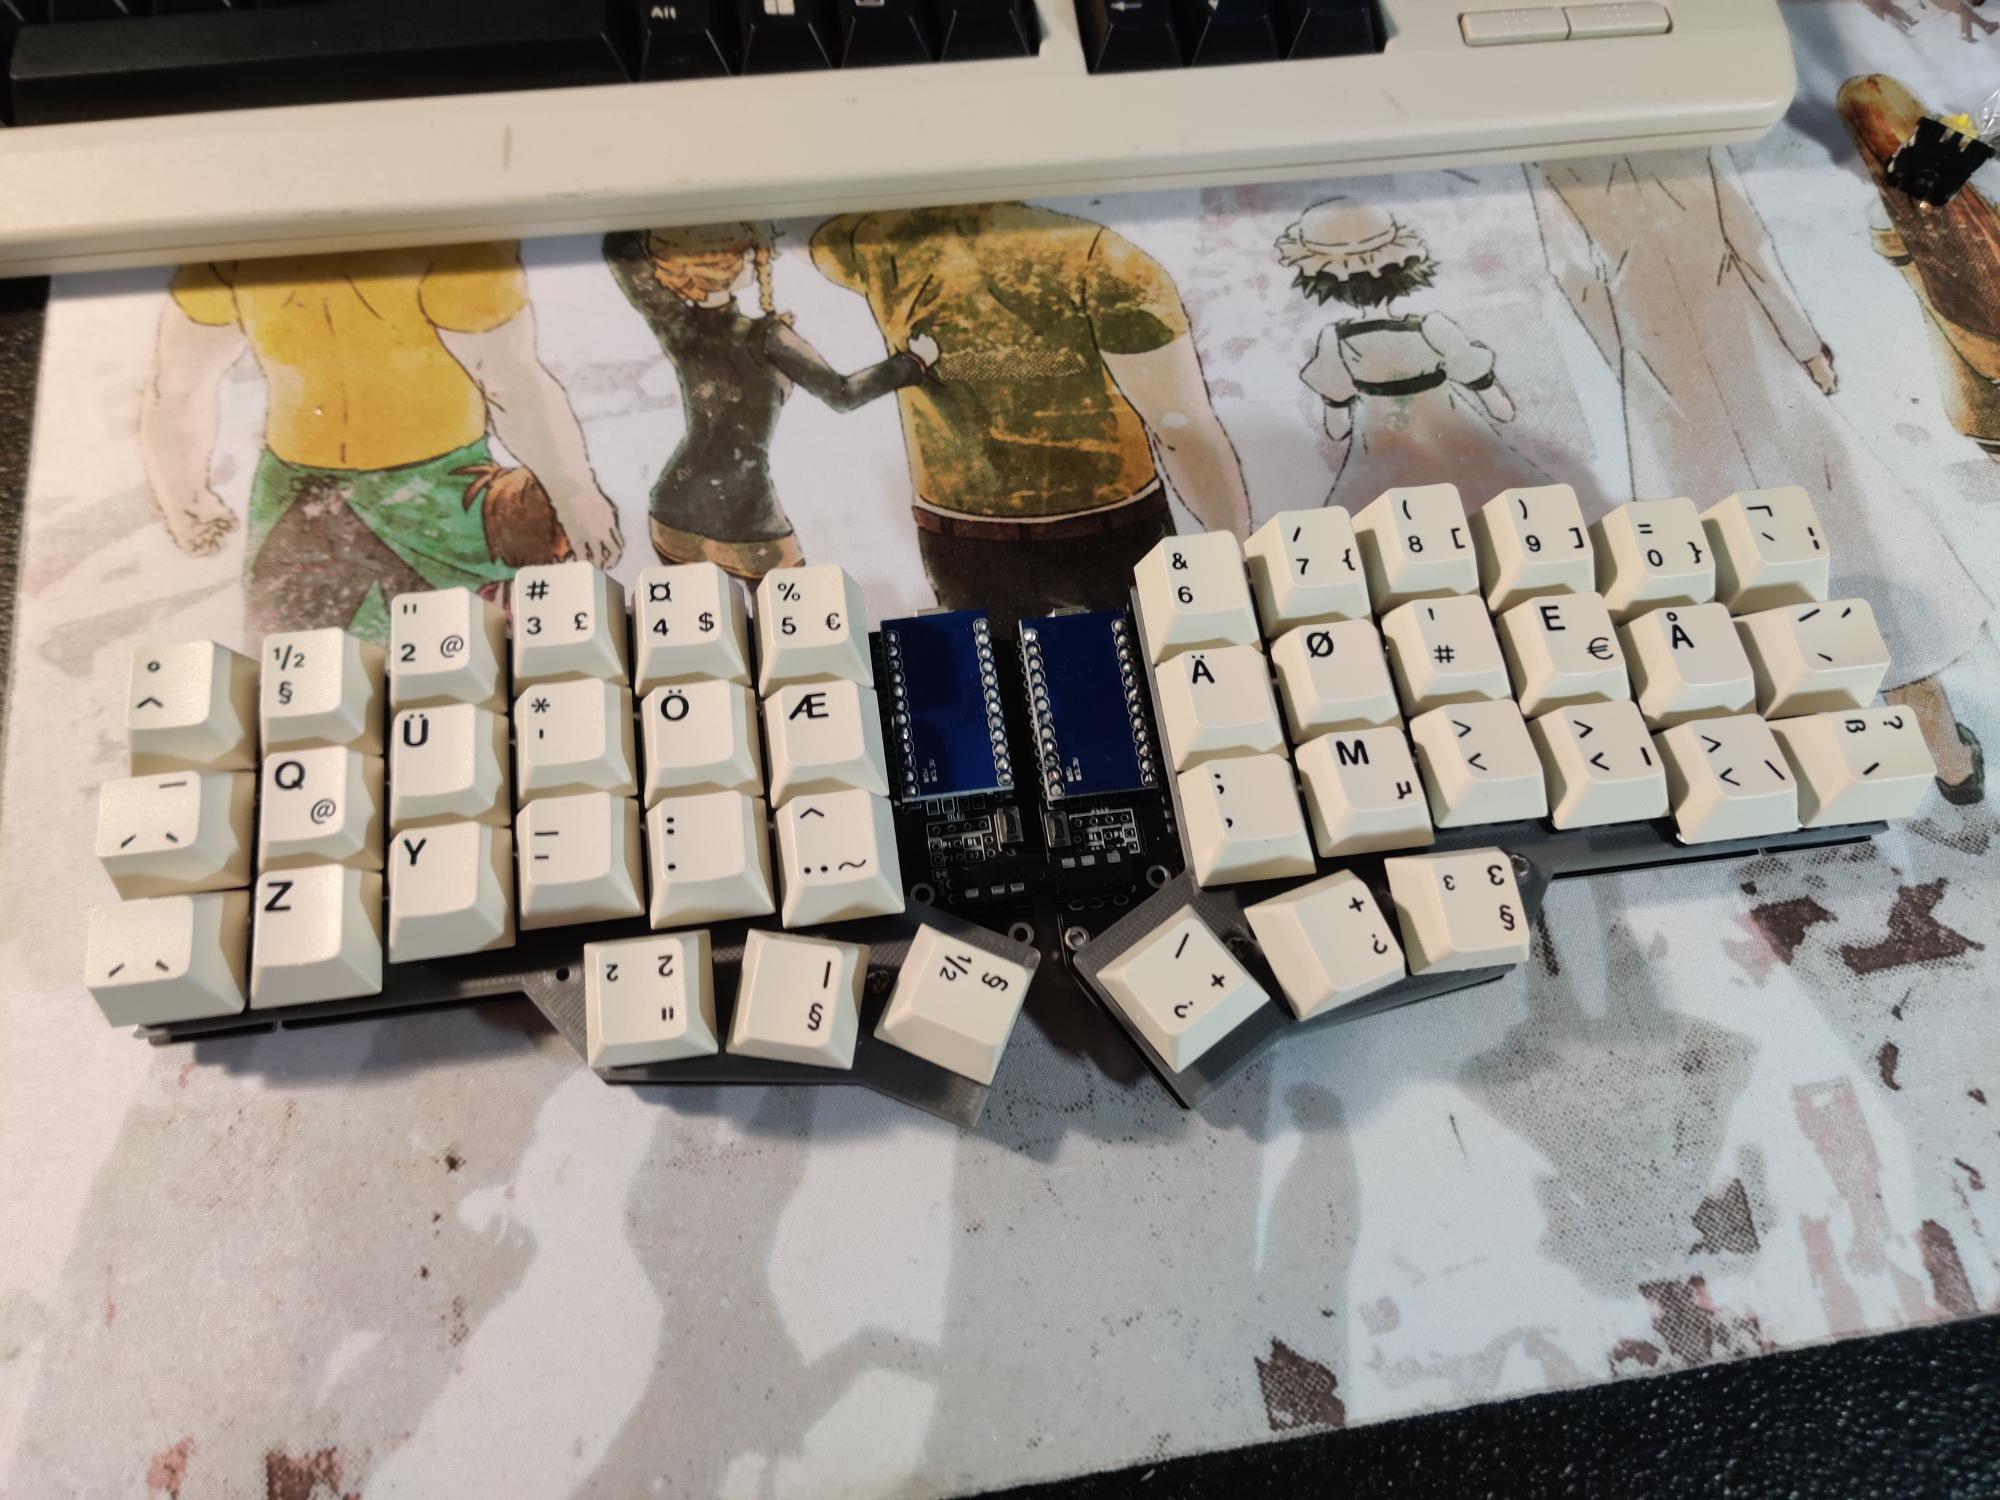
sweet, i like the look alot, better than the old cherry caps i tried first. but another problem, no case! alas three dimensional printing will come to the rescue yet again:
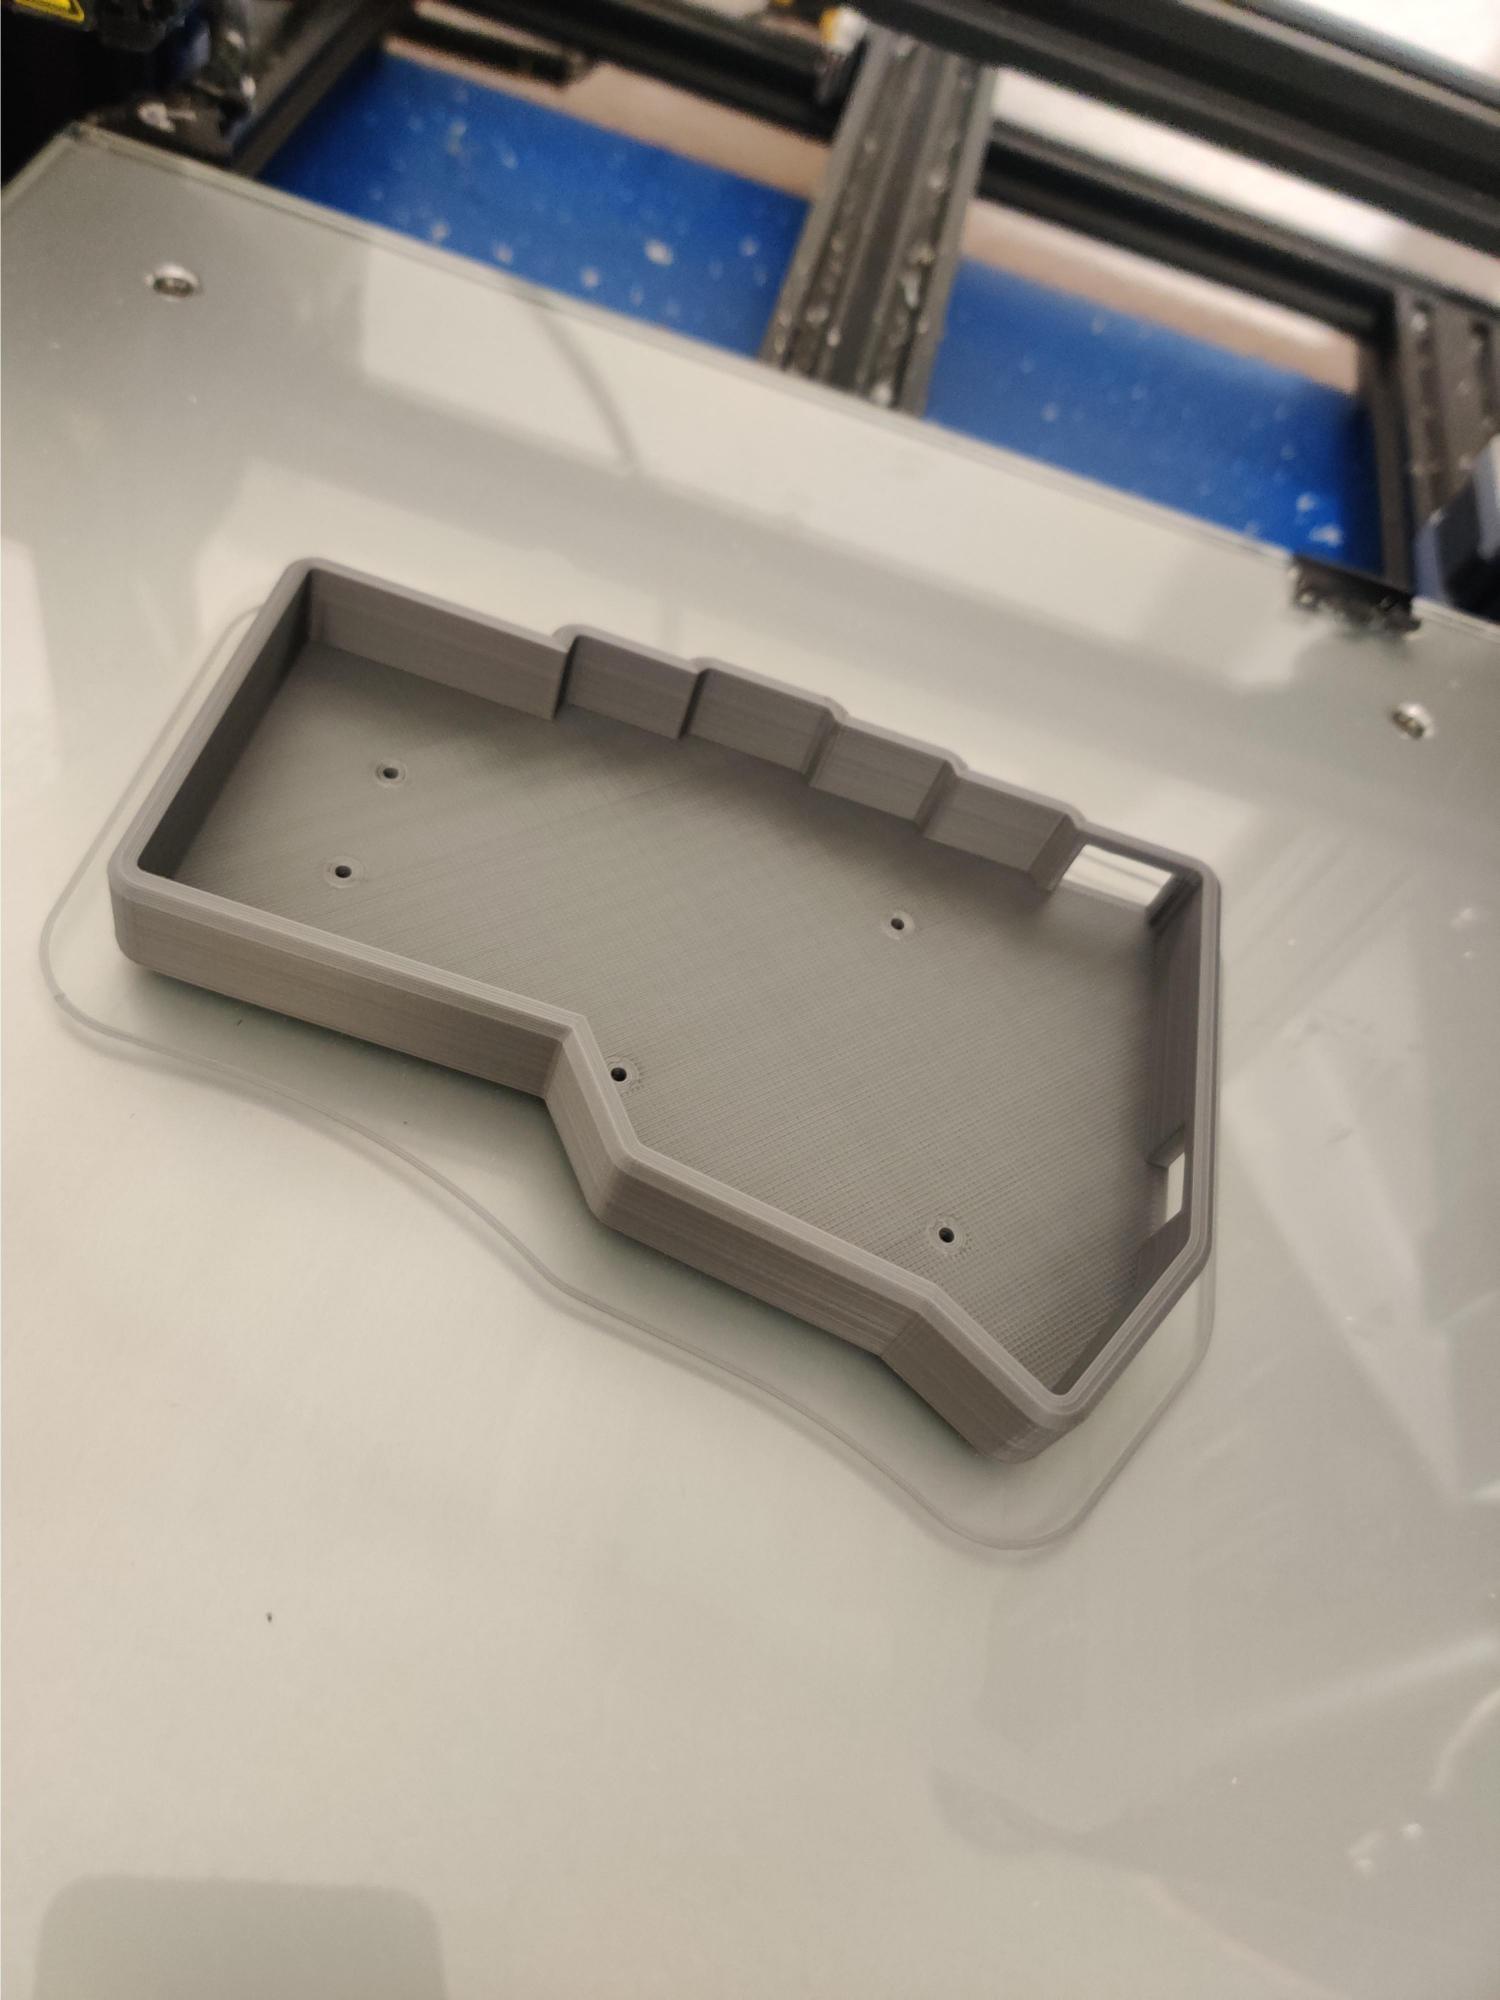
sadly i cannot conclude this with the placement of the case and some final photos, the screws are just a tad too small, so see you next time when my screws arrive! (im also having another software issue lol)
Log 4: Screws for you.
i got the screws,, thanks unnamed mega corporation. added them and fixed the software issue! both are done now~
┈ ren ♡