Laptop Keeb
—「0X://Explanation」
i was given a touch screen laptop by a friend because the keyboard didn't work. keyboard can't be replace (affordably or easily) due to its position and design (though i did unplug it)
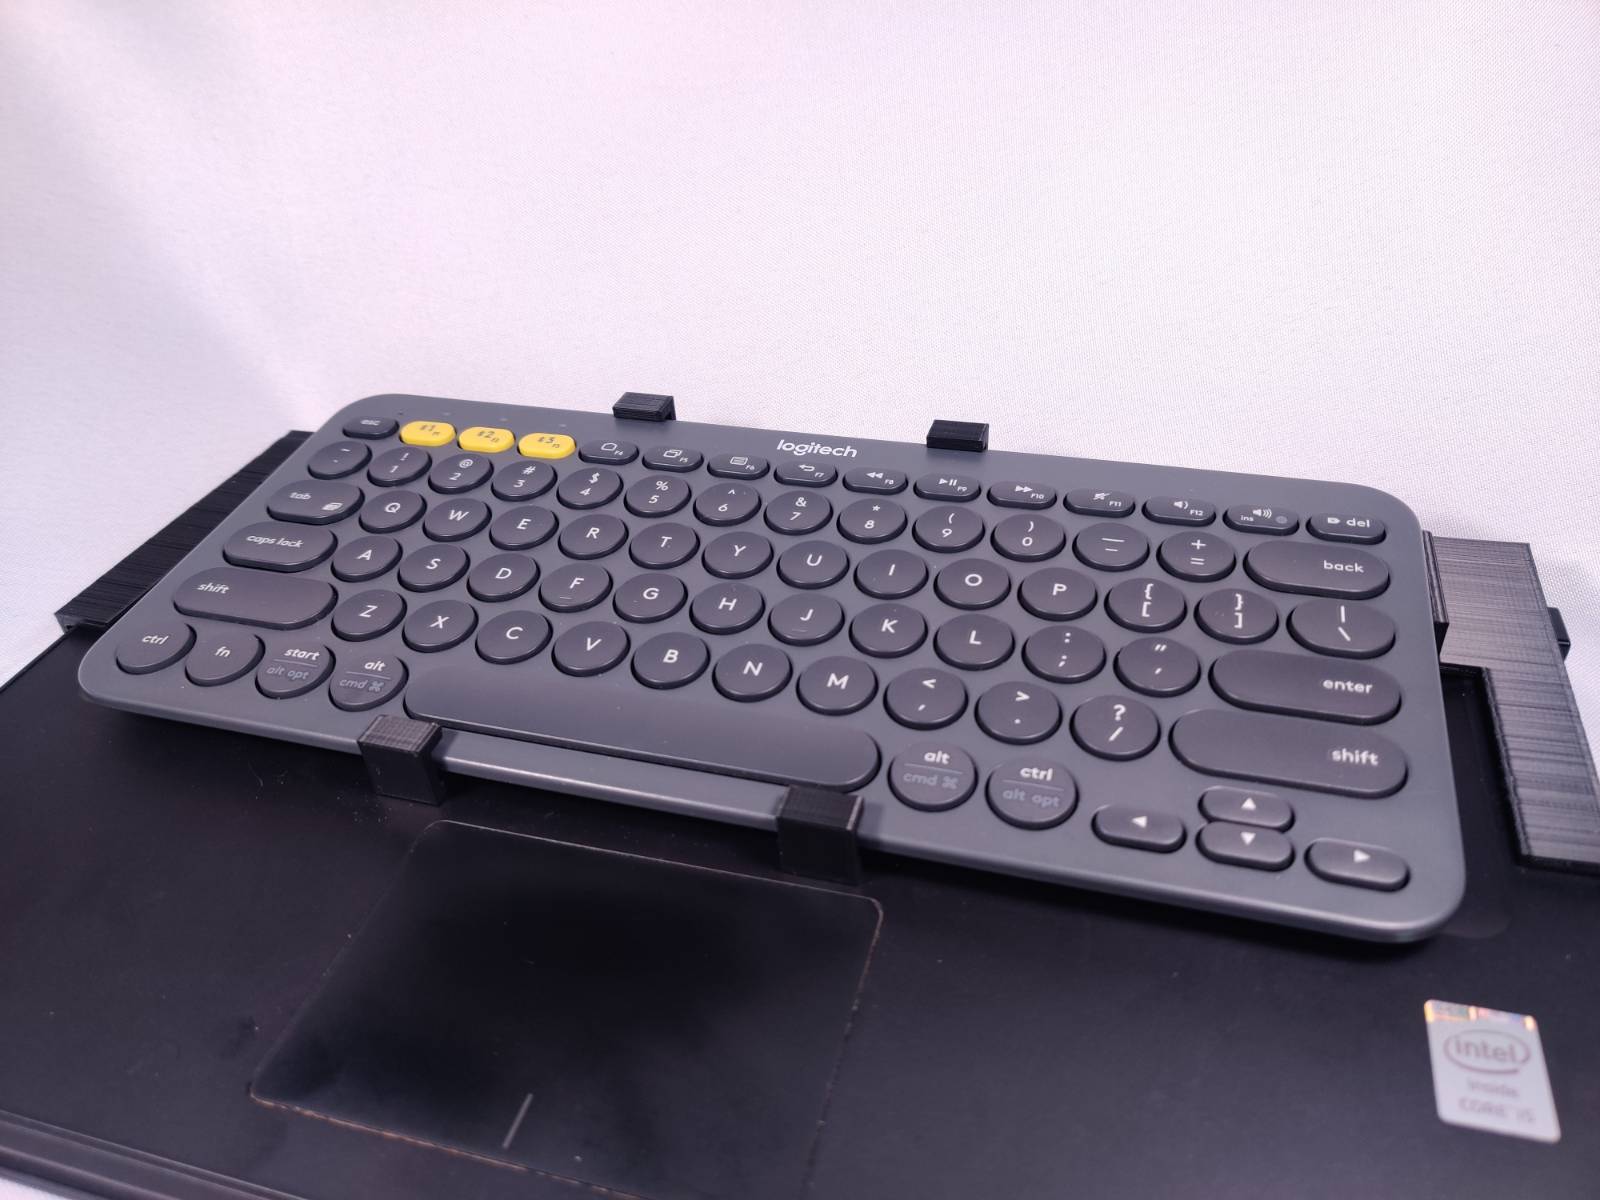
but that doesn't matter anyway, because i have a better idea. a 3d printed handwired keyboard a wireless keyboard, with clips that allow it to attach over where the original keyboard was~
post crisis note: you can probably tell there's a bit of contradiction here, i initially planned on using 2b board but have since decided on making use of this wireless keyboard i have. logs 1-3 are still about 2b board tho, as that insists you read about it here. sorry for the confusion
Log 1: Making The Keyboard
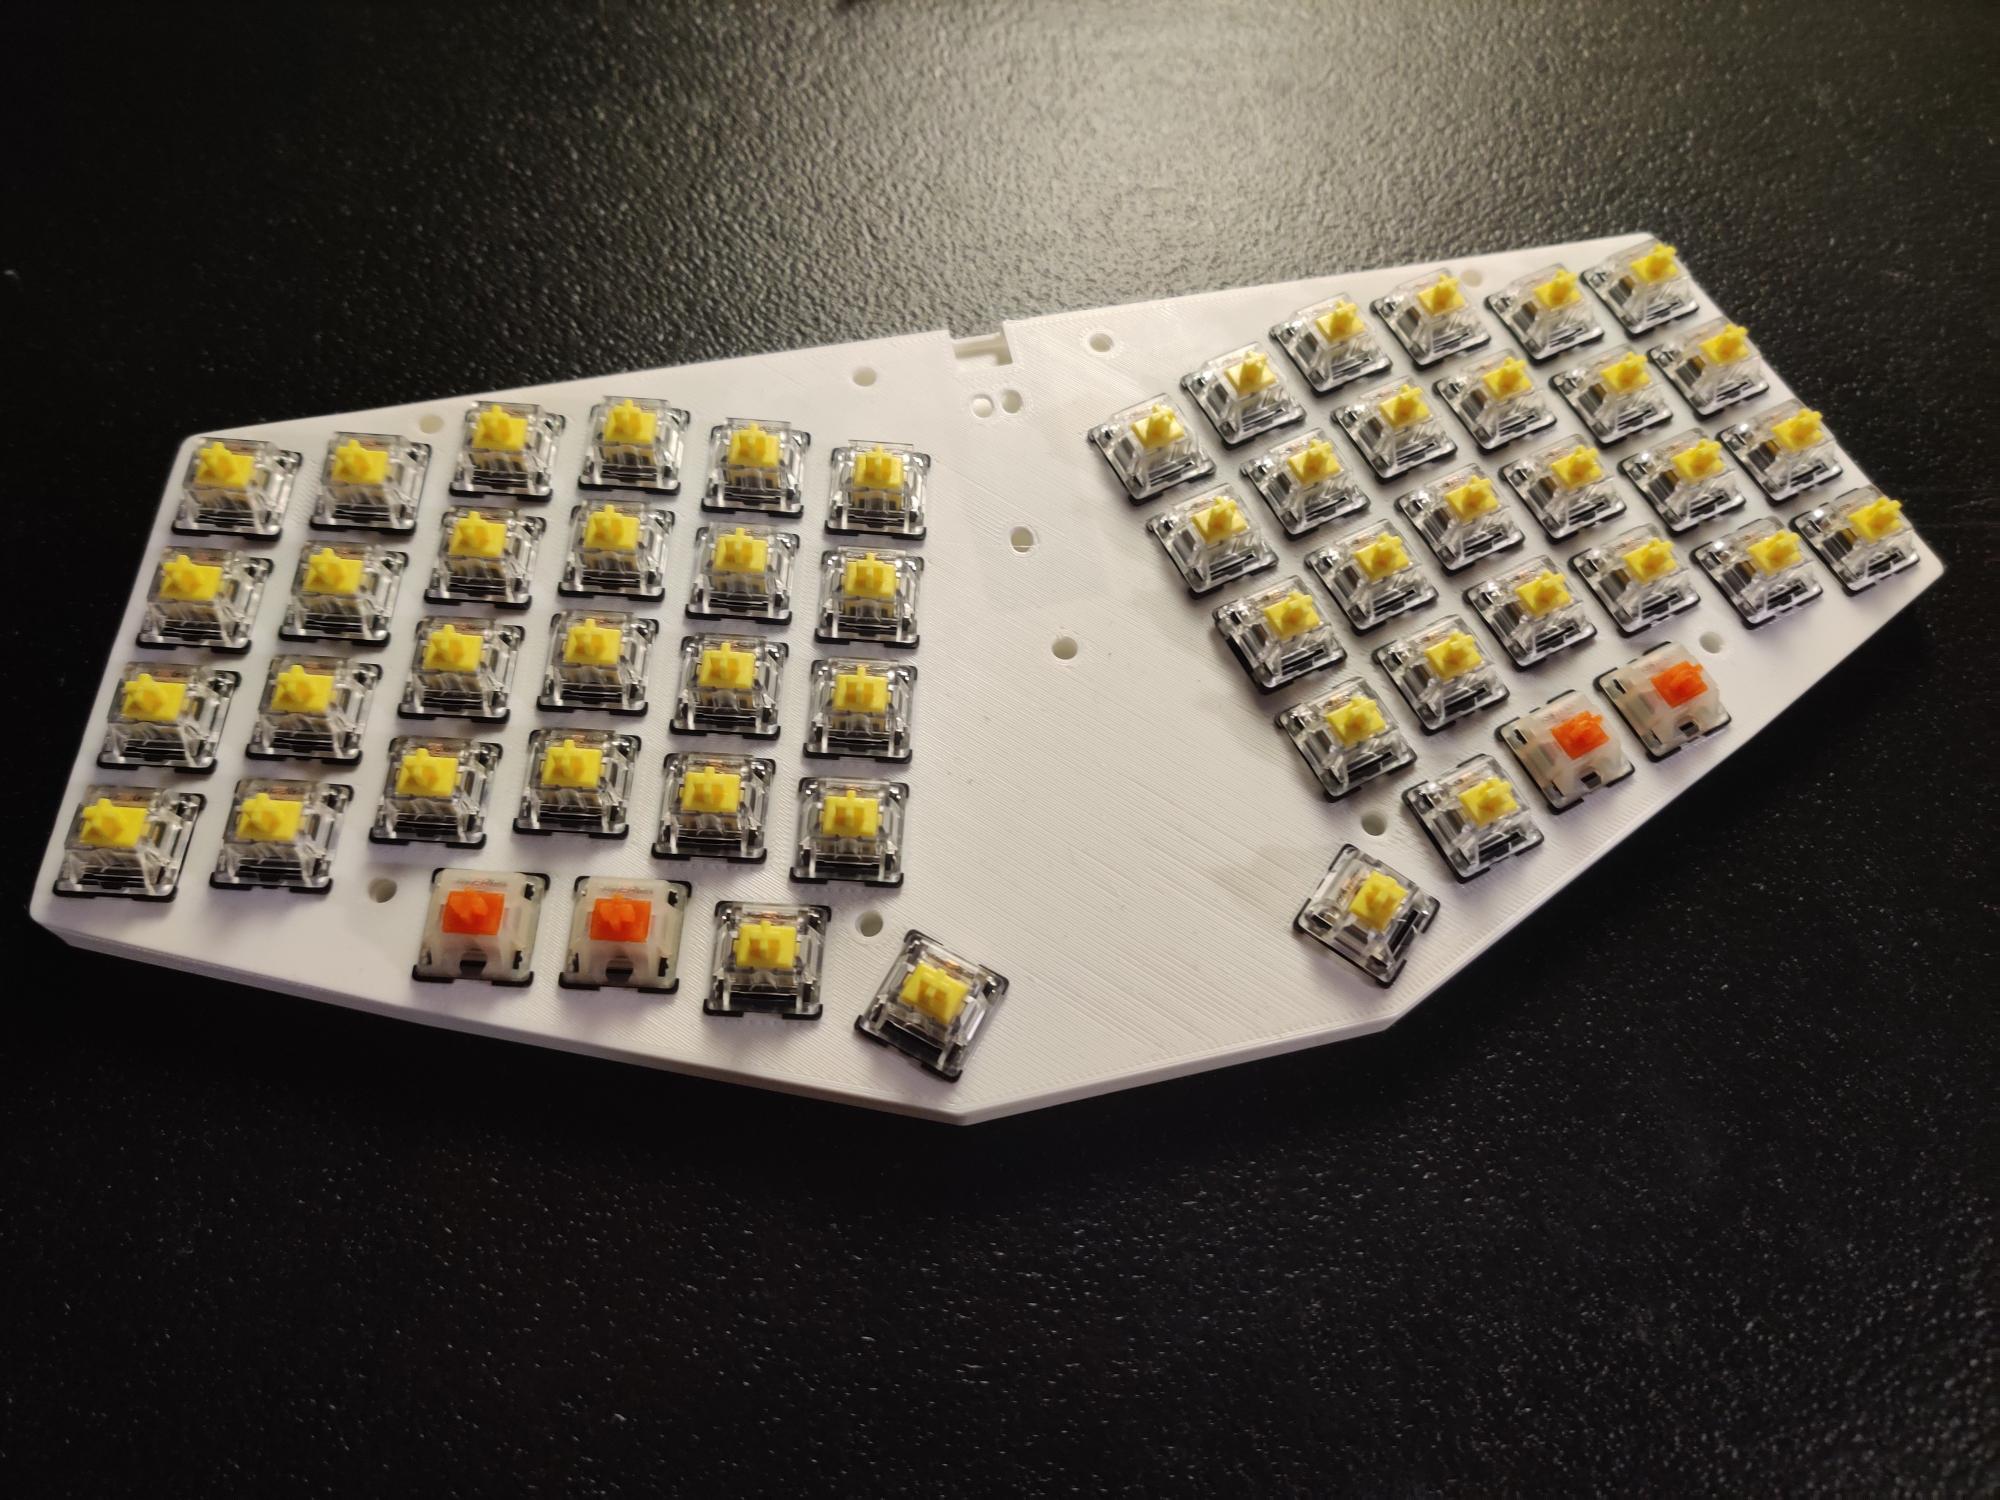
before i even think about learning to model clips to attach the keyboard, i need a keyboard. so i grabbed TeXitoi's keyberon-f4, which has a good amount of keys and works with a teensy2.0++. i 3d printed and wired it pretty quickly, but im having some issues now, but first pictures:
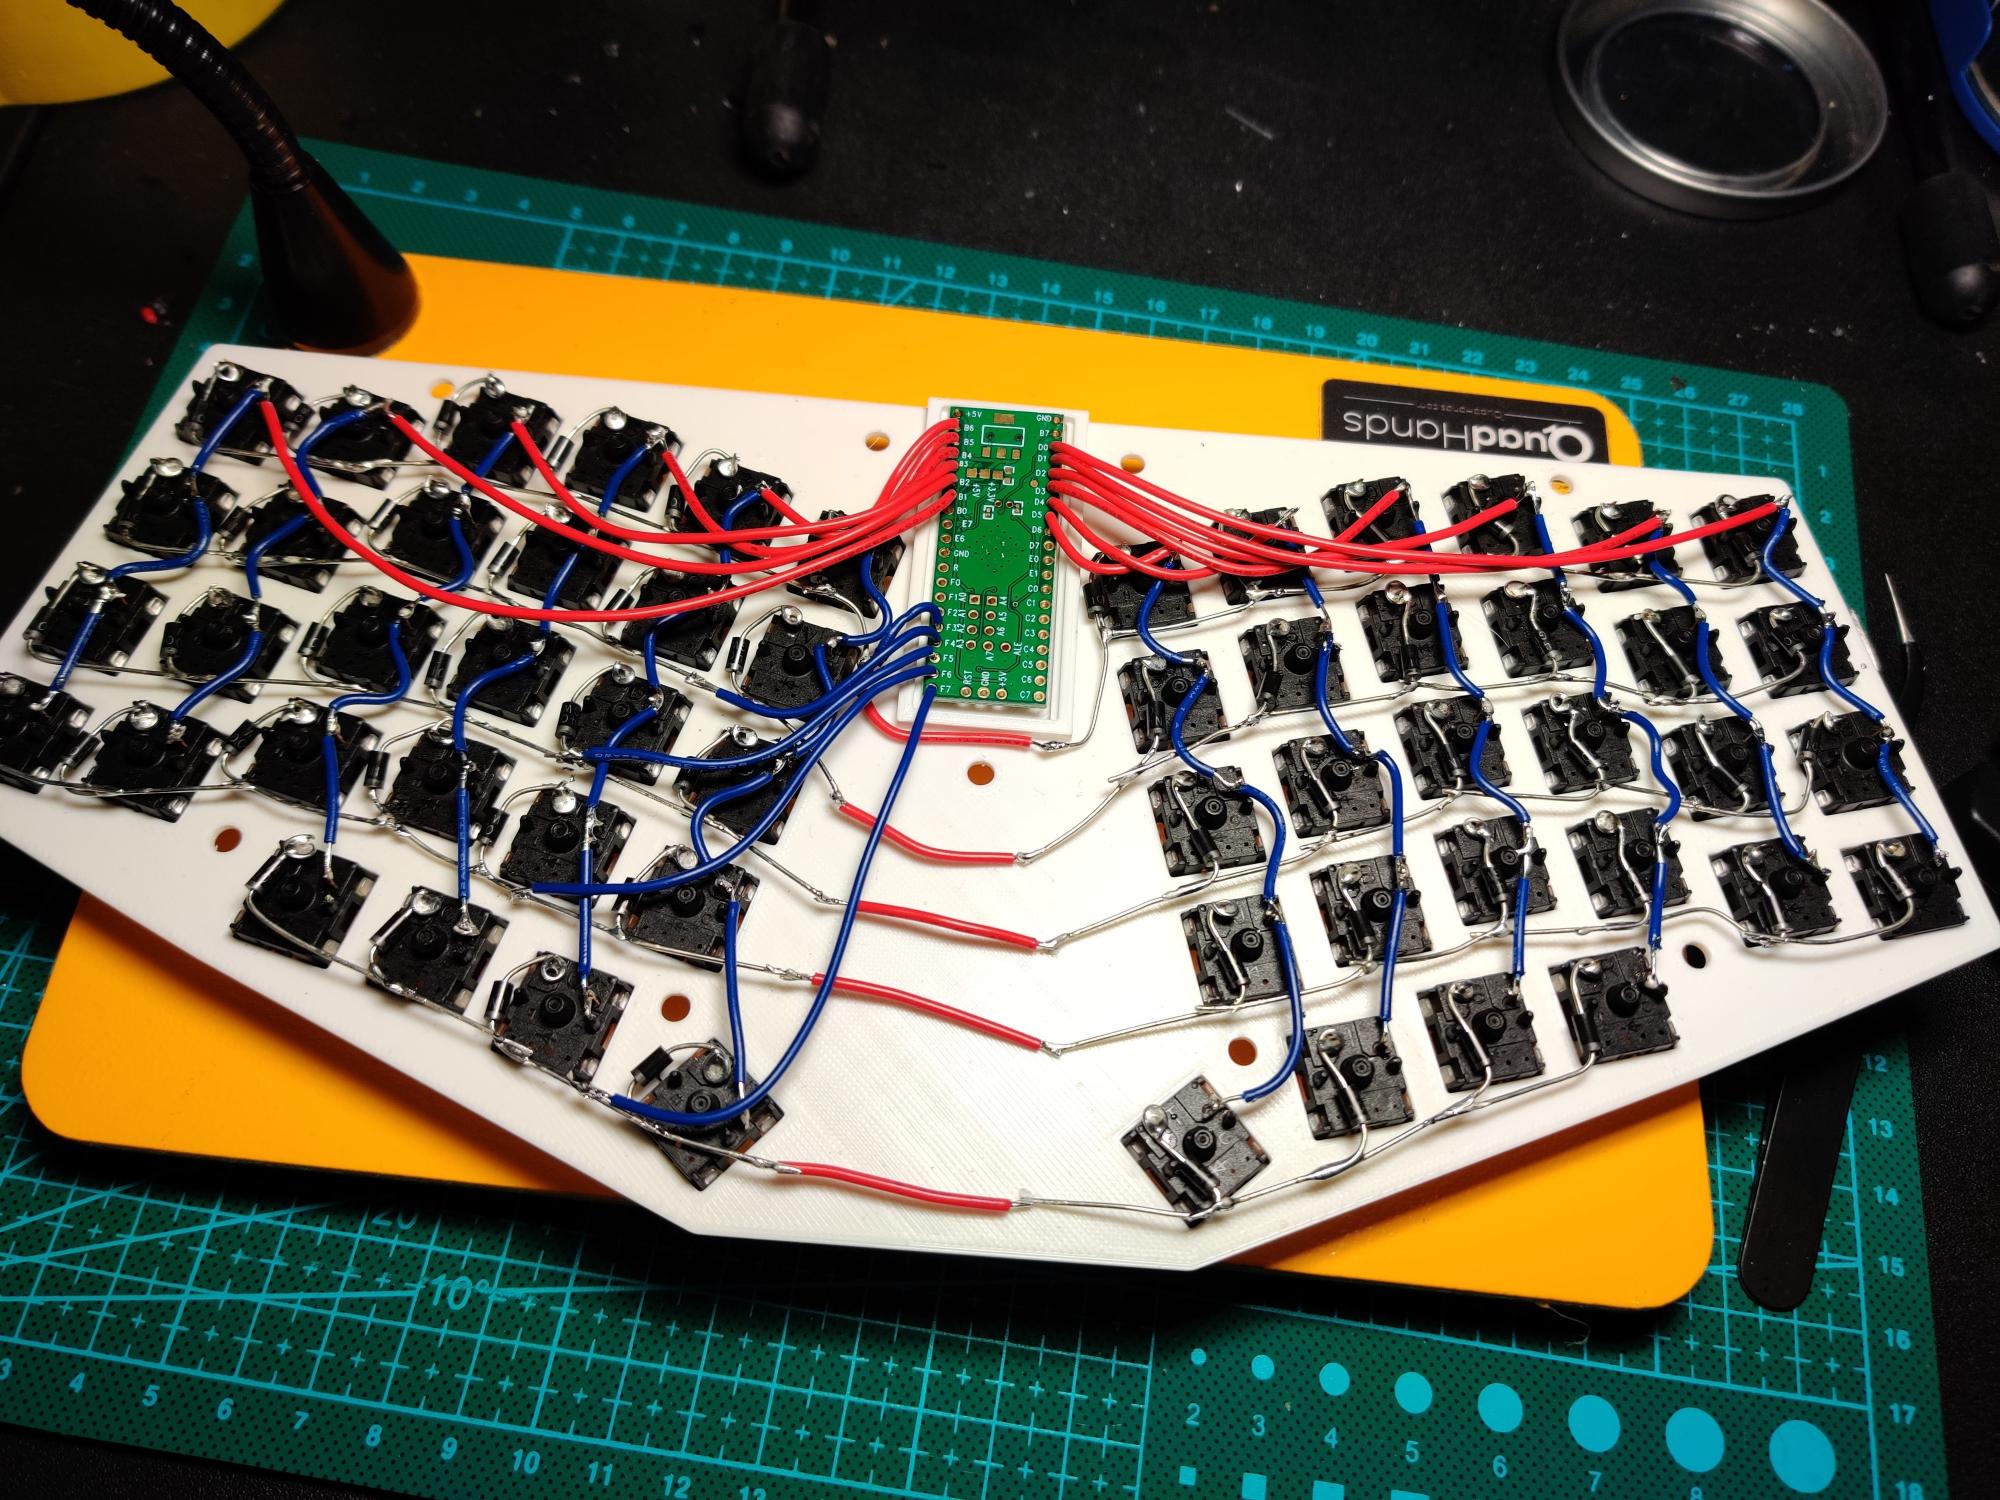
now the issues. the case is just a tad too small for how thick the wires i put in are, so even before i design the clips i need to redesign the case. that and i also don't have threaded inserts, so i need to design a case without threaded inserts. i have near no experience in fusion 360, so lets head over to the 3d modelling learning page~
Log 2: Anything but That
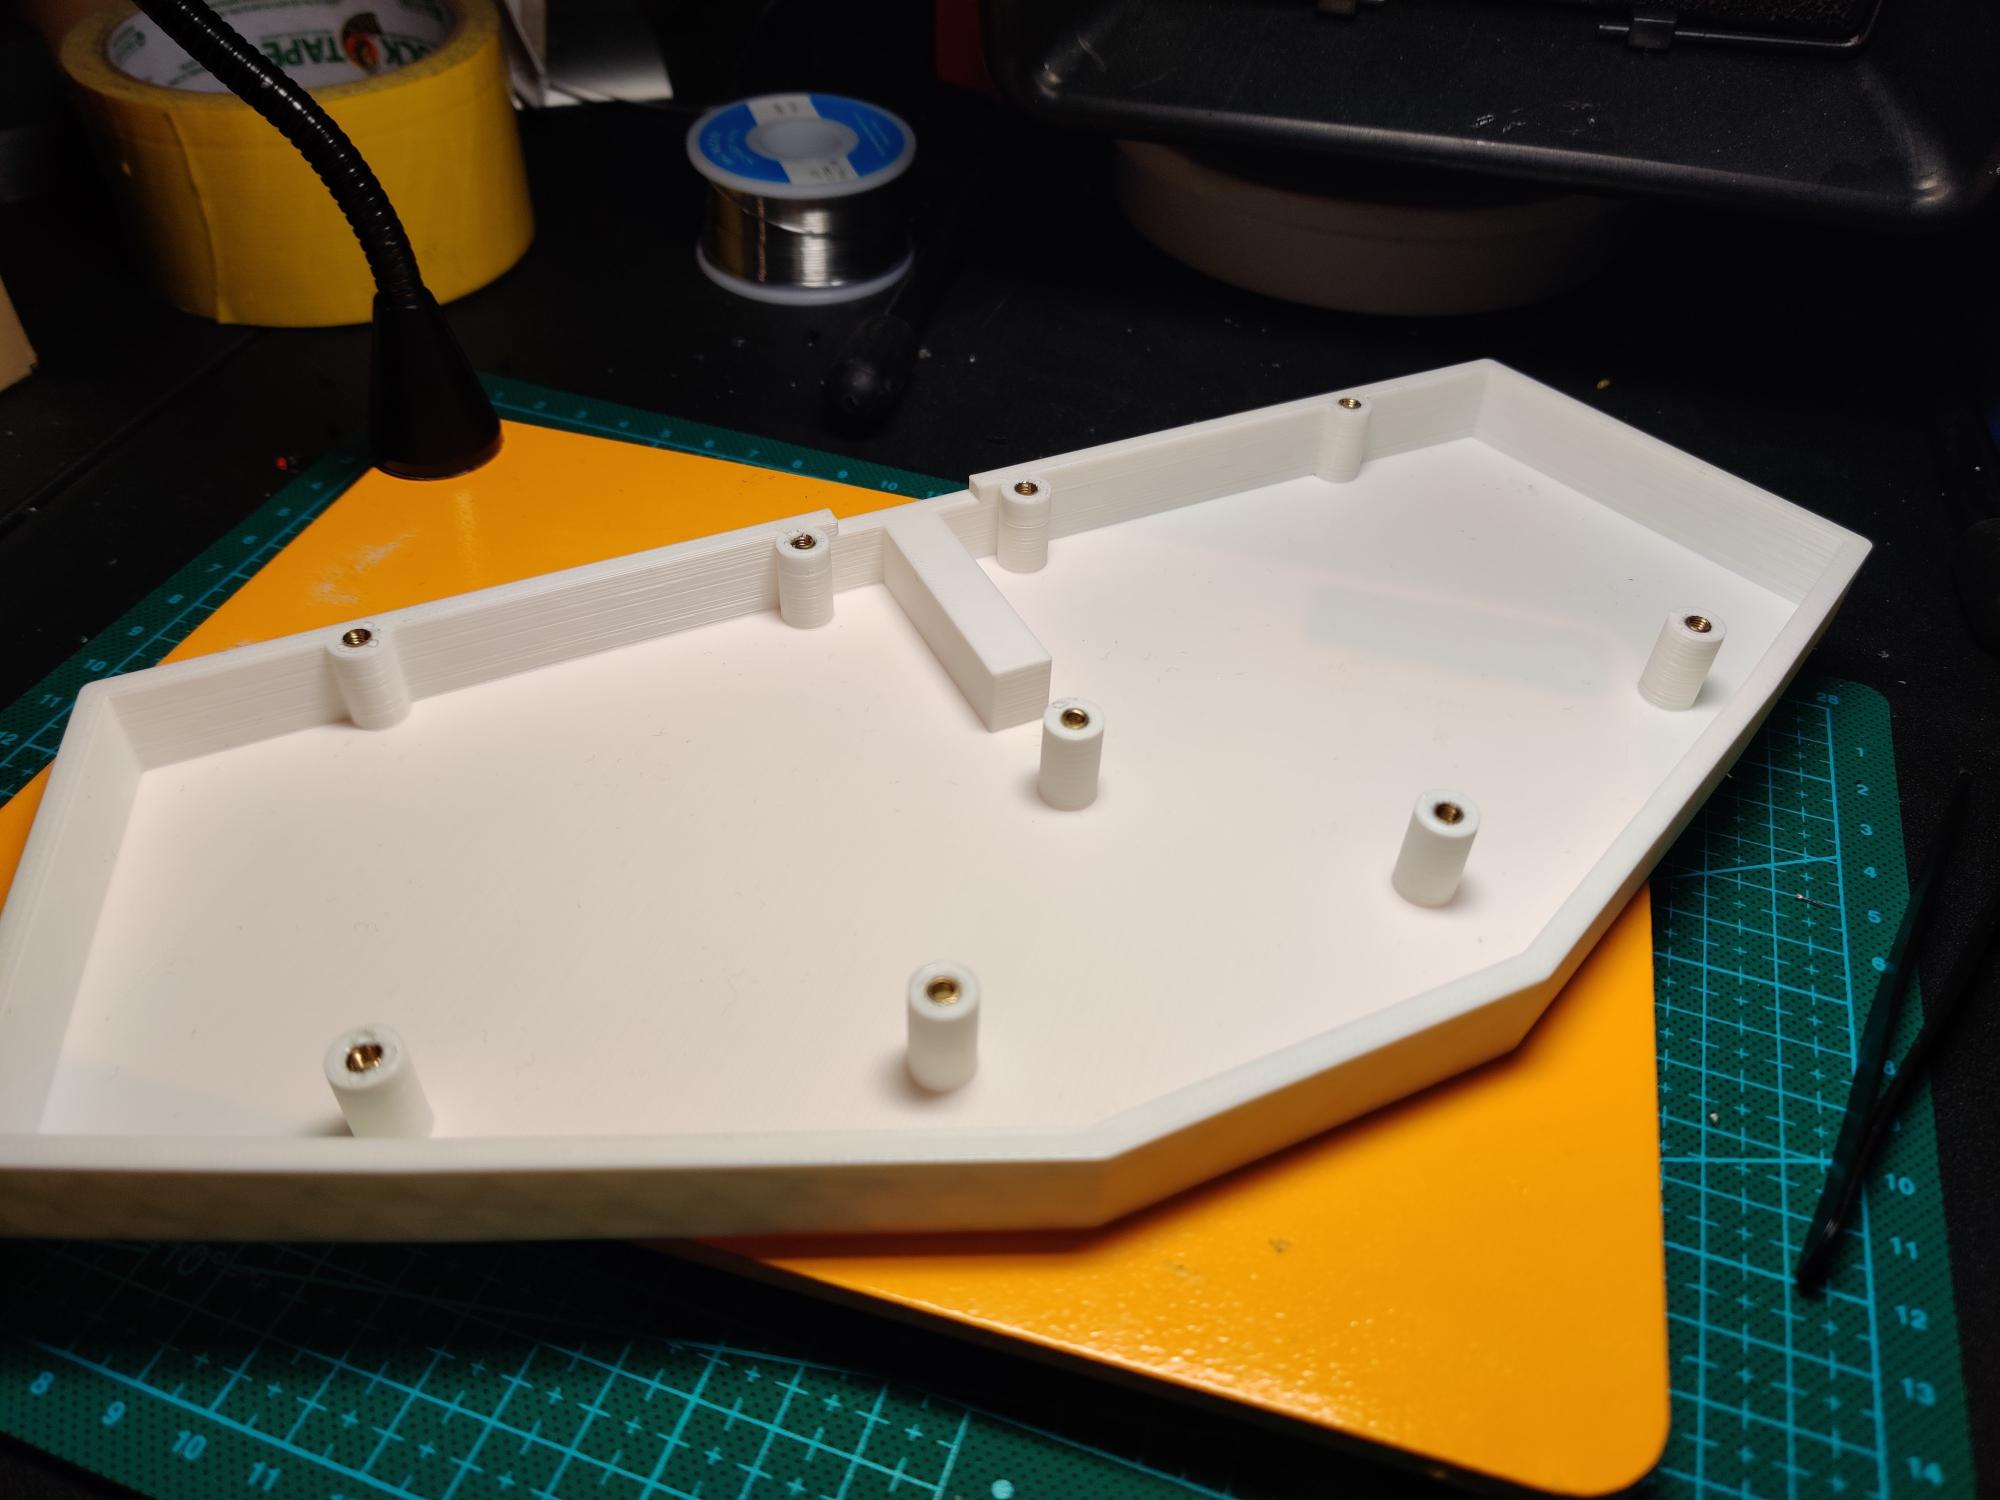
i didnt want to work on the clip design so i decided to finish the keyboard first (as seen on the aforementioned 3d modelling page) i bought some brass threaded inserts for the holes and was amazed at how easy it was to install them. just a touch of the soldering iron and they melted right into the plastic:
so now i just used some m3 screws and keycaps and finished off the base keyboard:

i would love to be done now, but i ventured to make a keyboard that could clip onto a laptop, so i intend to complete that, wish me luck again~
Log 3: Clipping Out of Bounds
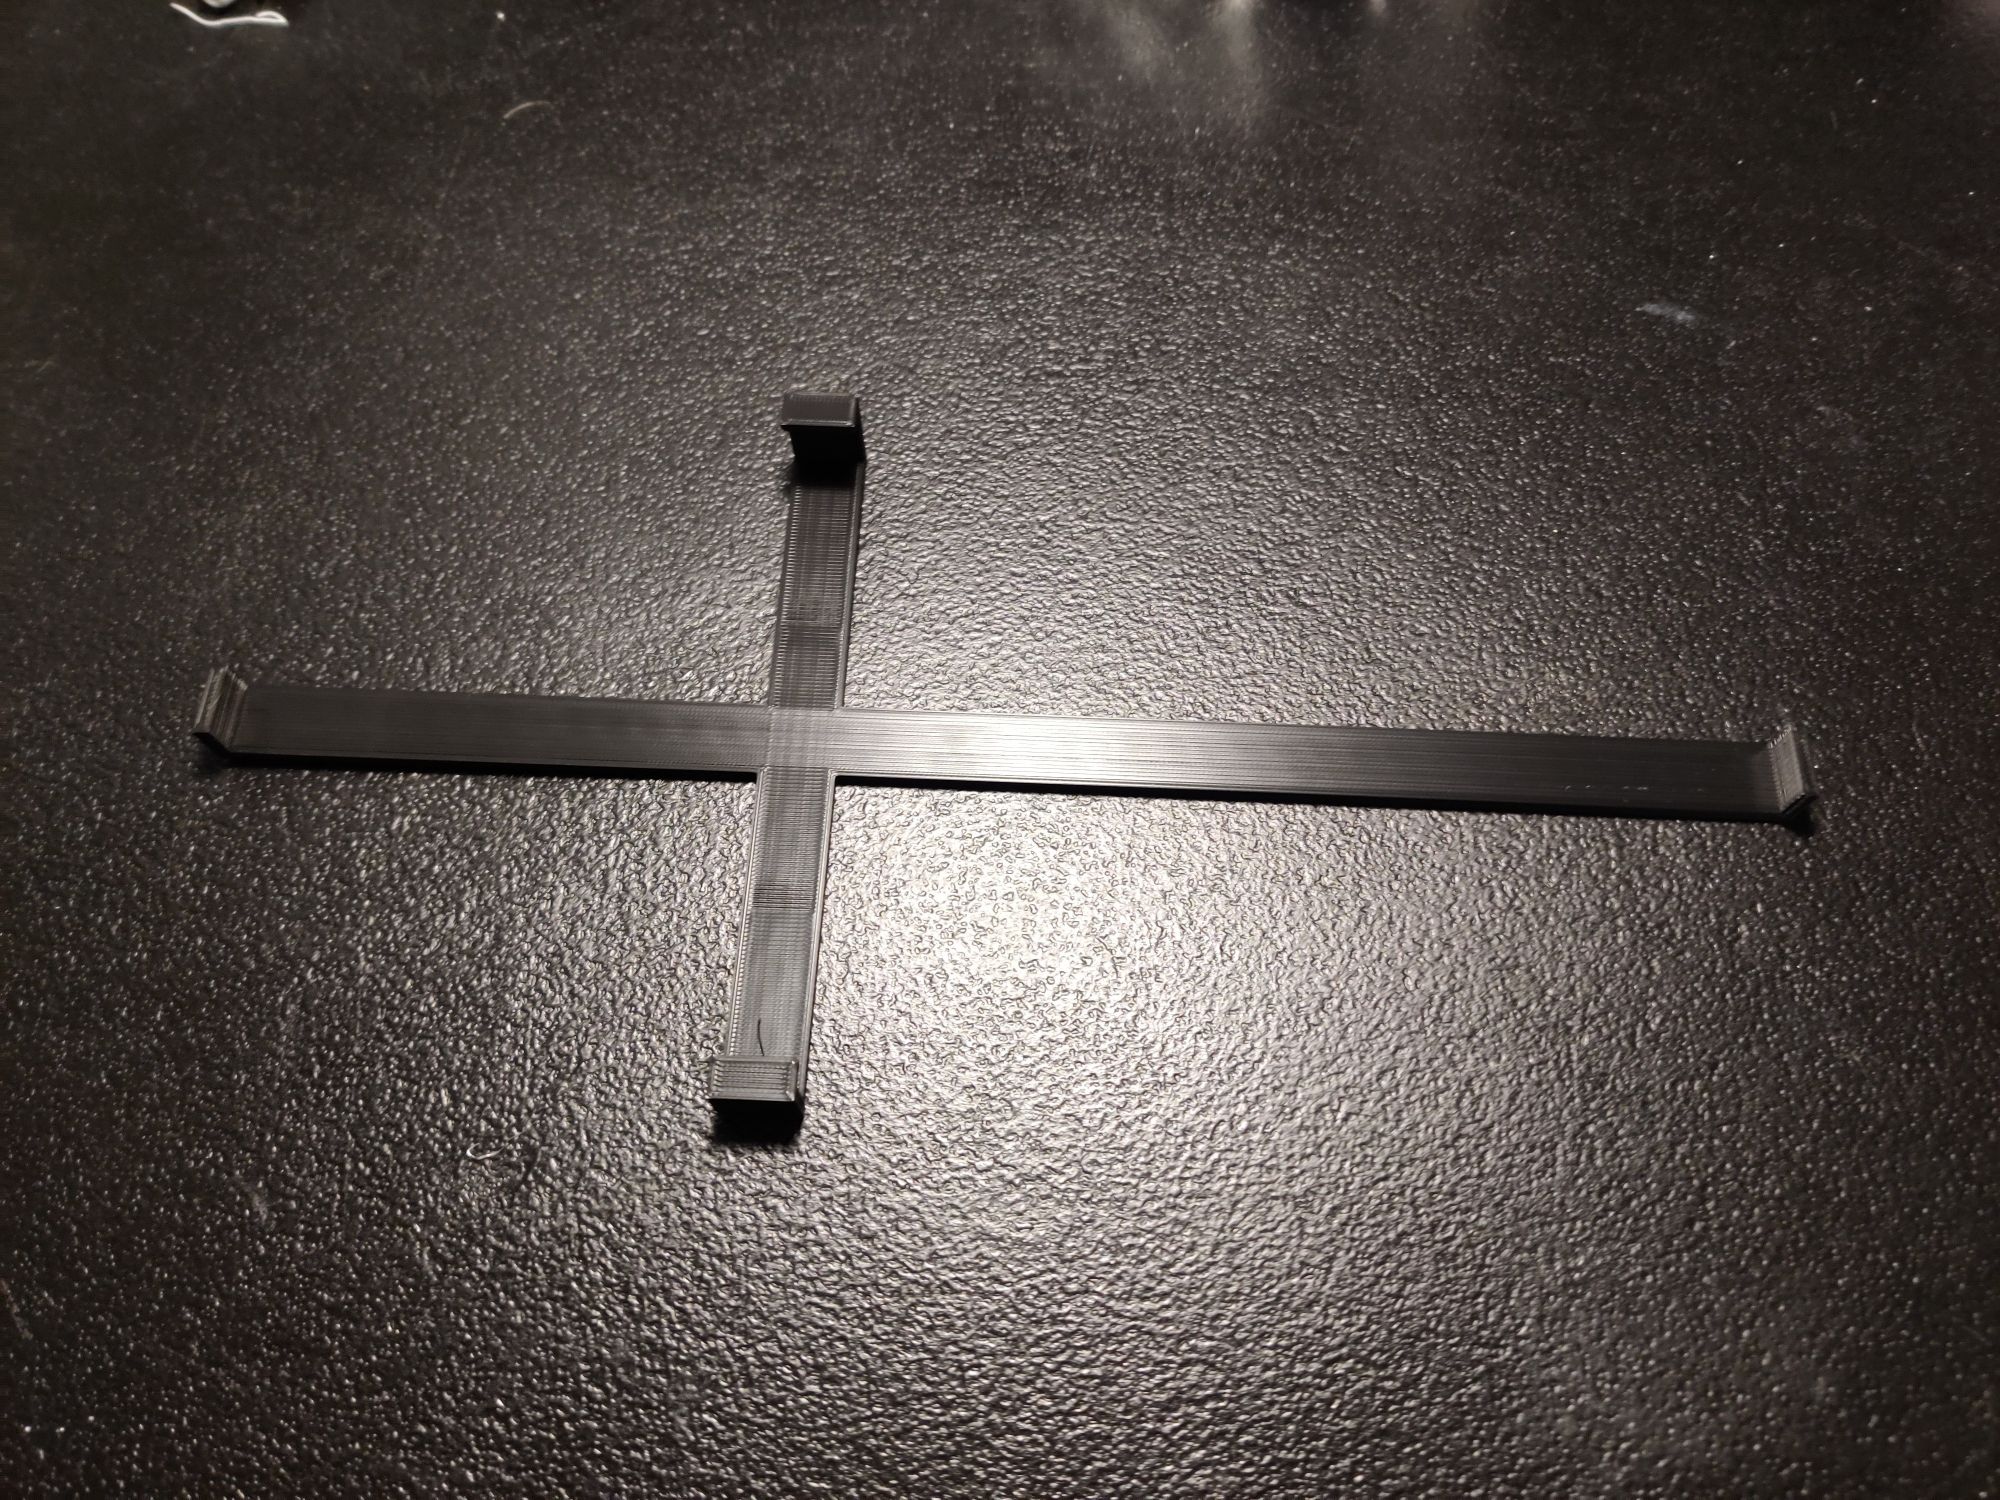
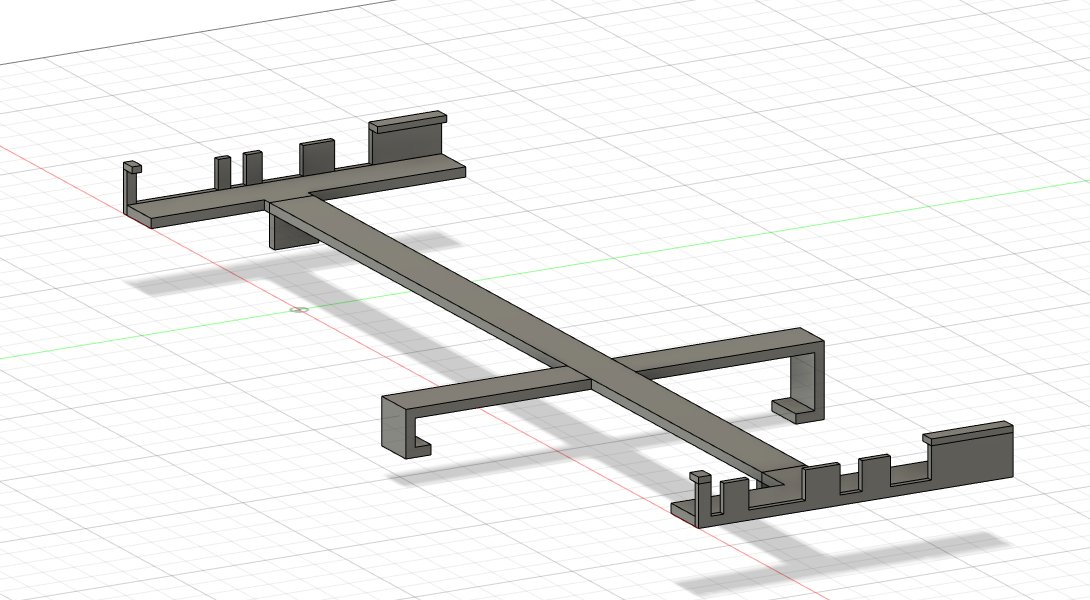
on the 3d modelling learning page i worked a bit on this project, but i'm continuing it here. here's the new clip design that hopefully will sucessfully attach to the keyboard:
can't really know until i print it...
Log 4: What Happened?
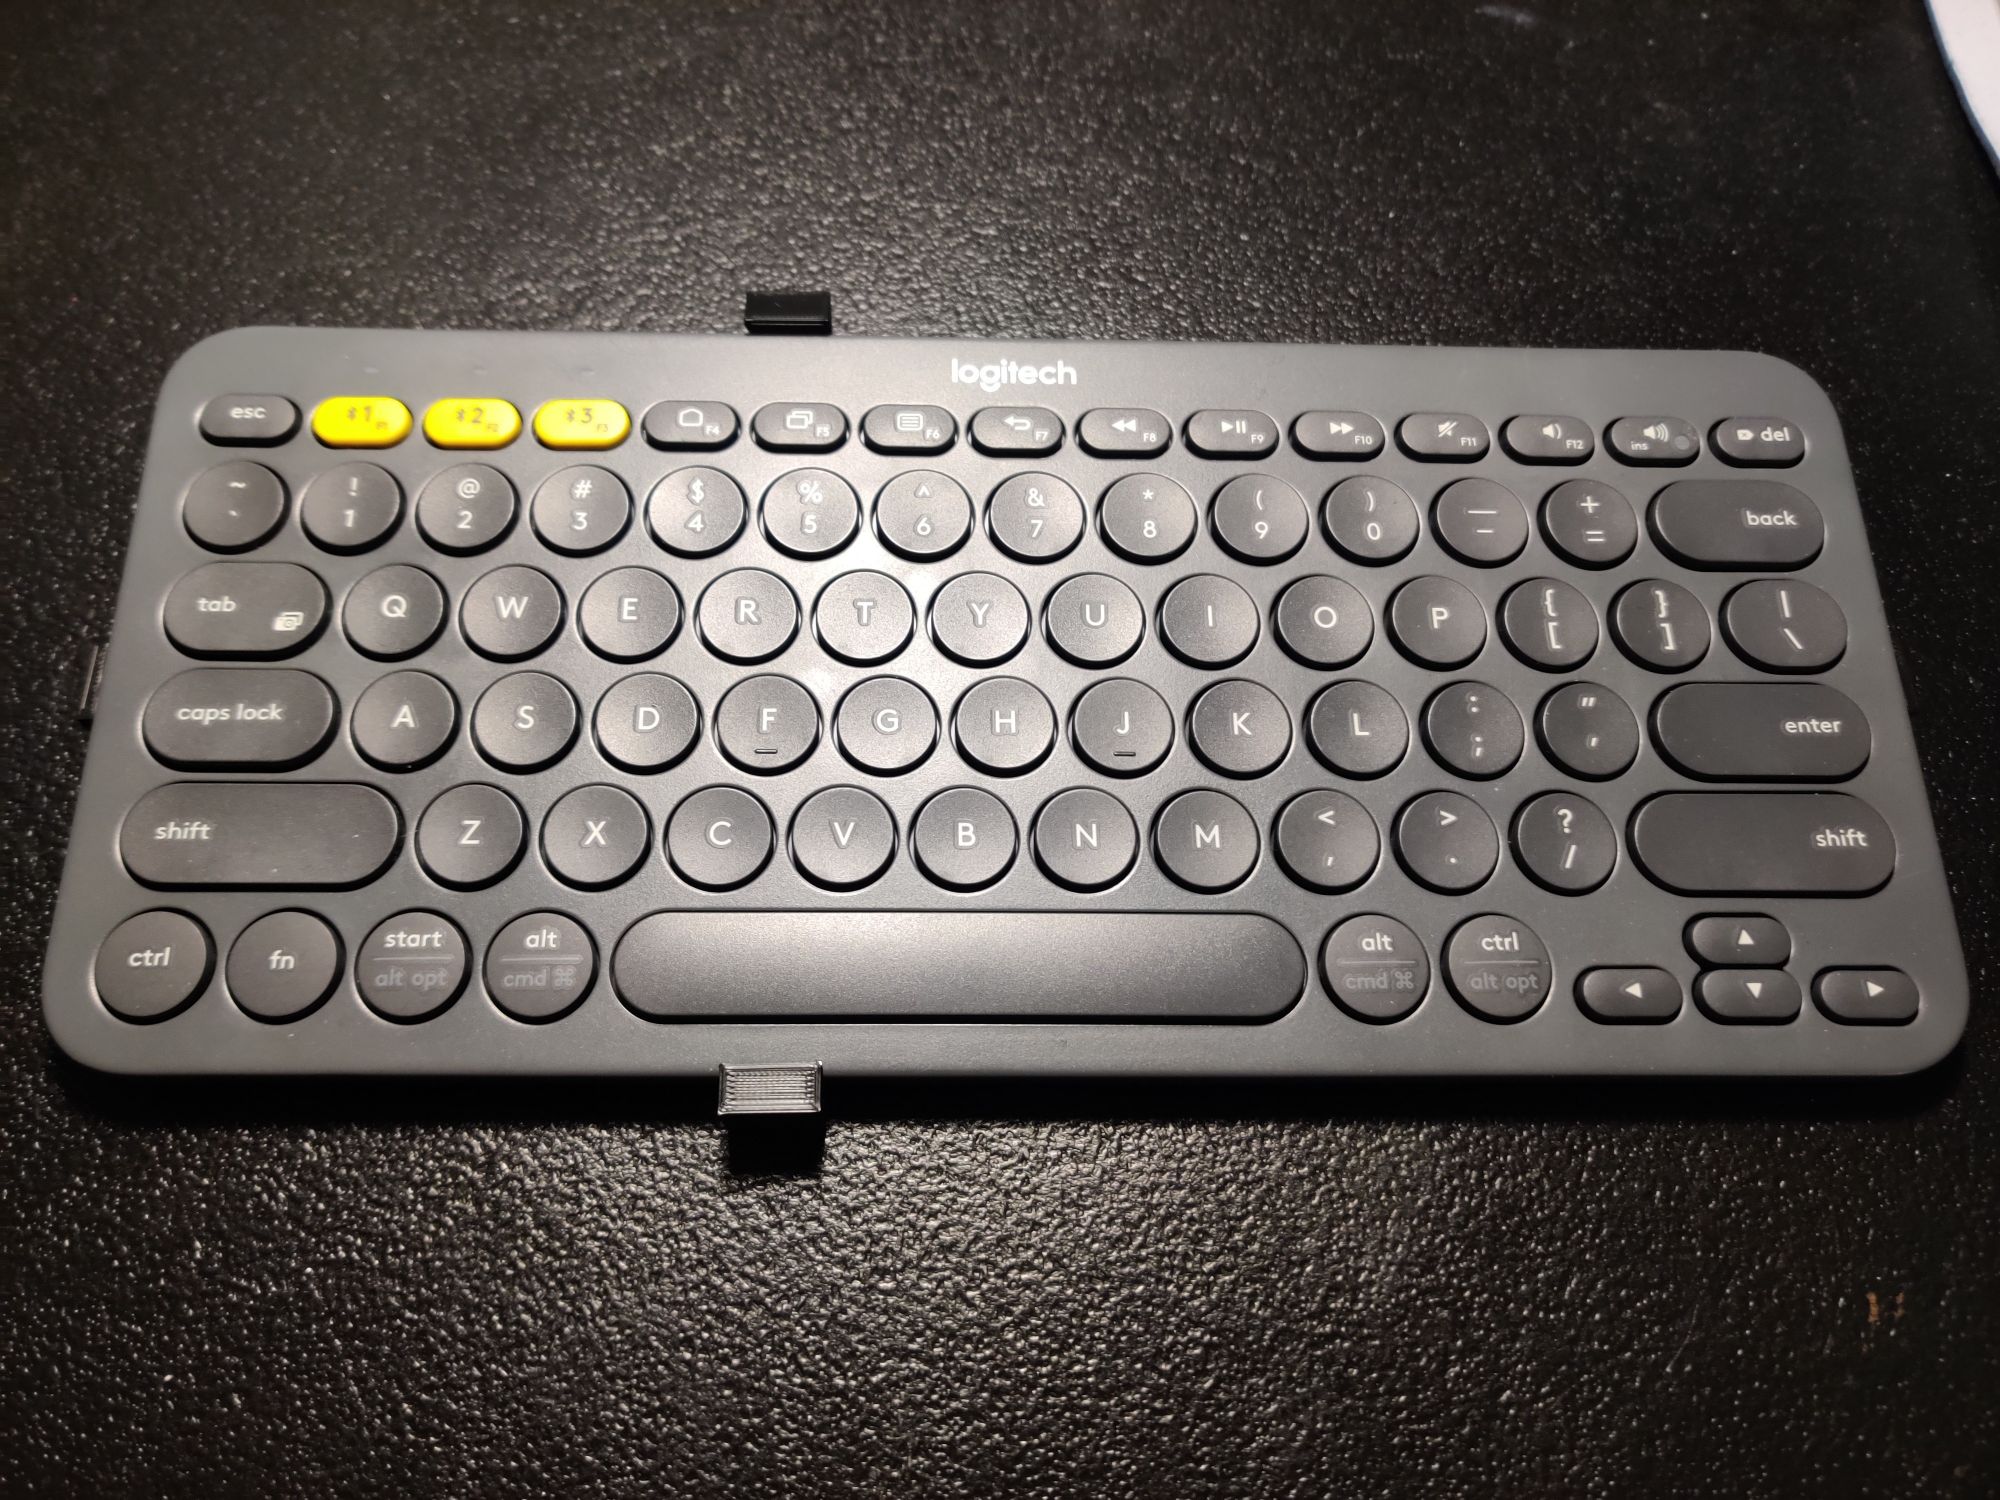
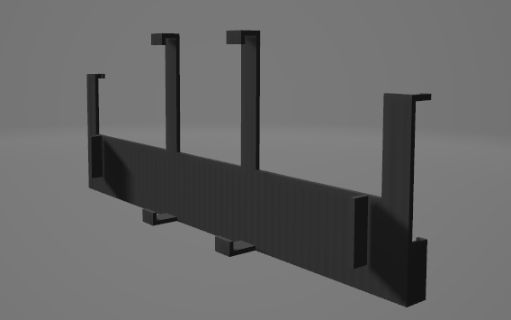
so plenty has changed in terms of this project. first ill show how the printing of that part went, but spoilers it won't matter:
cool it fit but actually that keyboard isn't being used for this project anymore, instead its moved to its own page and this project will proceed with a wireless keyboard instead (size was a big factor in making this decision)
this first design attempt at a clip has been completed. it was a verified failure but it should only take very few adjustments to fix it, however the clip portion that attaches to the laptop seems infinitely more difficult, especially considering printing, because (according to my calculations) it will barely fit onto the printer at a weird side angle, which means each failed print uses tons of supports. that sentence was definitely too stream of conciousness but you get the point, here's some pics of the failure:
i'll get back to design when i can, hopefully the next update includes a finished project
Log 5: Ugh
the title is a representation of how i feel on this project. thats not gunna stop me from finishing it, but its honestly been a huge headache and really prevented me from doing anything else. getting it out of the way is now top priority.
today i made adjustments to the keyboard design, the first print was still slightly off, so im printing hopefully the final adjustments. in the meantime i designed the half that clips to the keyboard, but i probably won't be able to do the test print till tomorrow
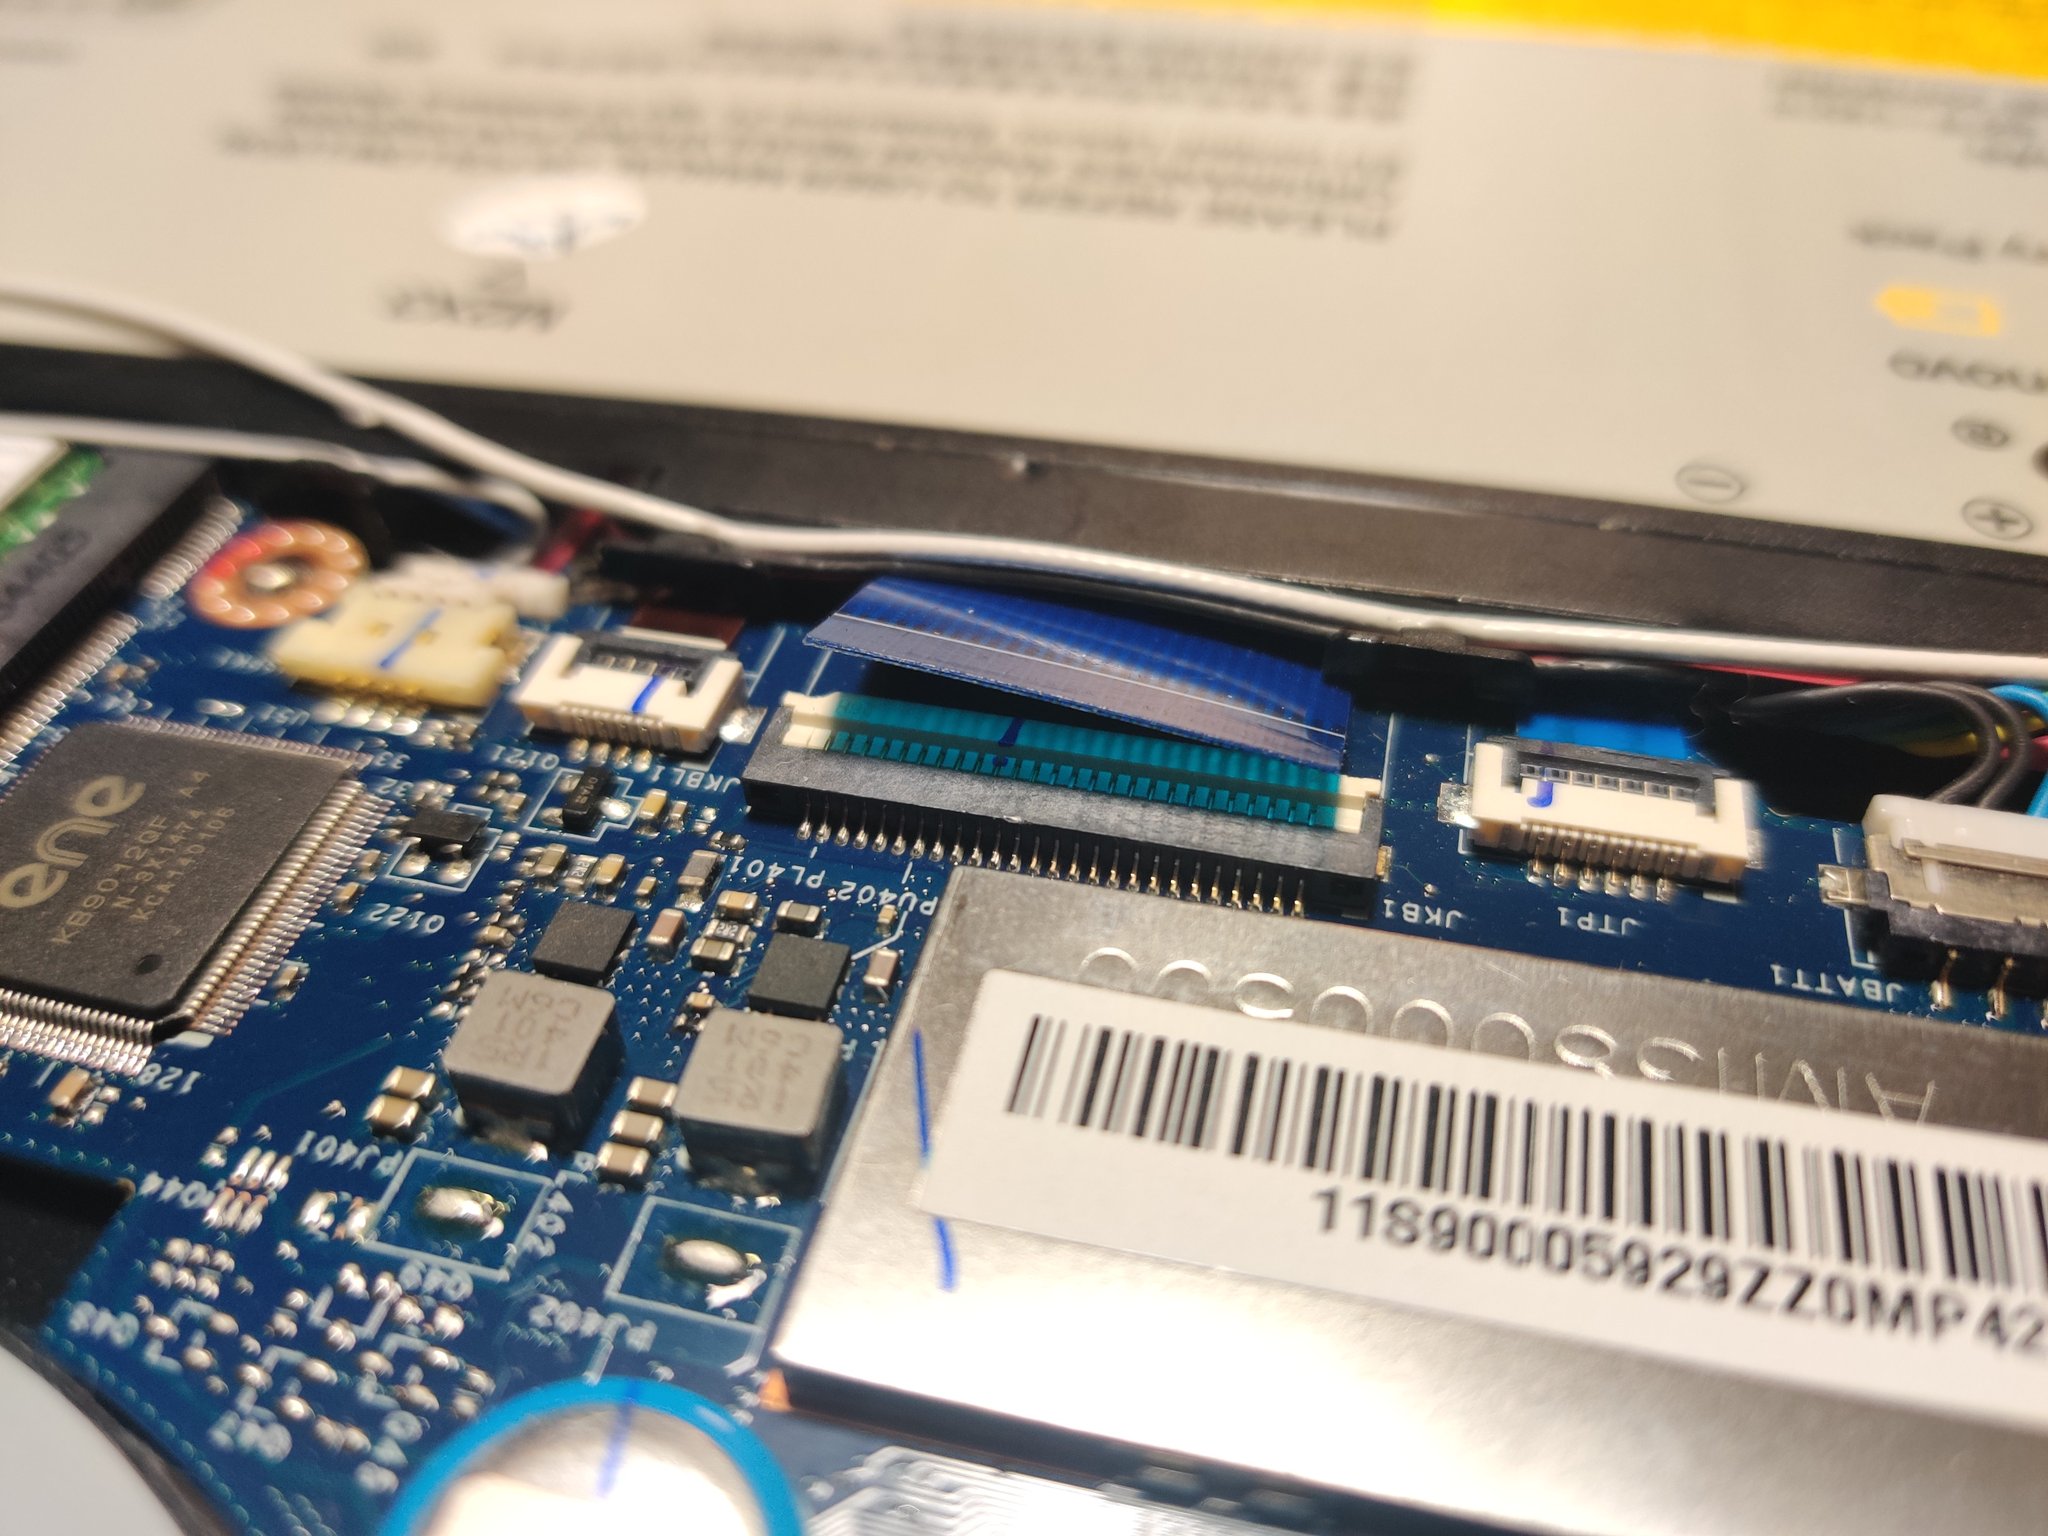
then i took the laptop that this keyboard was replacing, and even tho its broken, it still sends phantom strokes sometimes: "im just typing and then its likeuuuuuuuuuuuuuuuuuuuuuuuuuuuuuuuuuuuuuuuuuuuuuuuuuuuuuuuuuuuuuuuuu and it can get a tad annoying" so removing it was a must. while unscrewing the screws i learned that you can use a rubber band on screws that are partially stripped to get a better grip. anyway i did that, and then unplugged the keyboard:
that's it for now, just waiting on the next print
Log 6: Final Stages?
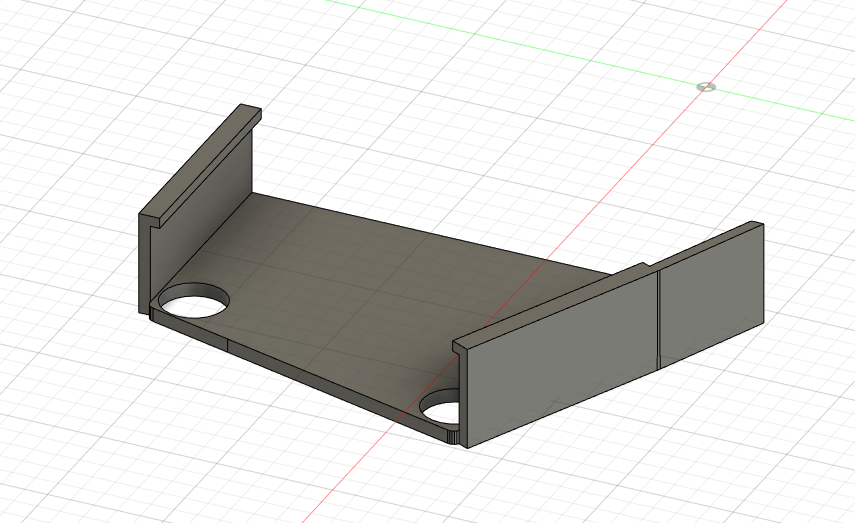
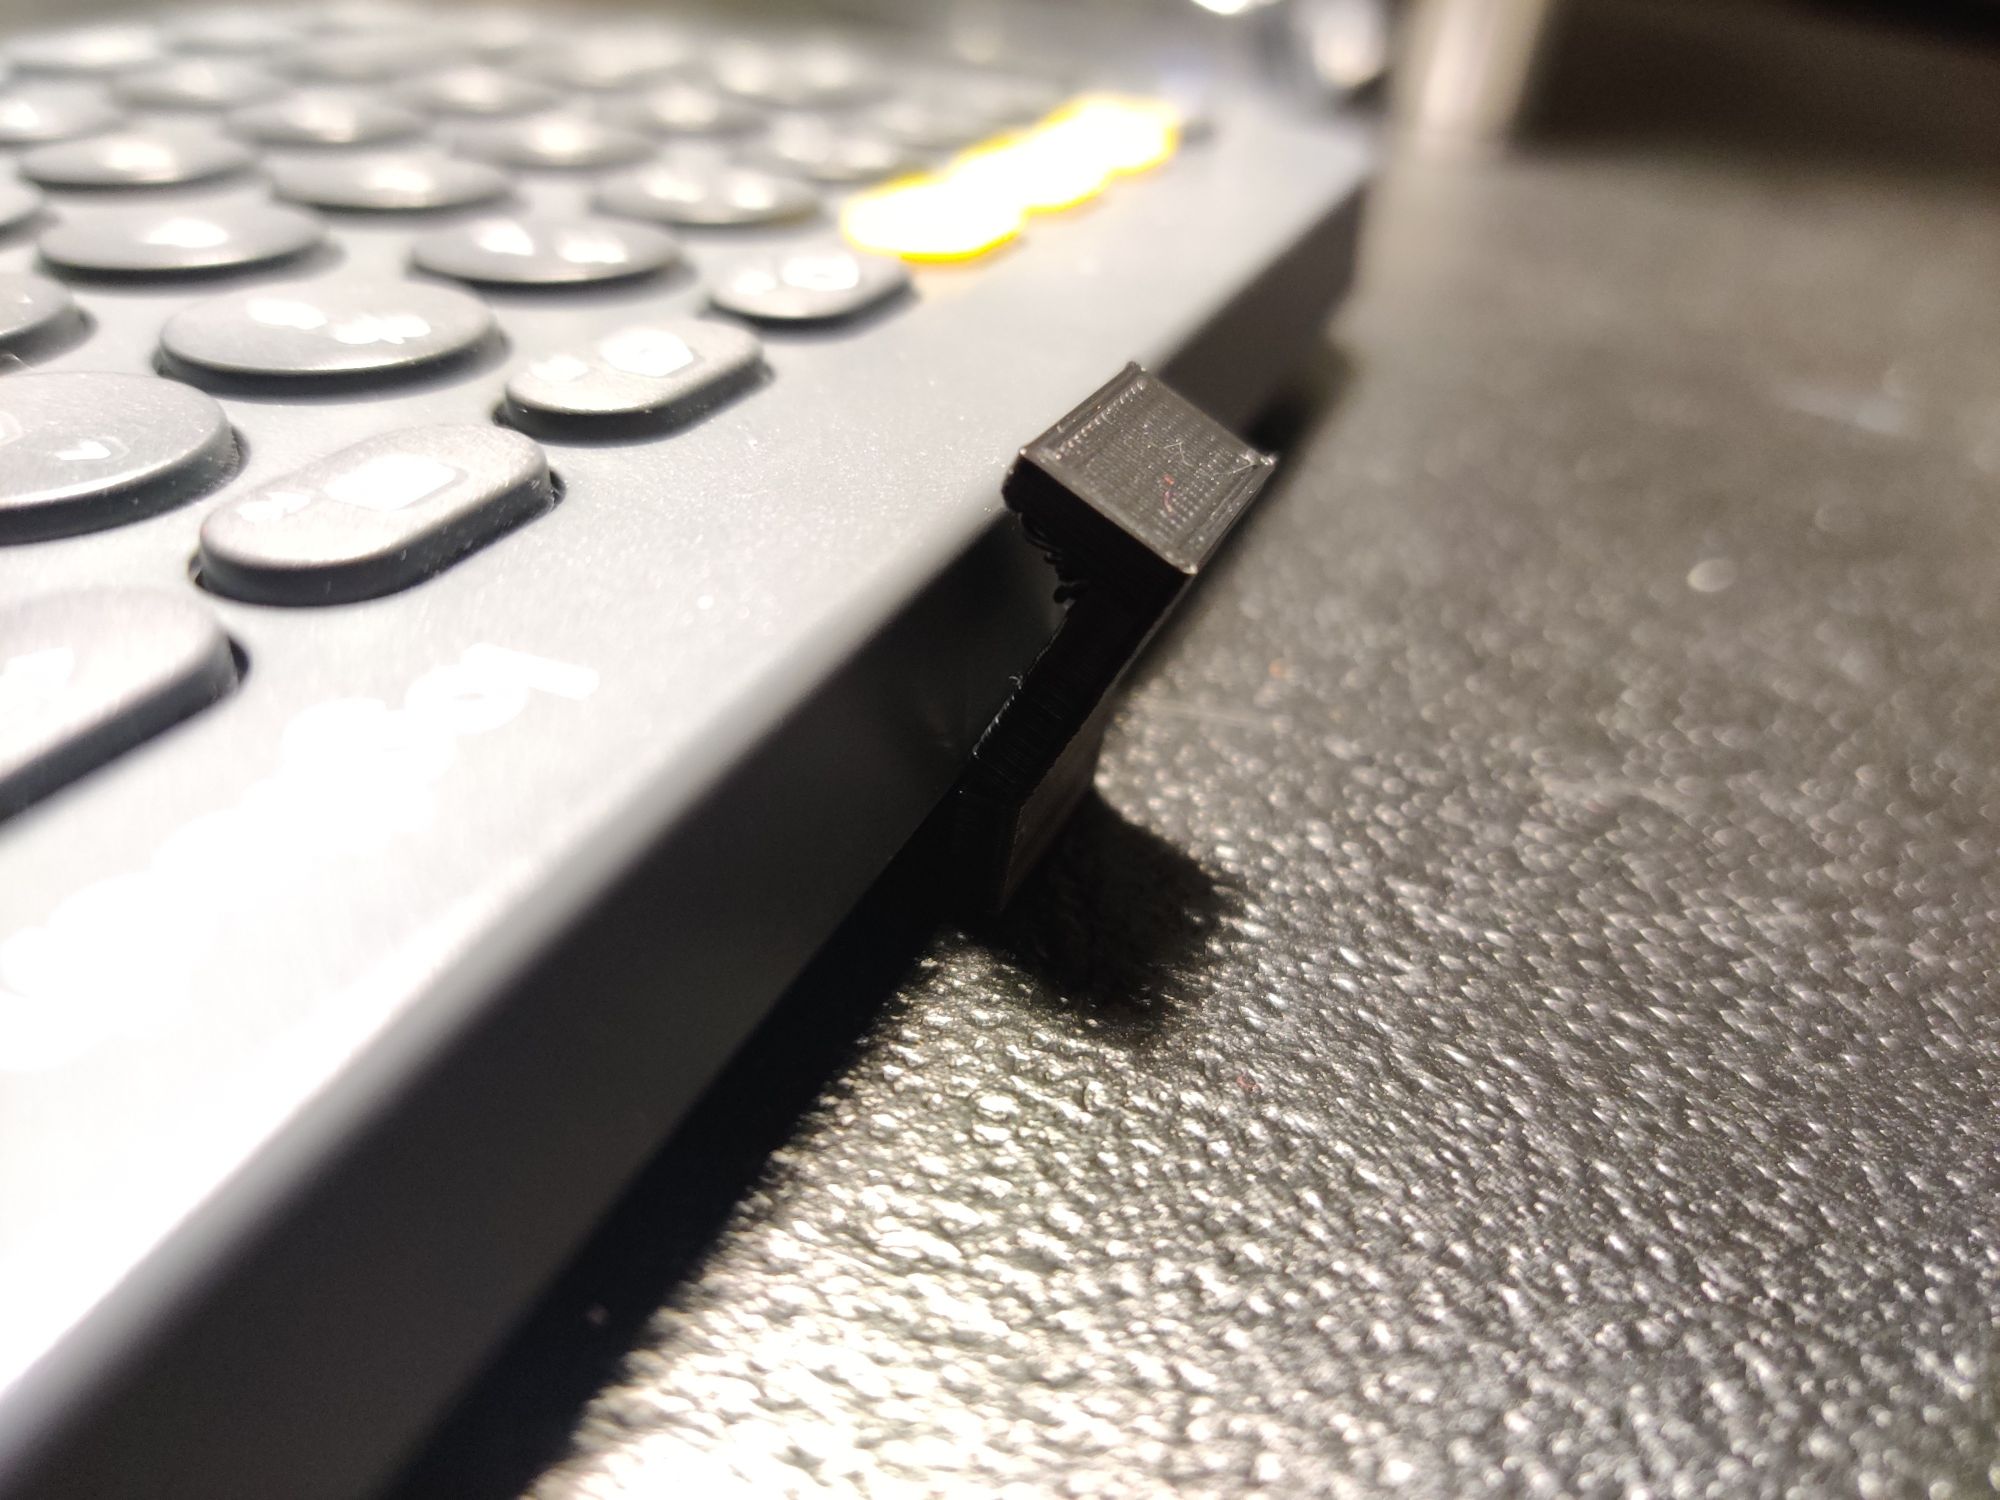
the print for both side were just about perfect, i made some minor adjustments, combined them, and the final print is on its way. this may not be the actual final product, since i took alot of risks at once, but im pretty confident in it:
really hoping it goes according to plan, i think im finally realizing what discouraged me the most during this project was the fact i printed the initial test for holding the keyboard like 5 times, and i just felt like my understanding of how literally everything works was wrong. the laptop clip fitting first try reinvigorated my passion, and i immediately got to designing the final bits, which will hopefully do the same.
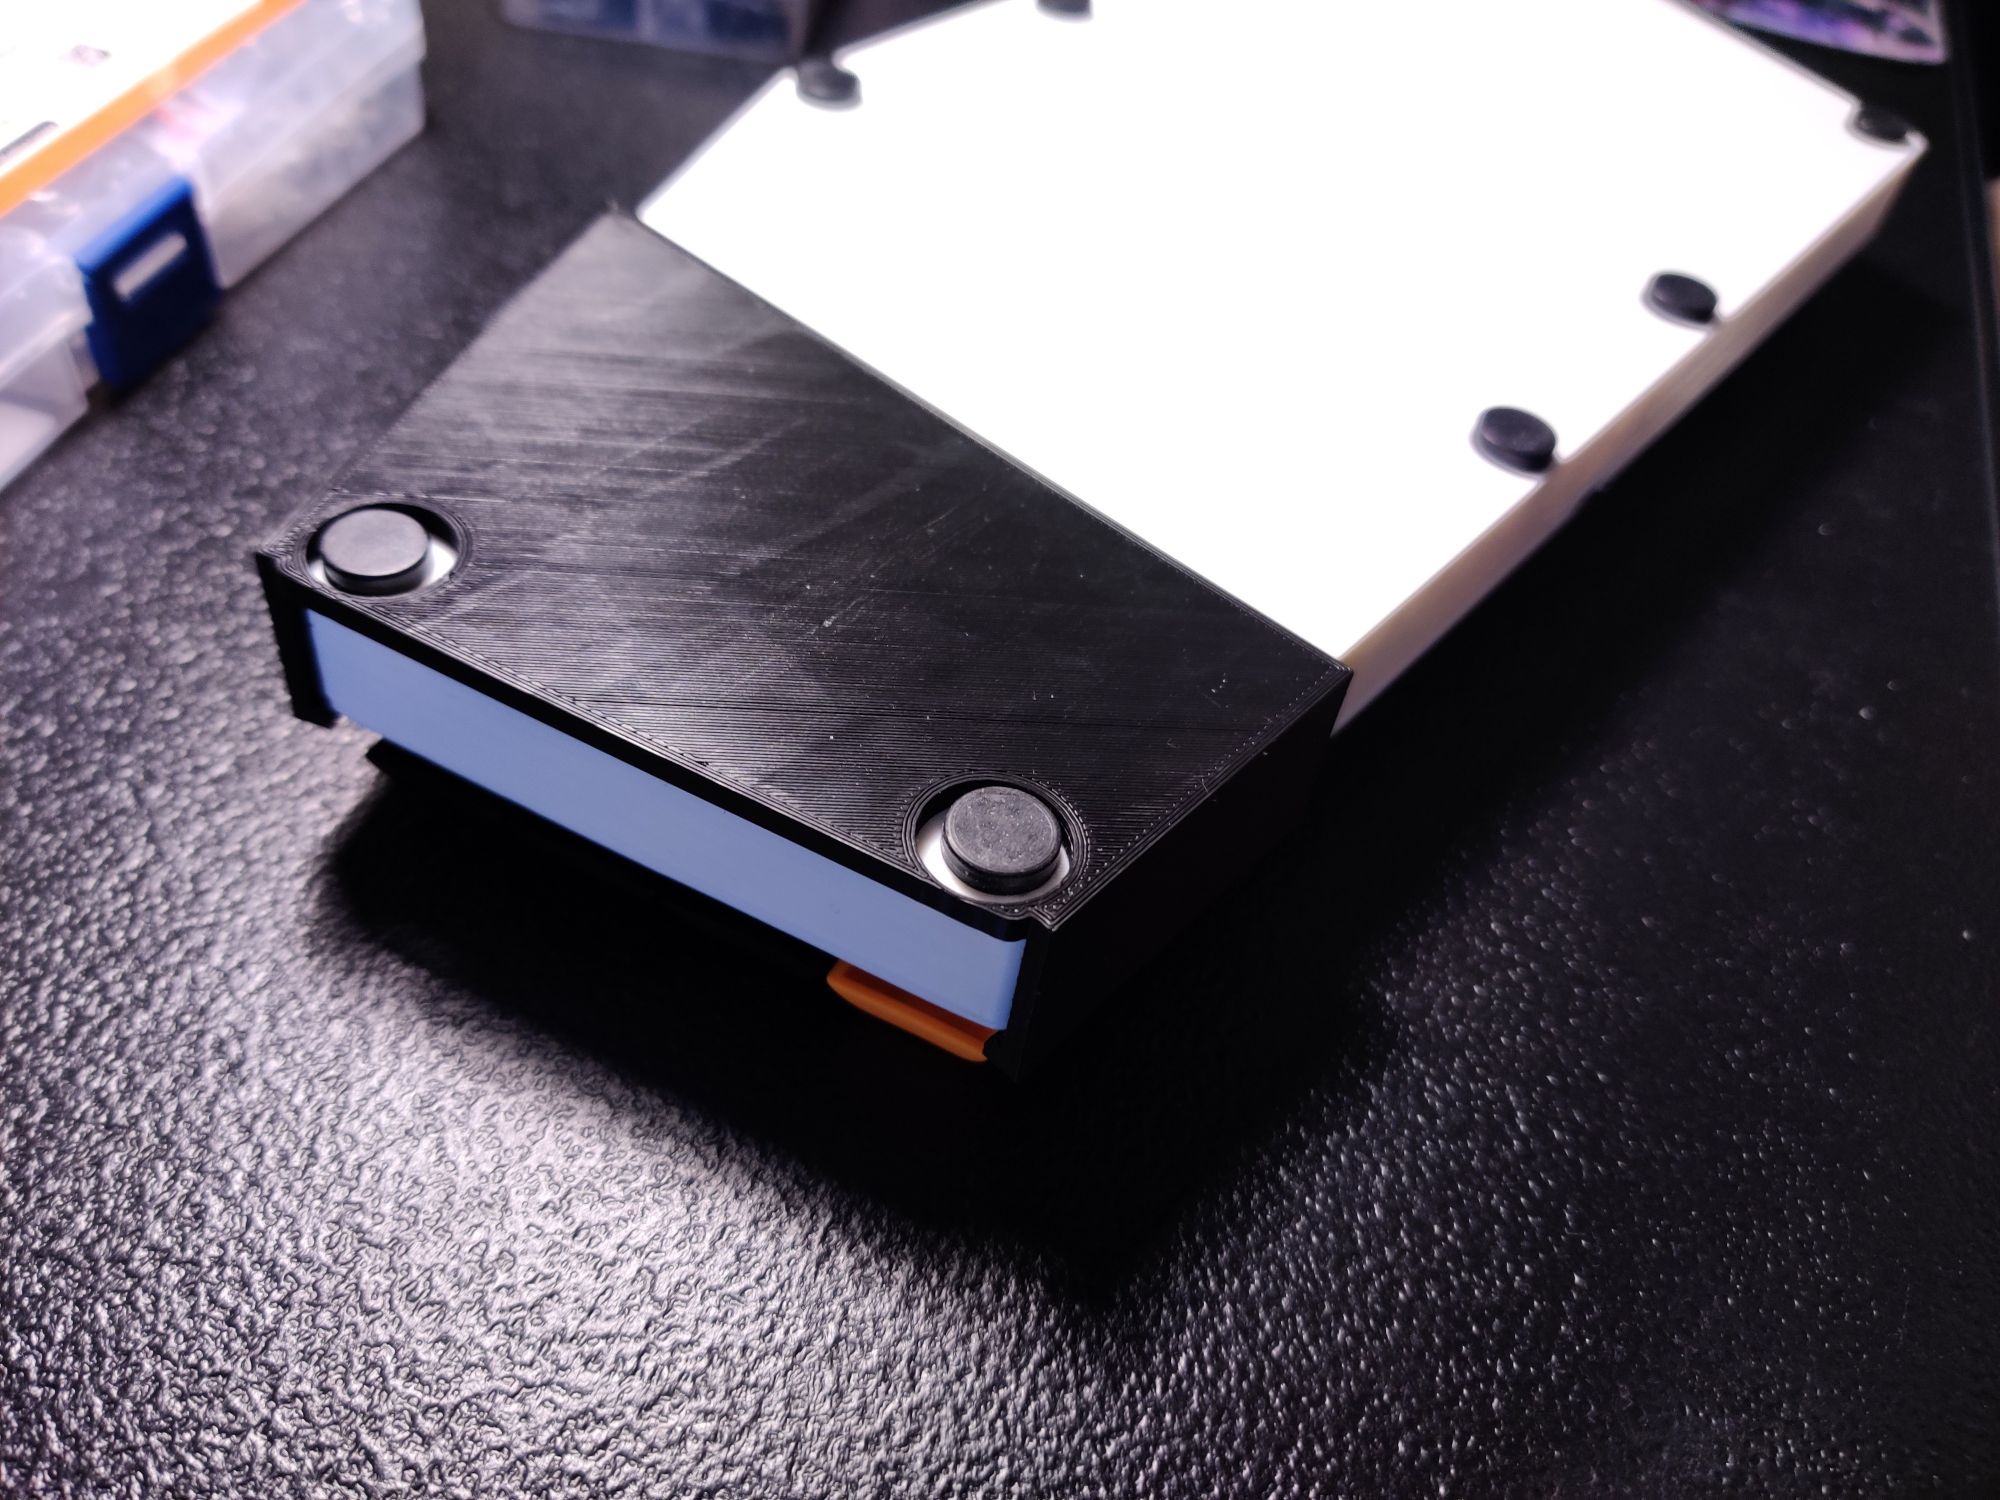
Log 7: Oh Yeah, Final Was Right
omg i'm so glad everything fit nicely, i had to do some clipping with a wire cutter, but that was due to some lack of foresight by yours truly. and tbh you couldn't even tell that i did. well thats it, here's pics:
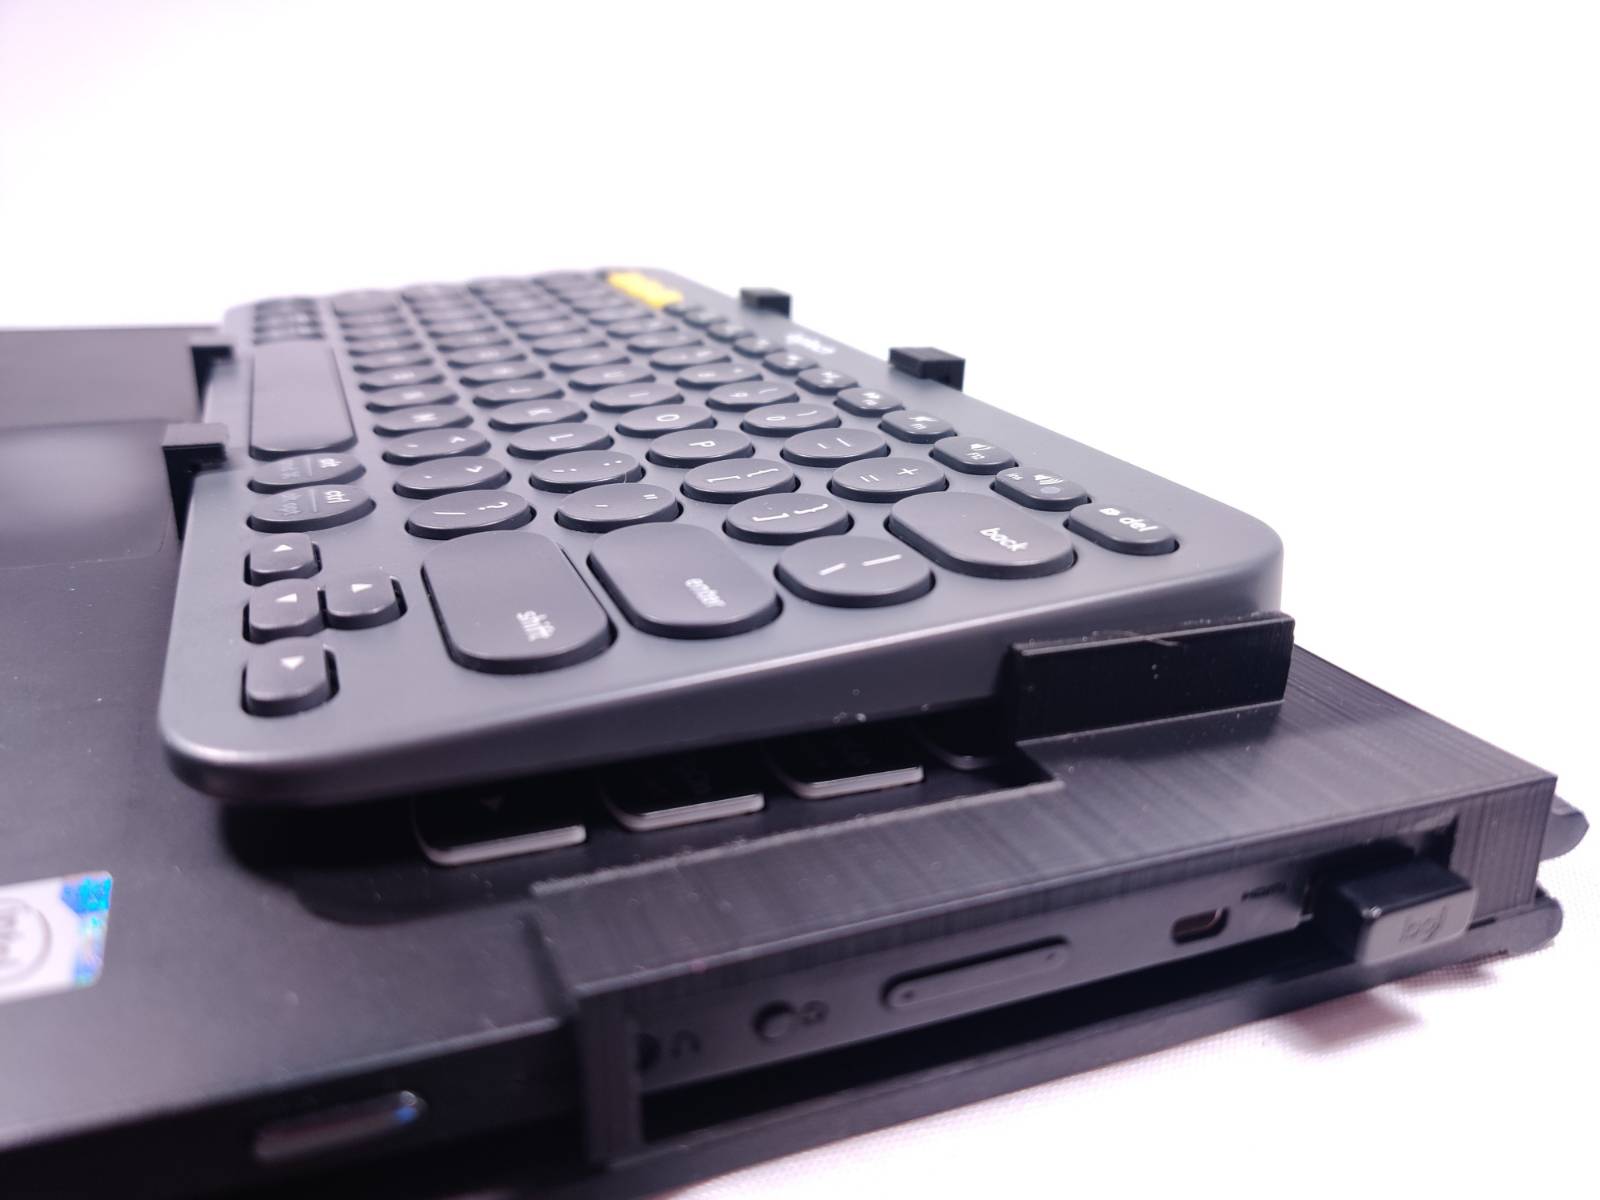

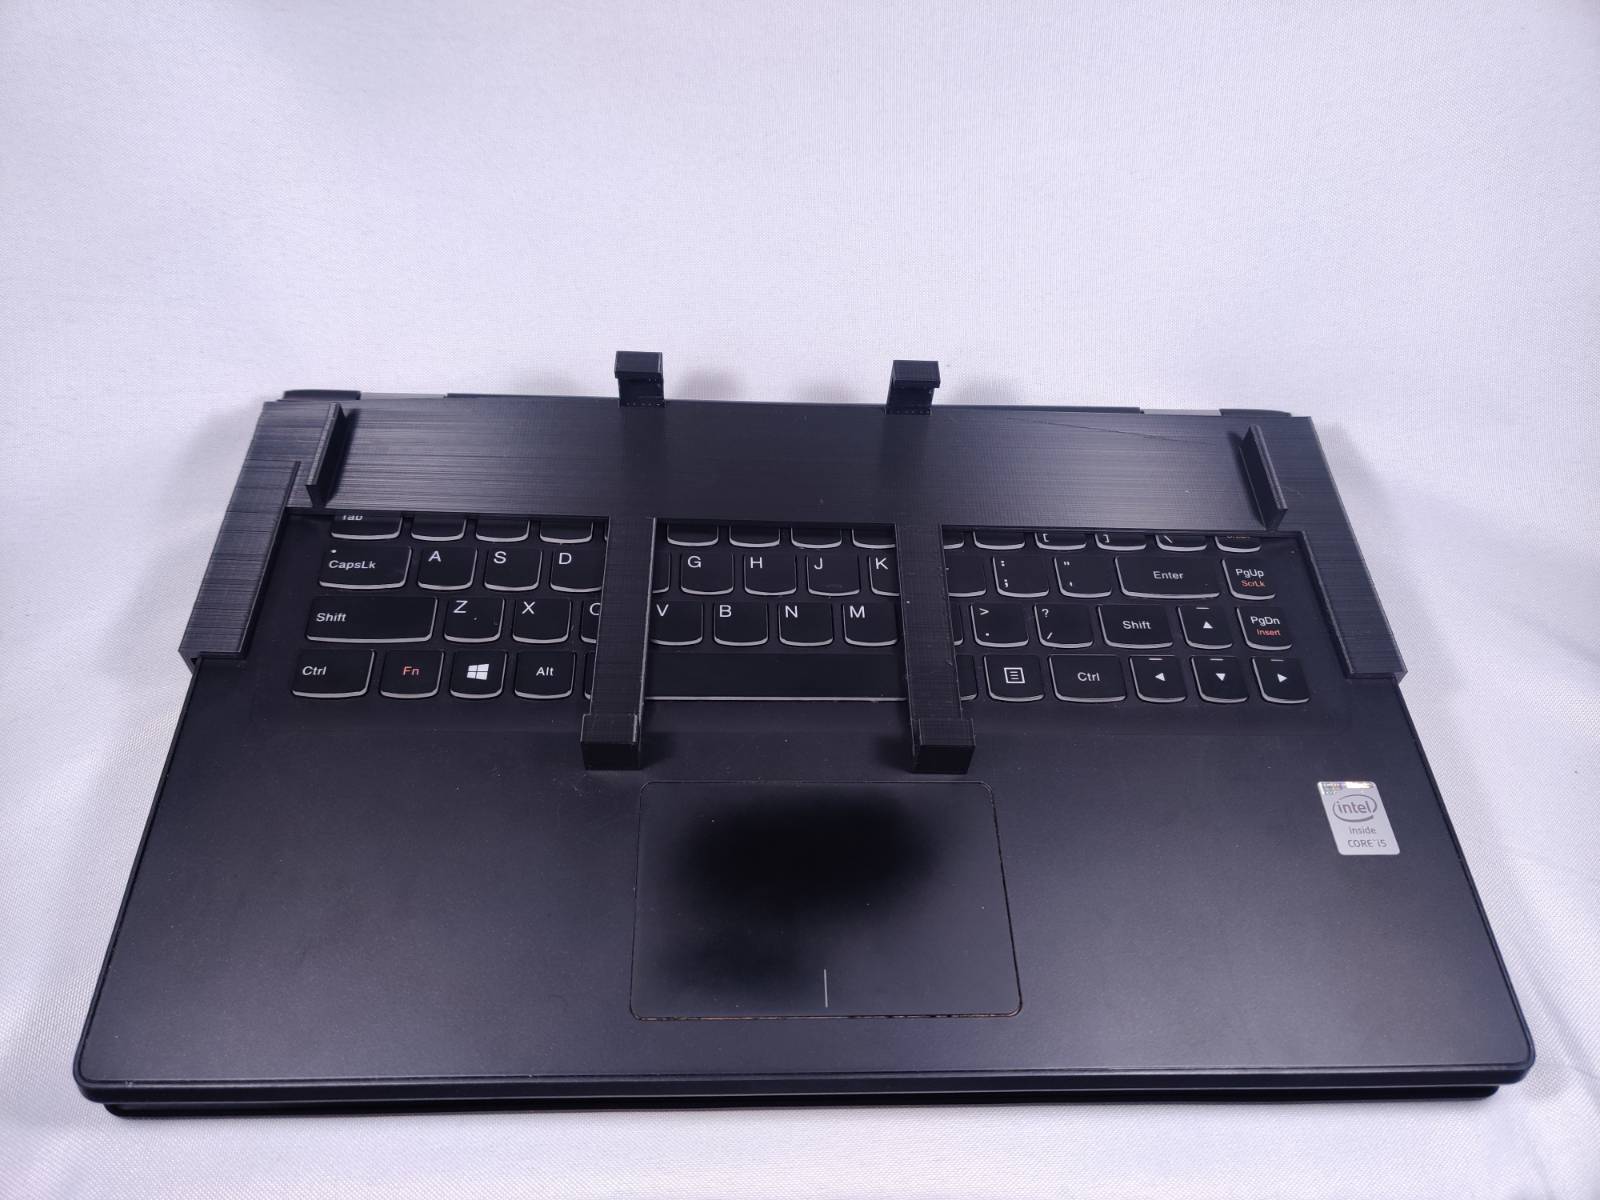
thats all! i can finally make use of this free laptop heh.
┈ ren ♡